

A simple definition of macro photography is close-up photography of small subjects. To define this a little further, true macro photography only occurs when photographing small subjects with a magnification of ‘life size’ or greater (i.e., where the subject is the same size or smaller than your camera sensor).
In this guide, I’ll be looking at some camera settings to help you start with, as well as exploring other tips and tricks to help you get the best macro images possible.
Here’s what we’ll cover:
- Camera gear
- Magnification and working distance
- Composition tips to get you started
- Camera settings for different macro photography opportunities
- Where to go next
Recommended Reading: If you’d like to master camera settings to create gorgeous, creamy, blurry backgrounds, grab a copy of Photzy’s premium guide: Beautiful Background Blur.
Camera Gear
For the ultimate macro photography results, you will really need a dedicated macro lens. There are a variety on the market and budget will probably be a consideration to most people! A macro lens with a focal length of between 90mm and 105mm is a manageable weight as well as usually having a minimum focus distance of around 11 inches.
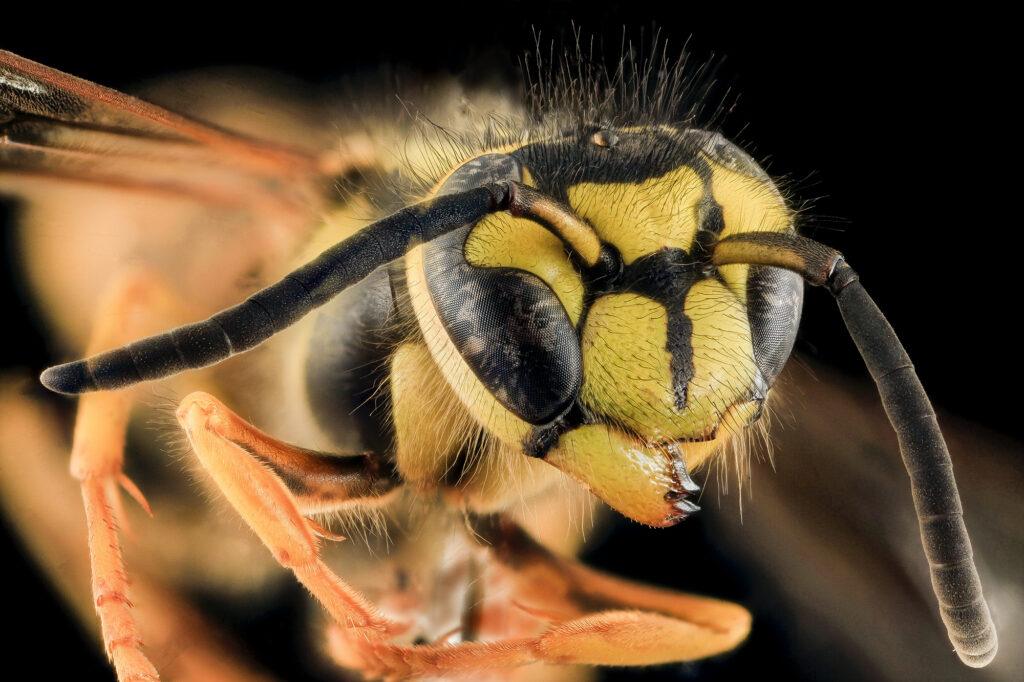
A dedicated macro lens allows photographers to get pin-sharp shots of even the smallest insect heads. Photograph by USGS
If you just want to experiment with macro photography, it’s unlikely that you’re going to want to spend a fortune just to get a little closer to your subject. Most modern DSLRs, mirrorless, and even compact cameras will allow you to get close enough to your subject to start experimenting. You could also consider extension tubes, which create space between your lens and camera sensor, thus increasing magnification. Or, for a little more money, you could try a Snap-On Lens Adapter, which clips to almost any lens to increase magnification. Raynox makes the best-known adapters and is a great place to start.
Most modern DSLRs, mirrorless, and even compact cameras will allow you to get close enough to your subject to start experimenting.
A tripod can be very useful for macro work as it helps you to keep your camera and lens steady and avoid camera shake. It also gives you more leeway with camera settings. I would also recommend investing in a small reflector, as this will help to reflect light onto the subject and soften hard shadows in bright sunlight. And to give you the most options with your macro photography, you should also carry a flashgun complete with a diffuser to soften the light.
Magnification and Working Distance
Before you start experimenting with macro work, it’s helpful to understand magnification and working distance.
The size of your subject in reality compared to how large or small that subject will appear on your camera’s sensor gives you a value known as magnification. For example, if your subject is 1 inch in length and is shown as 1 inch on your sensor, this is life-size with a ratio of 1 to 1. Macro photographers will use terms such as 1:1 magnification and then work down as the size displayed on the sensor decreases (e.g., half-life size is referred to as 1:2 magnification).
Working distance simply refers to the distance between the front of your lens and your nearest subject. People often presume that you need to be physically close to your subject for macro photography, but in fact, it’s the lens that should be crossing the distance for you. Get too close and you risk blocking the light or scaring a live subject away.
Composition Tips to Get You Started
Composition is still important when you’re photographing small subjects. With macro photography, your immediate focus will be on your subject, but it’s equally important to pay attention to your background. This is going to be out of focus, but you need a strong contrast between your subject and your background. Solid colors, such as a blue sky or green grass, work well as they’re sufficiently bright to provide this contrast. Remember that colors will be extremely vivid in macro photography as you don’t have any atmospheric factors (such as haze) in between your subject and the lens.
If you choose to use flash to light your subject and are working at 1:1 or 1:2 magnification, you’re going to end up with a very dark or completely black background. Why is this? Well, it’s down to the property of light. Your flash will be so close to your subject that the background will hardly receive any light at all. In such close quarters, your flash will actually be brighter than the sun.

If you approach a dragonfly by gently rocking from side to side, it may even forget that you’re there! This will allow you to get very close to your subject. Photograph by Shreyas Bhosale
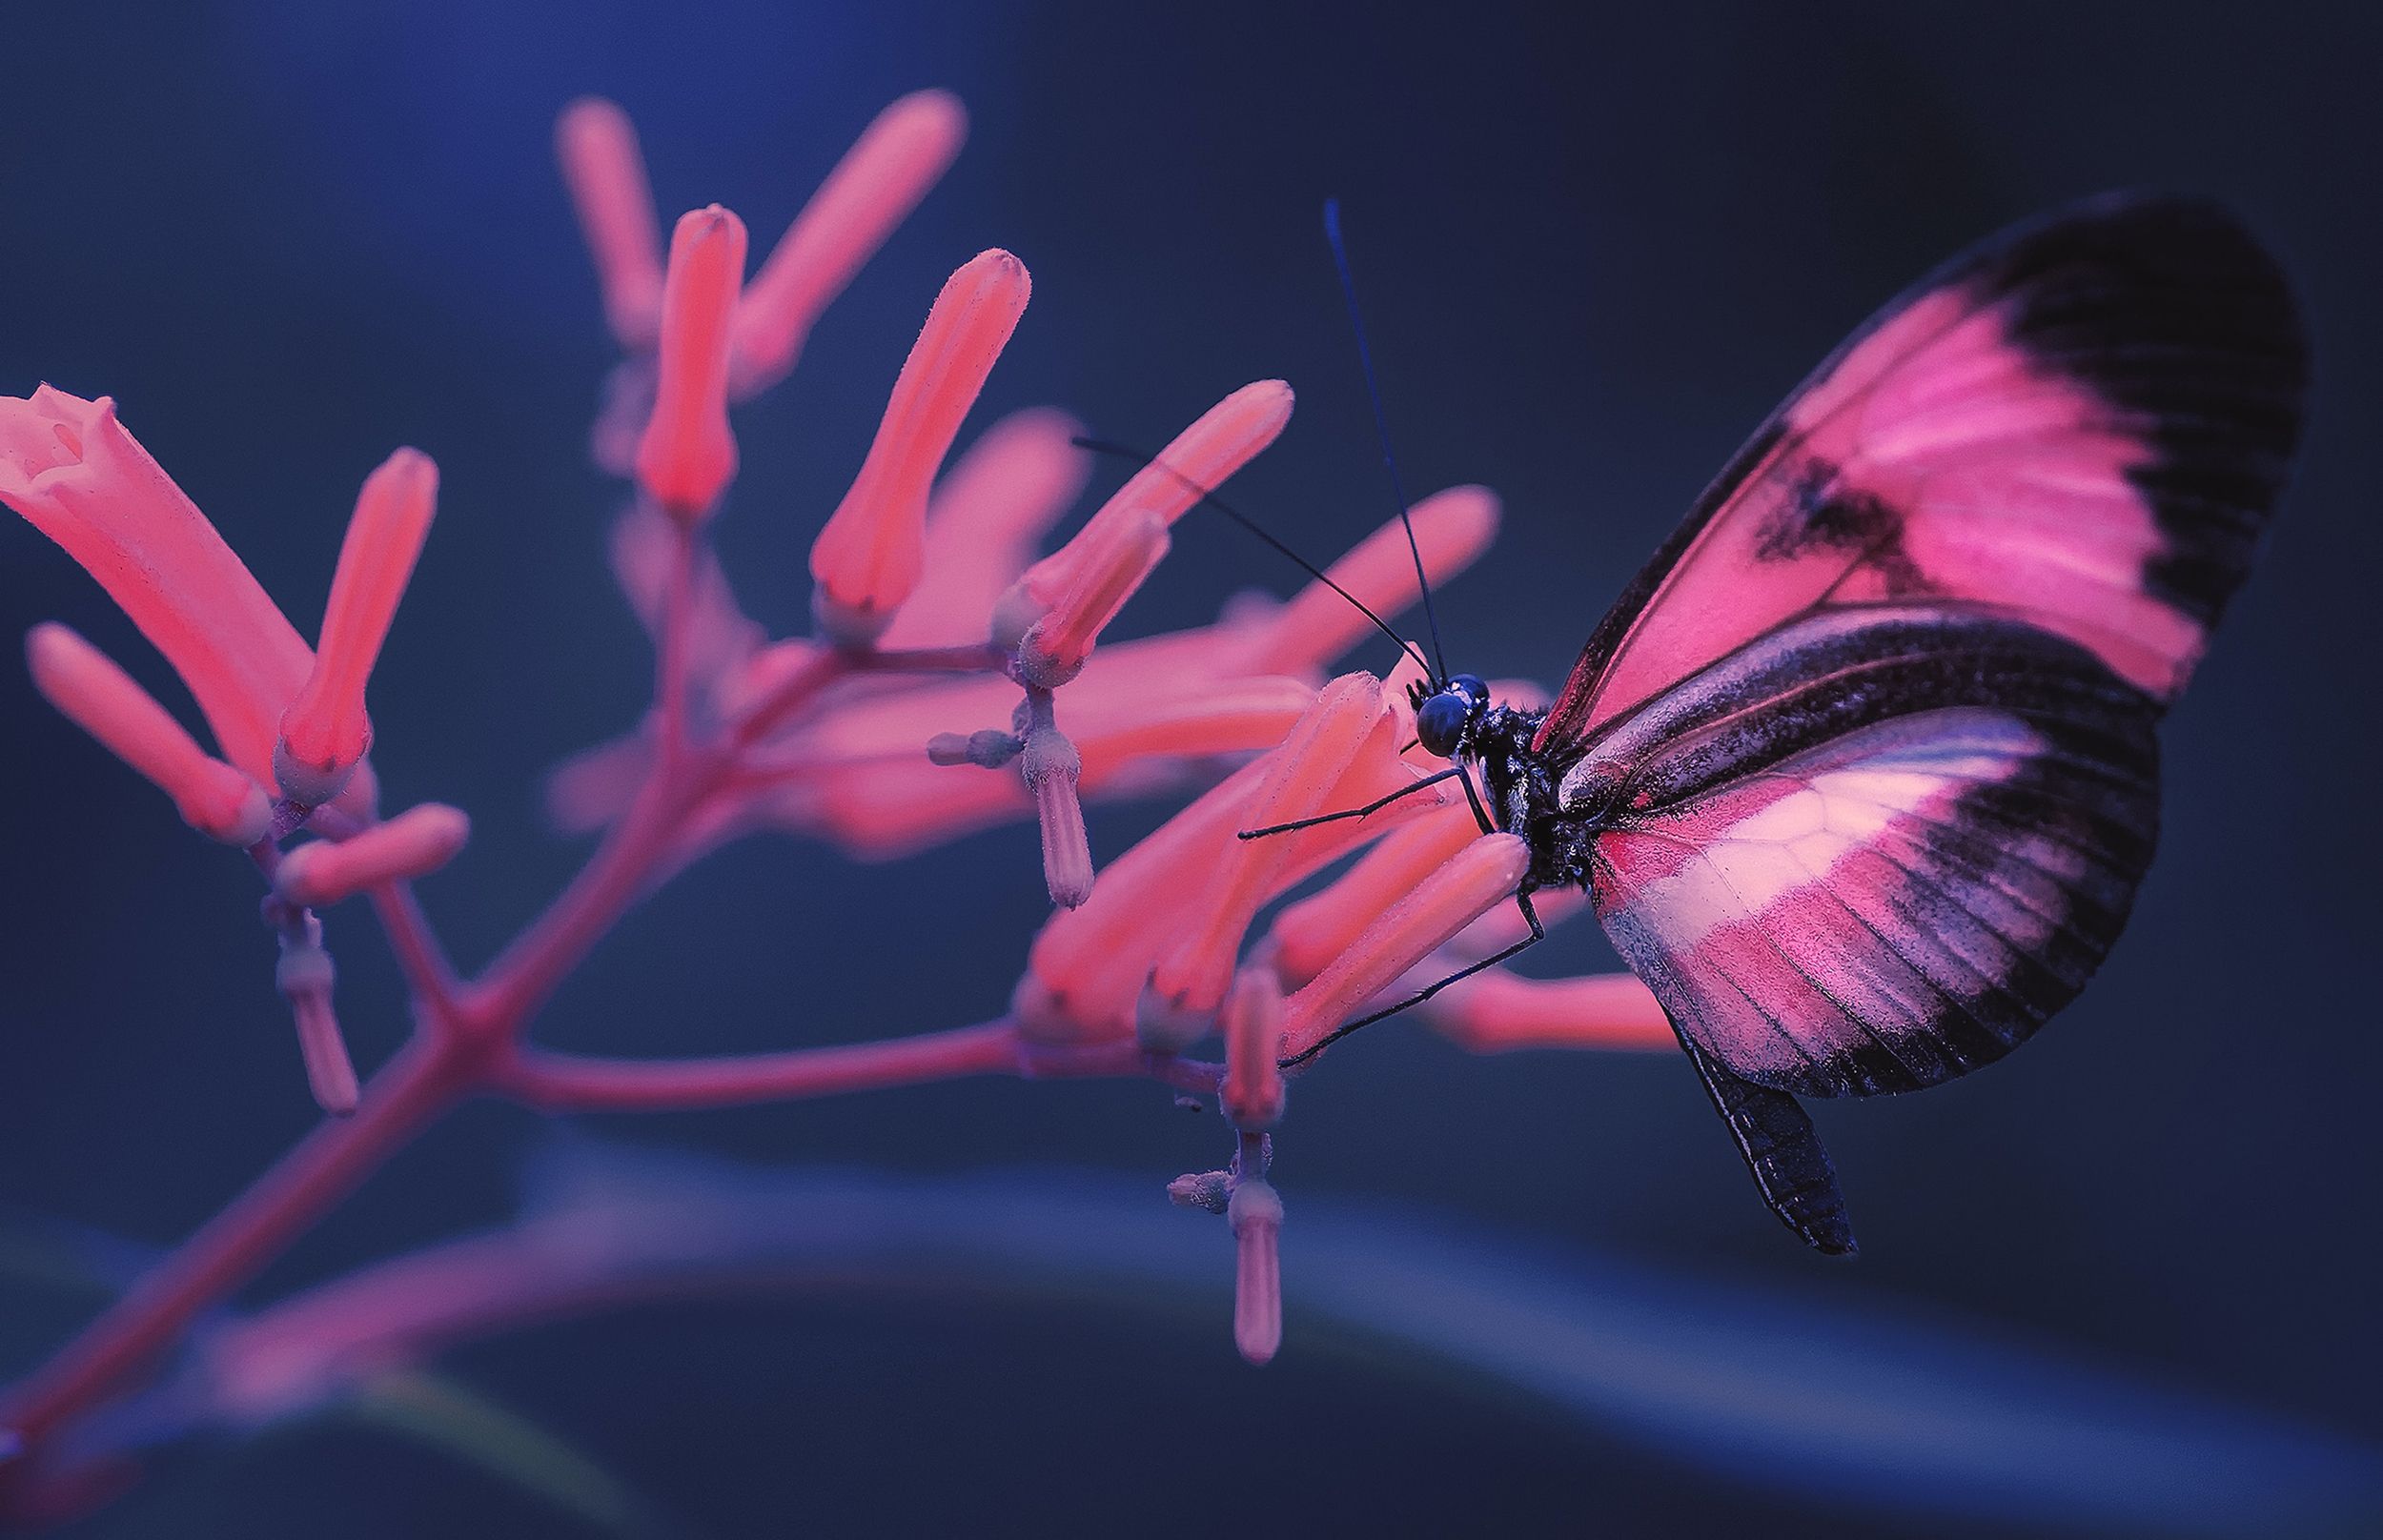
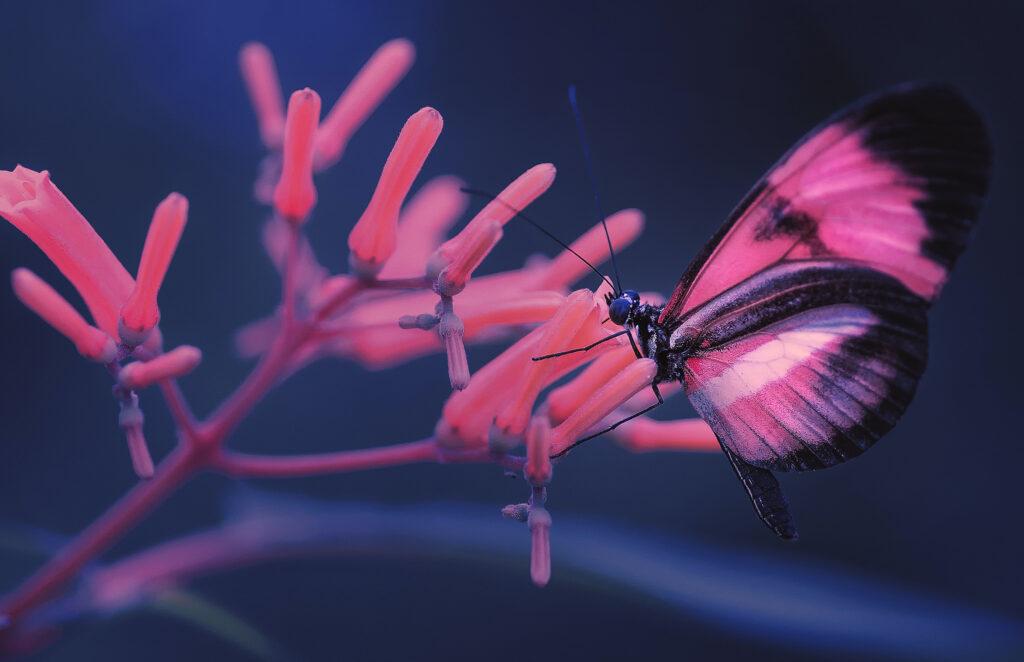
Key Lesson: A little side note on insects (if that’s what you’re photographing!): Some insects are easier to start practicing macro photography with as they don’t move particularly quickly. These include ladybirds, ants, grasshoppers, and spiders. Bees and butterflies are best photographed whilst they’re feeding on flowers. A good tip is to focus on a flower and wait for a bee or butterfly to approach it. And finally, it’s worth knowing that dragonflies fly away when anything moves directly towards them. Try approaching them while gently rocking from side to side for a few seconds, before stopping and waiting for around ten seconds. This can even make a dragonfly forget you’re there.
Camera Settings for Different Macro Photography Opportunities
I’m going to approach this section of the guide a little differently than you may have seen previously. We’ll be breaking down camera settings into focusing, aperture, shutter speed, and ISO.
Focusing
Focusing on macro photography is probably the trickiest thing to get right and needs a little practice. You should be fine using autofocus for larger subjects at lower magnification (around 4 inches and larger); although, I would recommend that you use continuous autofocus to increase your opportunities for sharp shots. But when it comes to smaller subjects, you will have to switch to manual focus. Working with subjects where you’re focusing at 1:1 magnification or stronger means that simply moving your camera forward or backward a few millimeters can throw your entire photo out of focus. So, how do you successfully use manual focus? The key is to set your lens’ focus at a certain magnification and then rock your camera forward and backward in tiny increments until your image is sharp.

Getting perfect focus in macro images is a tricky business. Stationary objects, such as flowers, are great subjects to start with as they won’t fly away! Photograph by Mister Starman
Aperture
The first part of the Exposure Triangle that you need to set in macro photography is your aperture. This is because as well as controlling the amount of light coming through the iris of your lens, aperture also controls your depth of field. Of course, macro photography means you’re working with a very minimal depth of field and, as you focus closer, it will become even smaller. When a macro lens is at its closest focusing distance, you’ll barely get an insect’s head in focus. What this means, in essence, is that even at f22 (generally one of the largest depth of field settings on most lenses) your depth of field will be tiny.
When a macro lens is at its closest focusing distance, you’ll barely get an insect’s head in focus.
So, what aperture should you use for macro? Well, a lot of it depends on the sensor size of the camera you’re using and, in Canon’s case, on the brand of camera, you’re using (Canon calculates aperture differently in high-magnification macro photography to other brands). These are the settings I would recommend you stick to for different cameras:
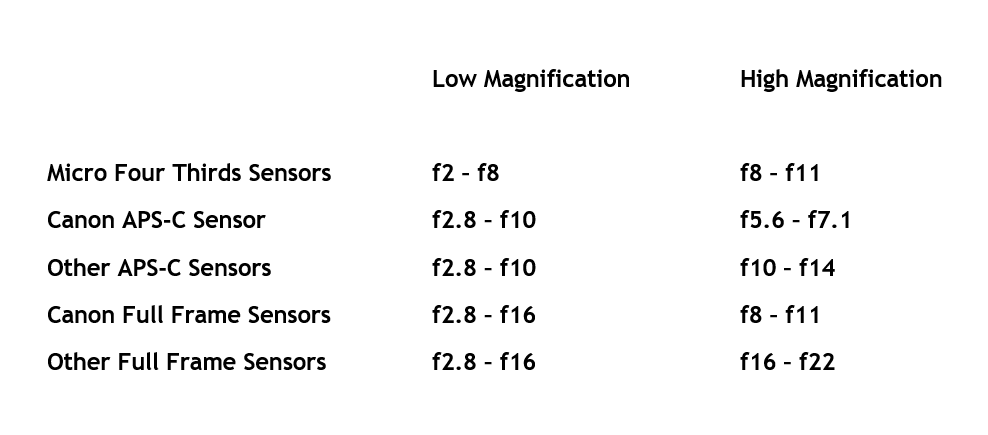
As you can see, at low magnification (where your subject is several inches across) you have a wide range of apertures to choose from as depth of field will be far less of an issue. Once you start to work with high magnification subjects (of around 1 inch across), your options become far more limited.
Shutter Speed
Blur is highly magnified in macro photography and so, if you’re shooting without flash, you need a fast enough shutter speed to make sure you freeze the action. I would recommend a minimum of 1/320th for stationary subjects and faster if the subject is in motion – start at around 1/500th. If you’re using flash, then use the fastest sync speed for your camera (this is usually 1/250th). The flash will freeze any movement, but the faster shutter speed will also help to block out any ambient light.
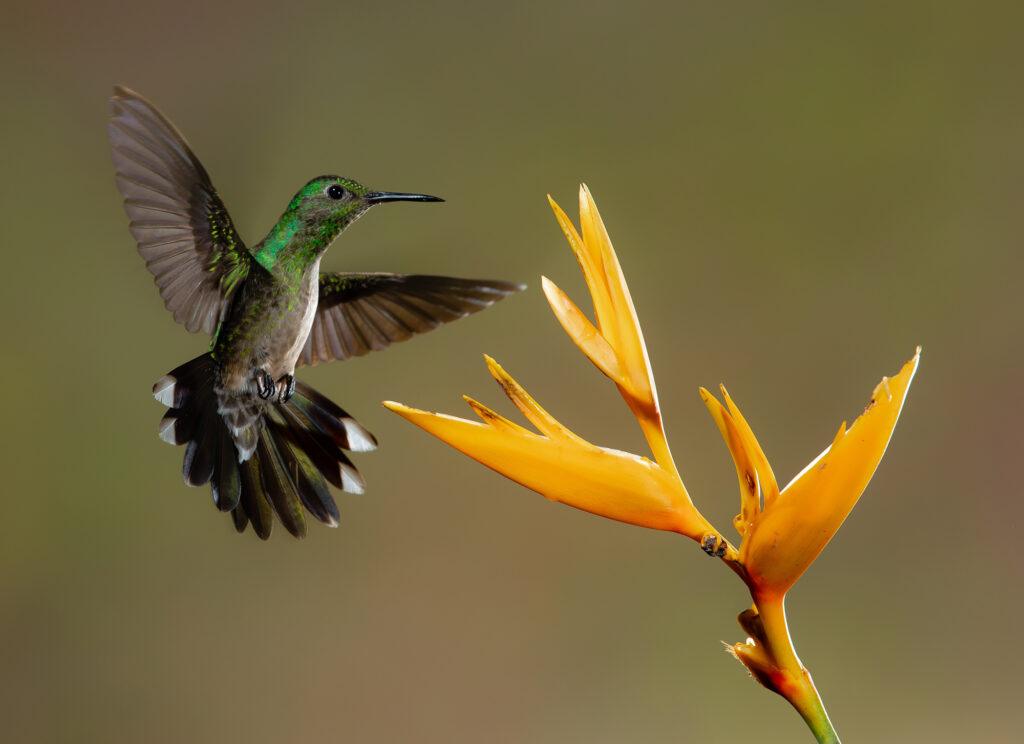
Fast-moving subjects such as the minute hummingbird will need a fast shutter speed to freeze action. Photograph by Zdenēk Macháček
ISO
If you’re working without flash, chances are you’ll need to use a higher ISO in your macro work. This is because you’ll be using a fast shutter speed to eliminate motion blur and a small aperture that allows you to capture enough depth of field. I would suggest starting with an ISO of 800 and altering as needed. Remember that if you can get away with a slightly larger aperture (and still have an acceptable depth of field), you can lower your ISO as you will be letting more light in through your lens.
Working with flash gives you more options with your ISO. Although a flash may struggle to output enough light for macro images (as your apertures will be giving such a narrow depth of field), you will still be adding more light to your image. Start at ISO 100 and raise as needed.

Working with flash will give you easy access to more settings but will turn the background of your image black. Photograph by David Clode
Where to Go Next
Macro photography is not easy. Even the most skilled photographers will need to take a good selection of images to get the best results. So, thank goodness for digital, where we can snap away to our heart’s content! Do make sure you take lots of images and don’t be disappointed if you don’t get things right straight away. Macro photography is a game of extreme patience! As with all genres of photography, the settings I’ve suggested are not written in stone; they are merely a suggested starting point. All photography is dependent on the available light, so don’t be afraid to alter settings to suit the lighting conditions you’re in.
Recommended Reading: If you’d like to master camera settings to create gorgeous, creamy, blurry backgrounds, grab a copy of Photzy’s premium guide: Beautiful Background Blur.
Conclusion
Good macro photography is fascinating, allowing us to see tiny subjects up close and to notice tiny details that are usually invisible to the naked eye at a glance. But it’s probably one of the trickiest genres of photography and does require time and effort. Hopefully, this guide will help set you off on the right path!
- What cheaper alternatives could you use to start experimenting with macro photography?
- What is magnification?
- What is the working distance?
- What is the best way to approach a dragonfly?
- What aperture range should you use for a Canon APS-C sensor?
- What is the normal sync shutter speed for flash?


