


Landscape photography is a hugely popular genre, with most photographers enjoying the chance to capture stunning images in the great outdoors. It is an accessible genre as even those people who live in a city can find a green space to take shots in. And the world is full of beautiful locations that offer fantastic photographic opportunities.
In this guide, I’ll be looking at some camera settings to help you start with, as well as exploring other tips and tricks to help you get the best landscape images possible.
Here’s what we’ll cover:
- Camera gear
- Composition tips to get you started
- Camera settings for different landscape photography opportunities
- Where to go next
Recommended Reading: If you’d like to learn more and improve your landscape photography, grab a copy of Photzy’s bestselling premium guide: Complete Landscape Photography.
Camera Gear
The most important piece of equipment for capturing landscapes is a decent wide-angle lens. Decent optics and good glass can make a real difference to images, so I’d always recommend investing in lenses before you invest in an upgraded camera. The best wide-angle lenses will have a fixed maximum aperture. Often, a slightly cheaper way to get a good lens is to look for a prime lens, which only has one focal length (e.g. a 24mm lens). Zoom lenses with a fixed aperture throughout their focal length range are often expensive! You can save some money by buying a zoom lens with a maximum aperture of f4 instead of f2.8 as landscapes generally require the use of a large depth of field (and therefore a small aperture). It can also be useful to carry a telephoto lens such as 70-200mm (on a full-frame) to capture smaller details within landscapes.
The world is full of beautiful locations that offer fantastic photographic opportunities.
You’re also going to need a tripod. A lot of landscape photography requires long exposures and you won’t be able to hand-hold your camera. Choose one that’s lightweight enough to carry but also sturdy enough to support your camera. Carbon fiber tripods are the lightest on the market but do have a price tag to match!

Key Lesson: I’d also recommend carrying a few filters. A circular polarizer will help you cut out glare and reflection, as well as allowing you to polarize and enhance a blue sky. Neutral density filters (both solid and graduated) will allow you to use longer shutter speeds and, in the case of a graduated filter, help average out the difference in exposure between the sky and the landscape.
Composition Tips to Get You Started
One of the most basic composition tips is the Rule of Thirds and it’s particularly relevant to landscape photography. To sum it up briefly, the idea is that you divide the photograph into a grid-like this:

For a balanced landscape, you place the sky in the top third, the horizon in the middle third, and the foreground in the bottom third. You can then add points of interest to draw the viewer into the shot at the points where the lines intersect.

Using the Rule of Thirds will give you a well-balanced image that helps to draw the viewer’s eye into your shot. Photograph by Matthew Ronder-Seid
In conjunction with the Rule of Thirds, you can improve landscapes by looking for leading lines within your shot. These can be used to create a feeling of depth; remember that you’re taking a 3D setting and turning it into a 2D image, so it’s important to stop the photo from looking flat. Using lines and shapes helps to make an image look more realistic and helps to lead your viewers into the image. Don’t forget that the sky and cloud formation can also be used to add lines and shapes.
Obviously, there are multiple composition tips to explore, but these are just a few to start working with.
Camera Settings for Different Landscape Photography Opportunities
Golden Hour Photography
The Golden Hour is defined as the hour after sunrise and the hour before sunset. The sun is near horizontal and creates a warm and soft light with gentle gold and pink tones. It is deservedly the favorite time of day for landscape photographers to shoot in, but getting it right takes a little care and attention. You will be facing challenging lighting conditions – the sky is very bright but the landscape and foreground will be dark. This means that there’s a huge dynamic range (the range of light values) within the image. And the difference between these two values is often too much for the camera to handle. So, how do you get around this?
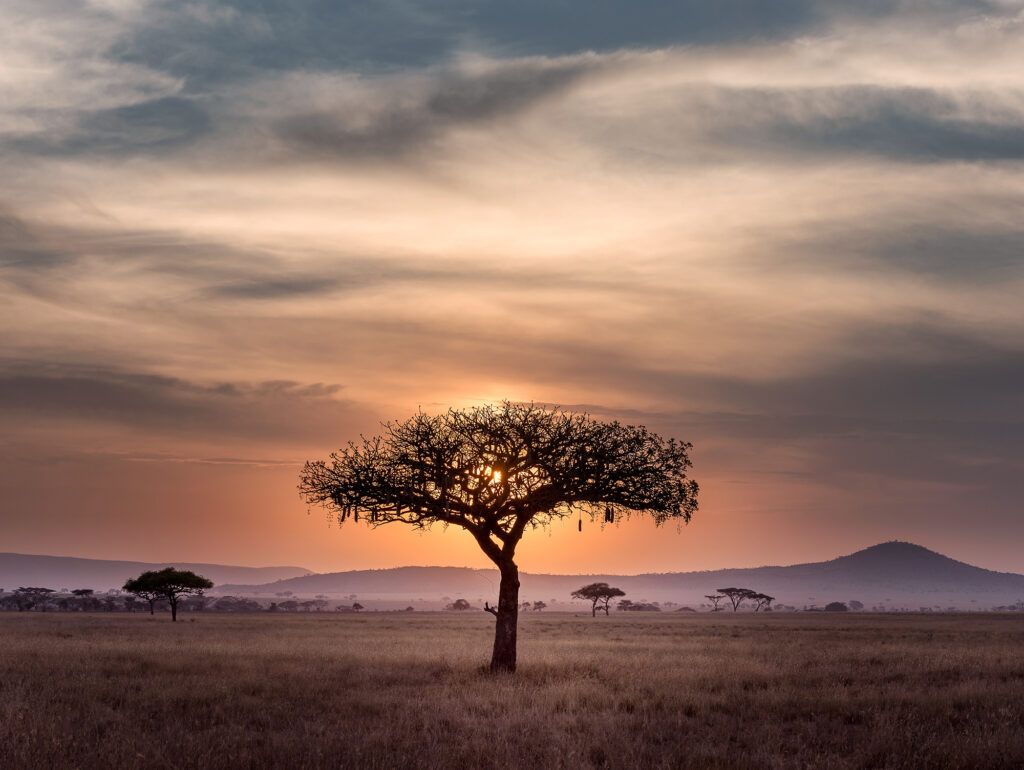
The Golden Hour produces light with beautiful pink and gold tones and is a great time to shoot at. Using a longer exposure allows for softer clouds and a dreamy look. Photograph by Hu Chen
Let’s look at some different scenarios and settings. And for all these examples, make sure you’ve changed your White Balance setting to Daylight.
Single Shot – Take a meter reading off the brightest part of the foreground (this will be at the horizon) and make sure that you shoot in RAW. This should give you a shot that’s well-exposed enough across the image to allow you to recover any lost details in post-production. Start with an ISO of 100 and an aperture of f11. Your shutter speed will vary depending on the amount of light available but start at 1/15th of a second and make sure to use a tripod (you will get camera shake if you try and handhold at below 1/60th). Adjust your shutter speed as necessary to let more or less light into the shot.
Landscape shots can be tricky to get right in-camera, so having RAW shots will allow you far more range in post-production.
Reverse Neutral Density Filter – These filters make shooting sunsets and sunrises far easier! You expose the landscape where the filter is clear. The top of the filter is darker to bring down the brightness of the sky. And in the middle is the strongest filtering power, as the brightest area of the photo at these times will be the horizon. Start with an ISO of 100, aperture of f16, and a shutter speed of 1/8th of a second.
Two Shots – If you don’t have any ND filters, then this method will give you the most accurate results. Take one shot that is exposed for the sky and another that’s exposed for the foreground. You can then blend these into one shot. Some cameras will do this for you, but if not, you can do it in post-production. It’s important that you use the same ISO and aperture settings for both shots (I would recommend ISO 100 and an aperture of f22 to ensure the whole scene is pin-sharp) and then simply alter your shutter speed accordingly for each shot. You will use a faster shutter speed for the sky than for the foreground.
Slowing Motion
One of the most popular effects in landscape photography is slowing motion to create an ethereal and dramatic feel in an image. You’ll see this most commonly with the blurring of water (waterfalls, rivers, lakes, and even the sea) but it can also be used to blur clouds and stars. You’re going to be using long exposures to slow the motion, so this means using a tripod and ideally a camera remote to prevent camera shake. If you don’t have a remote, make sure you set a self-timer of around five seconds to allow any vibrations from pushing the shutter button to dissipate.

Using a long exposure to blur water is particularly effective when shooting waterfalls. Photograph by Nathan Anderson
Blurring Fast-Moving Water – Keep your ISO as low as possible (usually 100 or 200) and use an aperture of f16. Start with a shutter speed of 1/8th of a second, which you can then slow down if you’re not getting enough blurring.
Blurring Slow-Moving Water and Clouds – Use the same ISO and aperture as above but start with a shutter speed of three seconds. If the longer shutter speeds are giving you an overexposed image, then you can use an ND filter to cut down on stops of light (ND filters usually range from 2-10 stops).
Weather

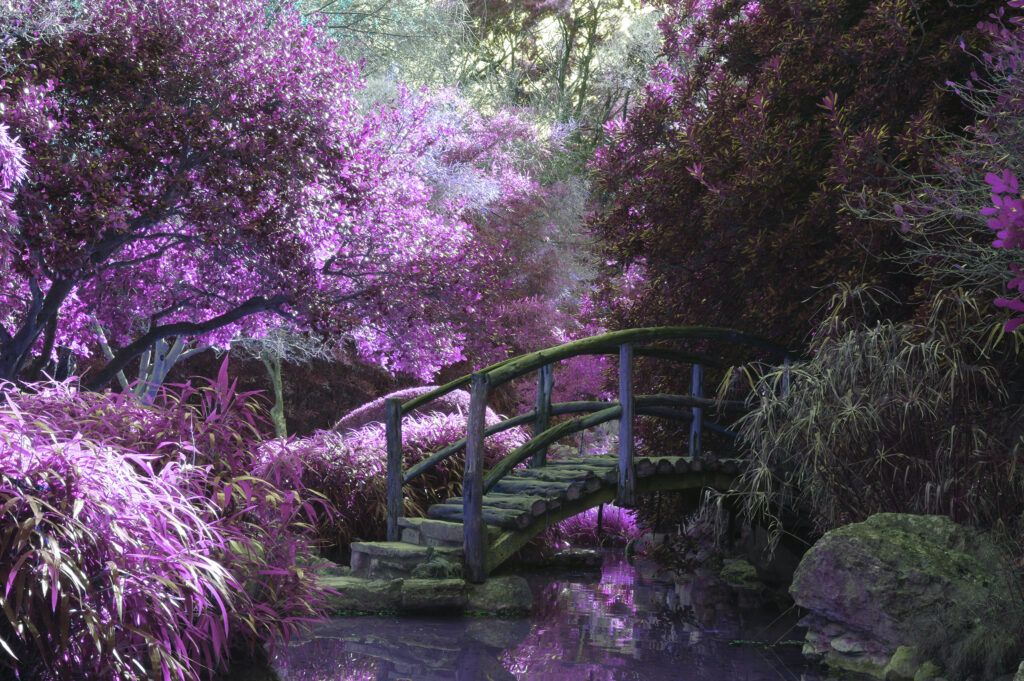
Overcast skies can still work well for landscapes, particularly in autumn when there are strong colors to photograph. Photograph by Sebastian Unrau
As we all know, wherever you live in the world, the weather can be unpredictable and changeable! Let’s look at some settings for different types of weather.
Bright Sunshine – The bright sun can be tricky to photograph as there will be strong shadows to contend with. Use an ISO of 100 and an aperture of f22 along with a fast shutter speed of 1/500th of a second to minimize the amount of light hitting the camera’s sensor (and therefore overexposing the image). You can also use a circular polarizing filter (CPL) which will polarize the sun and, if you need it to, remove glare and reflections. A CPL also means that your shot will lose one or two stops, so do bear this in mind. If there are strong shadows in the shot, you can either wait for the sun to go behind a cloud to reduce them or if there aren’t any clouds, you could use a little fill-in flash to brighten the shadow area.
One of the most popular effects in landscape photography is slowing motion to create an ethereal and dramatic feel in an image.
Snow – Snow is one of the most challenging things to photograph. Your camera is set to meter for 18% gray, making everything mid-toned, and this can lead to snow looking gray in your final image. Make sure you set your White Balance to Daylight. Set your ISO to 100, aperture to f16, and shutter speed to 1/250th. Now dial in +1 EV on your exposure compensation button. This overexposure will ensure that the snow looks white but won’t blow out other objects in the image.
Overcast Skies – Overcast skies can actually be very flattering for landscape photography. The clouds are almost like a giant softbox, creating a gentle light that softens out shadows. I like to use a longer exposure with these skies to blur out the cloud and create an even softer feel to the landscape. Start with a shutter speed of 1/4th, aperture of f11, and ISO 200.
Where to Go Next
As I will stress in all of my ‘camera settings’ guides, there are no absolutes when it comes to camera settings. Your settings will alter with the available light as all photography is reliant on light being available. So, after you’ve tried out shots with my suggested settings, make sure you take the next step and try out different settings that suit the light you have available.
Conclusion
We all want to be able to take beautiful photographs of the landscape around us or indeed that of the wider world when we’re exploring it. Landscape photography is a huge genre with many possibilities, so hopefully, this guide will give you some tips to get started with.
- What lens is vital for landscape photography?
- What is the Rule of Thirds?
- Why is the Golden Hour so popular for landscape photography?
- What shutter speed should you start with for blurring slow-moving water?
- Why is snow tricky to photograph?


