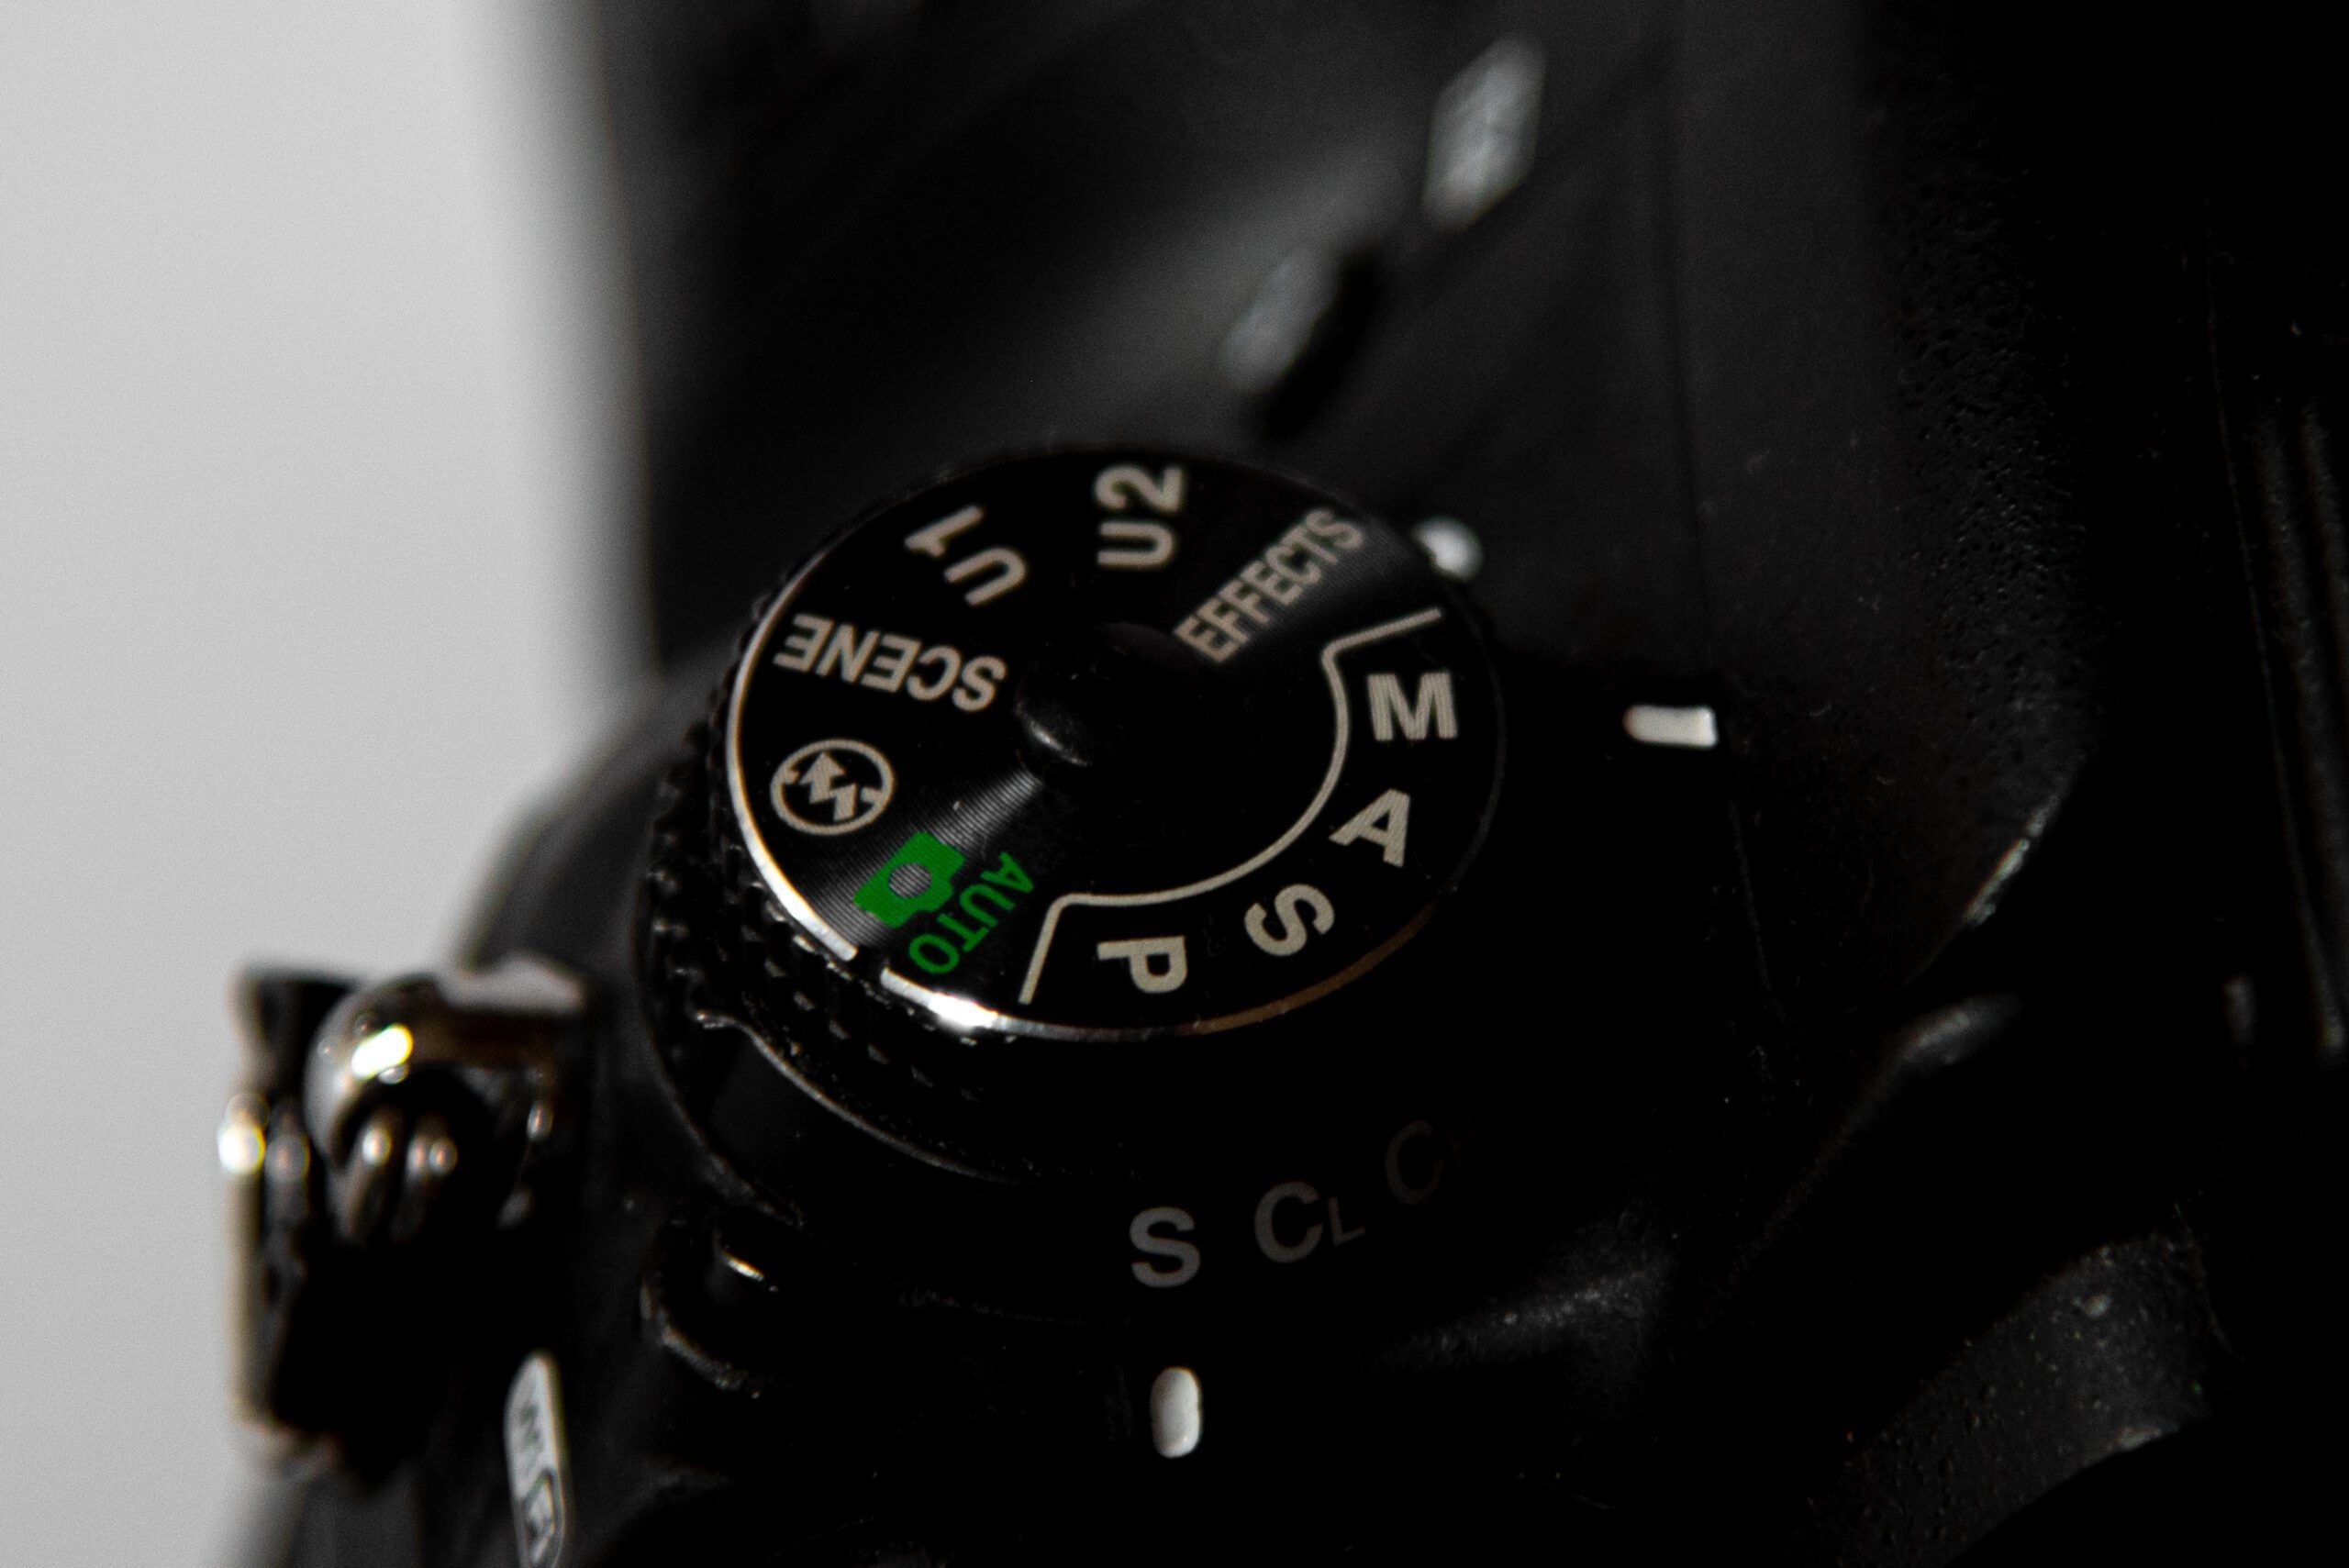
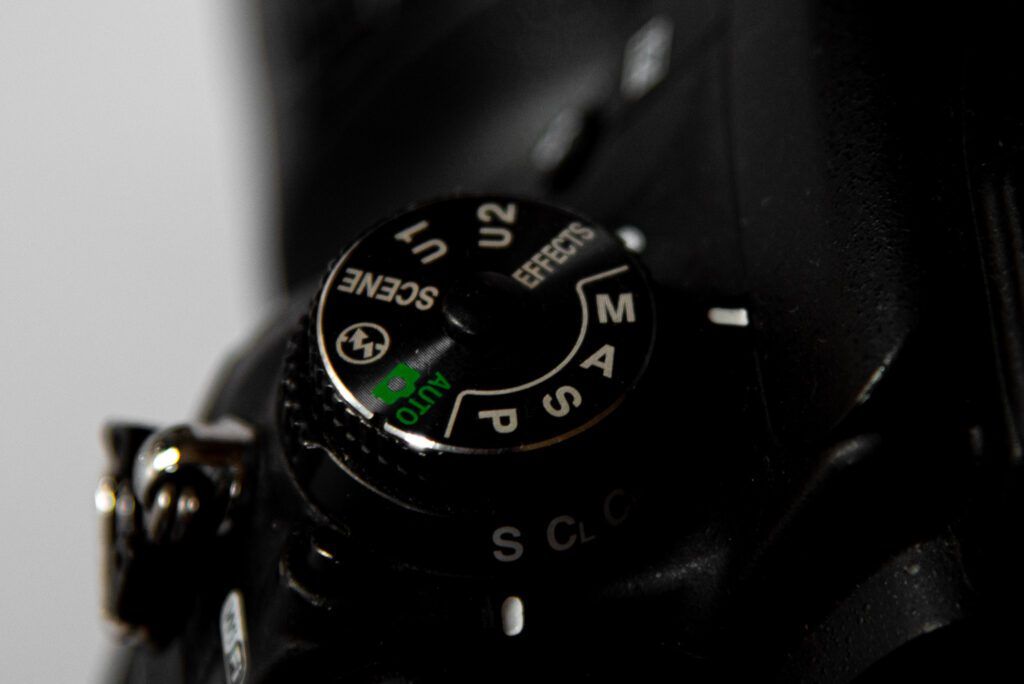
Shooting modes may be confusing for people just starting in photography. After all, there are so many letters and icons on that mode dial! What do these letters and icons mean?
Let’s break down their meaning and get a better understanding of how these shooting modes affect our photography.
This is what we will be covering in this guide:
- Auto mode
- Program mode
- Shutter speed priority mode
- Aperture priority mode
- Manual mode
- The differences in the Nikon and Canon mode dial
- A note on scene modes
Recommended Reading: Want a step-by-step guide on photography skills with your DSLR? Grab a copy of our best-selling guide, the DSLR Crash Course.
Auto Mode
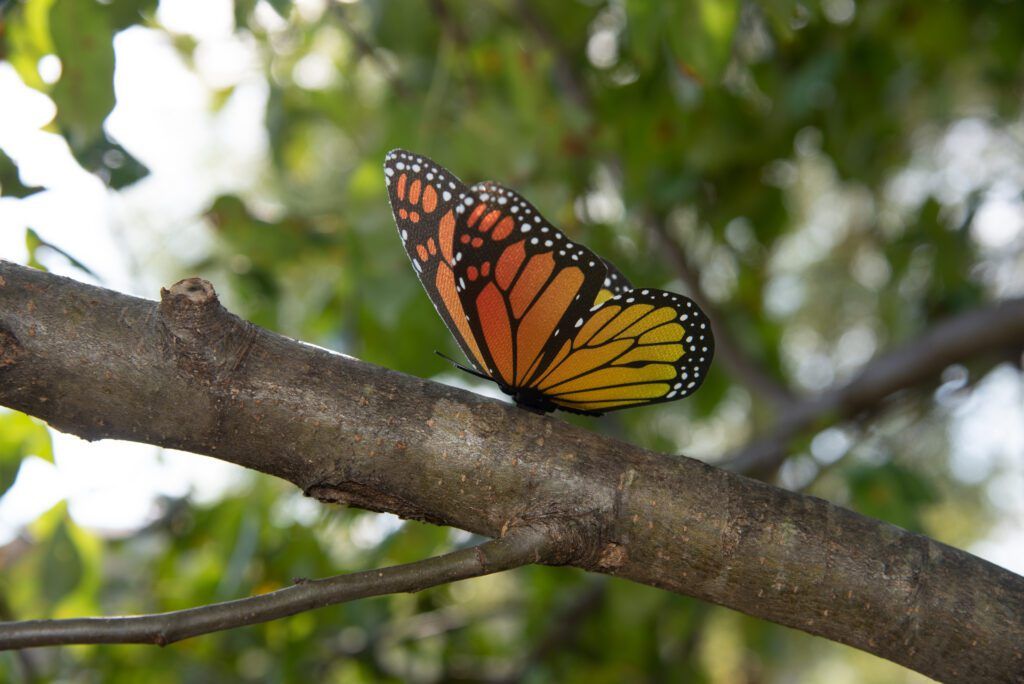
This photo was shot in auto mode and, to be honest, it’s a perfectly fine photograph. The camera focused on the butterfly perfectly. The only thing I don’t like is that the camera flash did pop up, due to the scene being too dark for my camera. You can see the flash reflecting off of the branch underneath the butterfly. This is one thing to be aware of when shooting in auto mode – the camera flash will pop up and go off if the scene is too dark for the camera. Photograph by Angela Fulks
As the name suggests, using auto mode will give your camera full control of shutter speed, aperture, and ISO. The camera will guess what settings to use based on the conditions you are shooting in and what it sees in the viewfinder. Indeed, our cameras may not always get this right, but cameras today do a pretty good job of getting it close most of the time.
Shooting in auto mode has some great benefits, especially for beginner photographers. Finding out what we love to photograph is so important and using auto mode is perfect for doing that, without bogging us down and making us decide what each setting should be before we are ready. Use the auto mode while developing your photographic instincts or simply getting used to the feel of your camera in your hands. There’s no right or wrong way to use this mode.
Key Lesson: Auto mode will have full control of the settings when taking a photograph, even when using the camera flash.
Program Mode
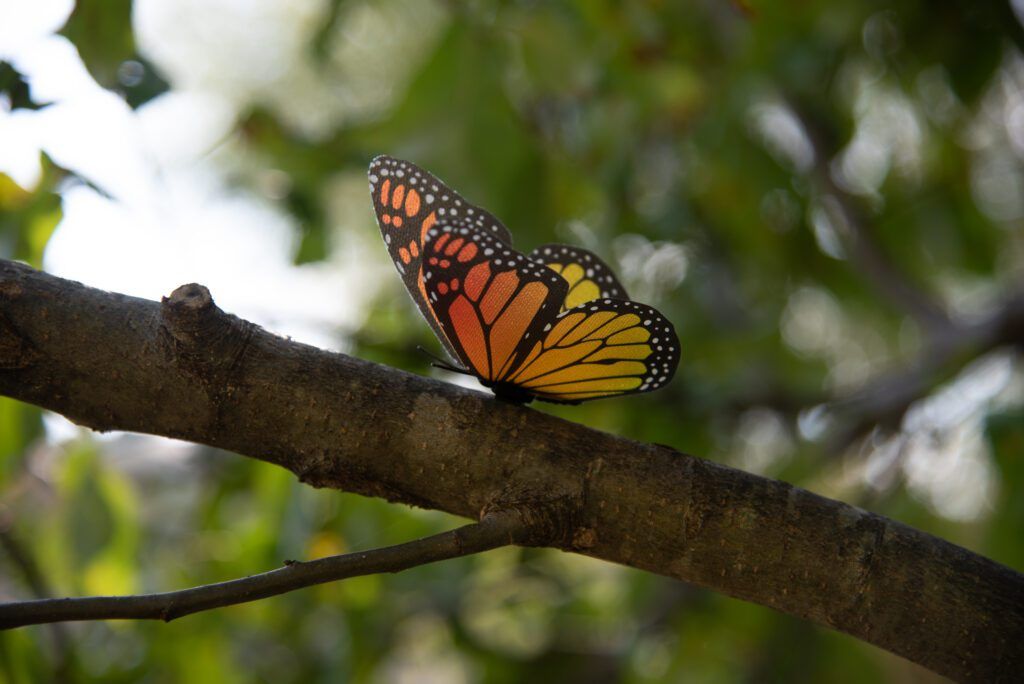
This photo was taken using program mode with the ISO set at 200. The camera reads the scene well using this mode and I’m pretty happy with how this photo turned out. The butterfly is in focus and the photo is well lit. Photograph by Angela Fulks
In program mode, you will control the ISO, but the camera will control the shutter speed and aperture settings. This mode can be helpful when you aren’t confident about shutter speed or aperture settings but want a quick way to brighten or darken your photograph. It’s also a good way to learn how the ISO setting will affect noise in our photos and practice adjusting it accordingly.
Key Lesson: The photographer controls the ISO setting when shooting in this mode.
Shutter Priority Mode

This photo was shot in shutter priority mode and looks quite a bit darker than the other two modes so far. The camera chose an aperture of f/8. At this aperture, more of the photo is in focus but also quite a bit darker. Photograph by Angela Fulks
Shutter priority mode will give you control over your shutter speed and ISO while the camera controls the aperture.
If you are shooting in a situation where you need to freeze your subject or even want to experiment with motion blur, then this is the mode to use! It’s an easy way to photograph when at a sports event or add motion to your photo by just adjusting your shutter speed.
Key Lesson: Shutter priority mode gives the photographer control over the shutter speed and ISO settings.
Aperture Priority Mode
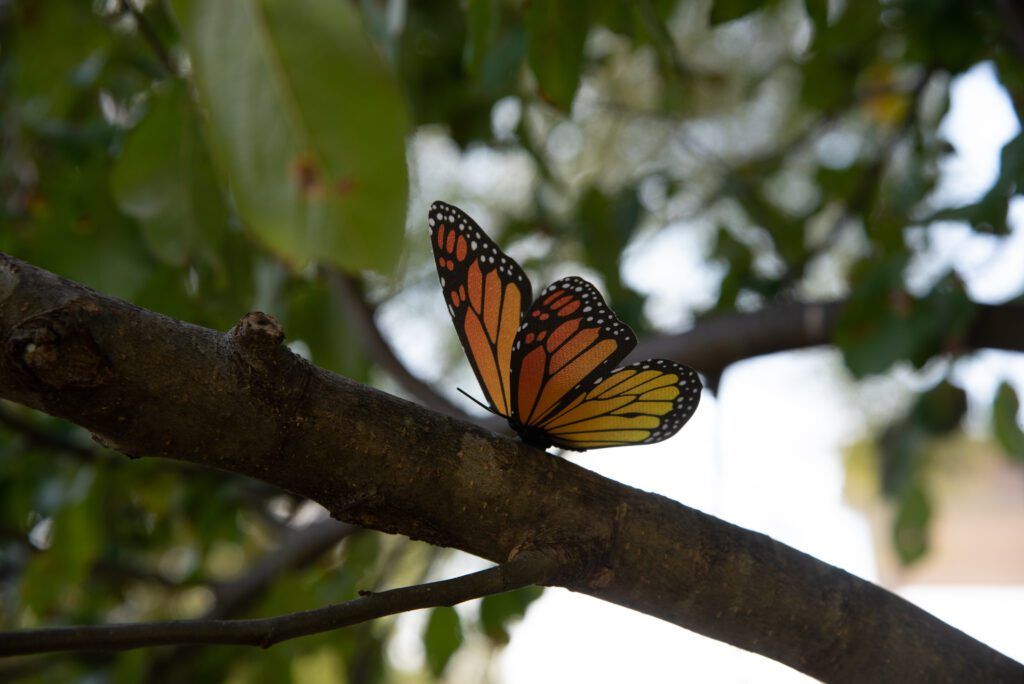
In aperture mode, I chose an aperture of f/7.1, an ISO of 400, and the camera chose the shutter speed at 1/250. The photo is still quite a bit darker than the first two examples, but the depth of field is much shallower than in shutter priority mode. I like this photo much more than the photo shot in shutter priority mode. Photograph by Angela Fulks
This mode allows the photographer to control the aperture settings while the camera decides what the shutter speed and ISO should be.
Aperture controls the depth of field and this mode makes it easy to switch between a shallow depth of field and a deep depth of field while the camera does the rest!
Key Lesson: The photographer has control over the aperture and ISO settings in aperture priority mode.
Manual Mode
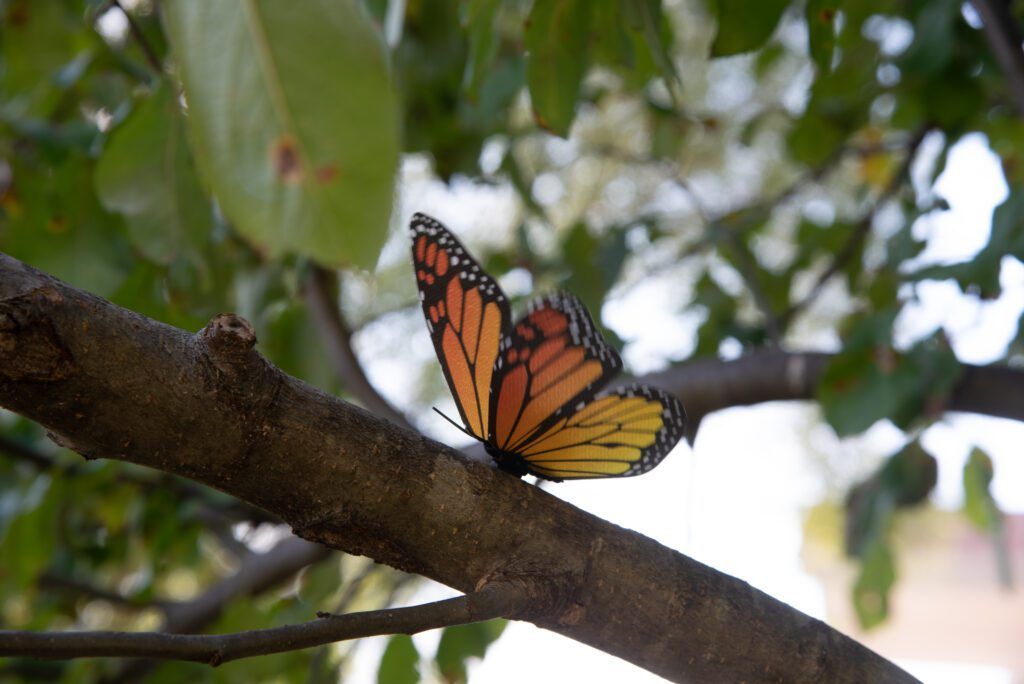
I wanted to kick up the creativity in this photo a notch and give the illusion of movement of the butterfly’s wings. The best way to accomplish this was to take full control of the settings by using manual mode. I lowered the shutter speed to 1/30 waited for the wind to catch the wings and pressed the shutter. This resulted in a motion blur at the top of the butterfly’s wings! Photograph by Angela Fulks
Manual mode leaves the photographer in complete control of the shutter speed, aperture, and ISO. This allows us to spread our creative wings in our photography however we choose! Manual mode will let us change the shutter speed, aperture, and ISO independently of each other, but the camera will not adjust anything based on changing shooting conditions as it will in other modes.
Key Lesson: Manual mode gives the photographer full control of his or her camera! The settings can be changed independently of one another in this mode.
Symbols for These Modes
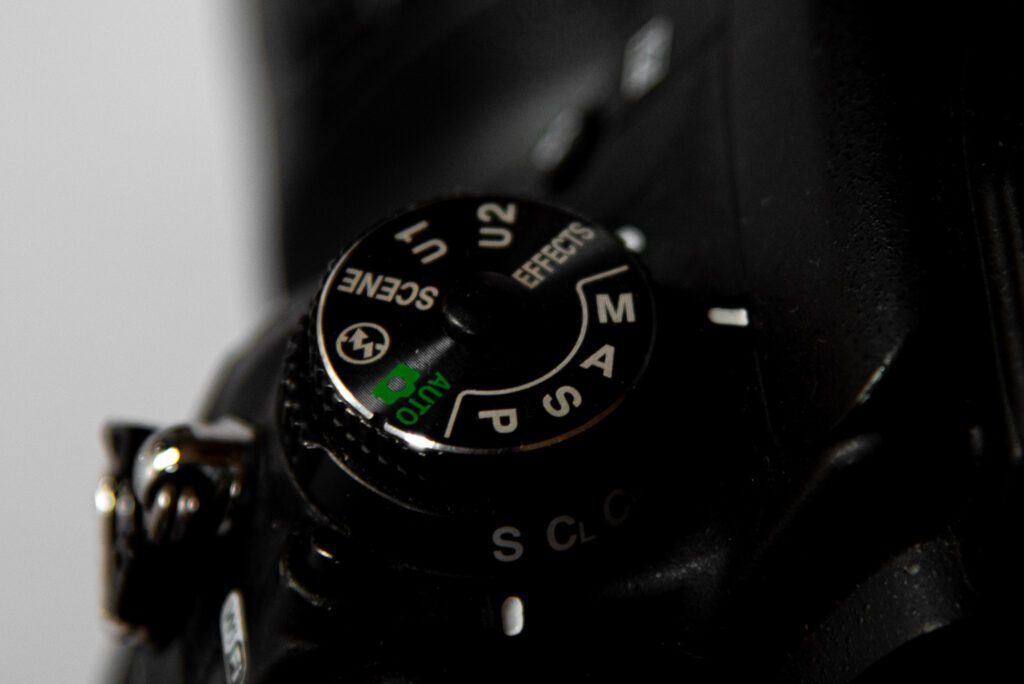
Shooting modes are marked differently on different camera brands. Here is a list of how these modes are marked on Nikon and Canon cameras.
Nikon Digital Cameras:
- Auto Mode – shown as a green camera symbol
- Program Mode – shown as the letter P
- Shutter Priority Mode – shown as the letter S
- Aperture Priority Mode: shown as the letter A
- Manual Priority Mode: shown as the letter M
Canon Digital Cameras:
- Auto Mode: shown as green around an A or an A+
- Program Mode: shown as the letter P
- Shutter Priority Mode: shown as the letters TV
- Aperture Priority Mode: shown as the letters AV
- Manual Mode: shown as the letter M
Key Lesson: Shooting modes may be marked differently on each camera brand.
Recommended Reading: Want a step-by-step guide on photography skills with your DSLR? Grab a copy of our best-selling guide, the DSLR Crash Course.
A Note About Scene Modes
Photograph by Angela Fulks
You have probably noticed that there may be additional symbols on the mode dial of your camera. These are called scene modes and they are an extension of the Auto Modes. These tell the camera to guess the best settings for what the symbol represents. For example, landscape mode is usually represented as a mountain symbol. These modes take the guesswork out of photographing the scenes that the camera is seeing through the viewfinder. Scene modes may be handy in a pinch, but I wouldn’t recommend using them, especially when trying to learn how to work your camera yourself.
These modes take the guesswork out of photographing the scenes that the camera is seeing through the viewfinder.
I don’t believe that there is a right or wrong way to learn how to control our cameras, but perhaps learning how to use each shooting mode before moving to the next will ease the transition between auto and full manual mode. You may even find that one specific mode works better for you and your photography than another. Never be afraid to experiment with these to help you along the way in your photography journey!
Self-Check Quiz:
- True or False: Auto mode gives your camera full control of the camera settings.
- True or False: The photographer cannot control the ISO setting in program mode.
- True or False: Shutter priority mode gives the photographer control of the shutter speed and ISO settings.
- True or False: Aperture priority mode does not give the photographer control of the aperture settings.
- True or False: When shooting in manual mode, the camera can still override the settings the photographer has chosen to use.
- True or False: There is no right or wrong way to learn when shooting beyond auto mode.


