
Is there anything we can do, in addition to setting our shutter speed, aperture, and ISO settings to ensure that we are exposing our images properly? The answer is yes! Your camera’s built-in light meter is another tool we can use to control how the camera meters, or reads, the light our camera is seeing. This can help us be sure that the areas in our photographs that we want properly exposed will be.
Here’s what we need to know:
- What light metering means in photography
- How to read your camera’s meter
- The most common metering modes and their explanations
- When to use each mode and why
What Metering Means
In the early days of film photography, photographers used a hand-held light meter to measure the amount of light across a scene. This reading allowed them to then adjust the settings on their camera for proper exposure.
Digital cameras have a light meter built into the camera that eliminates the need for an external tool to determine how our cameras are measuring the light.
This metering system within our cameras is measuring, or metering, the light coming back at the camera from the scene we are photographing.
We can choose which metering mode to use to tell our cameras how to measure this light and allow us to change our current settings easily for proper exposure.
How to Test Your Camera’s Meter
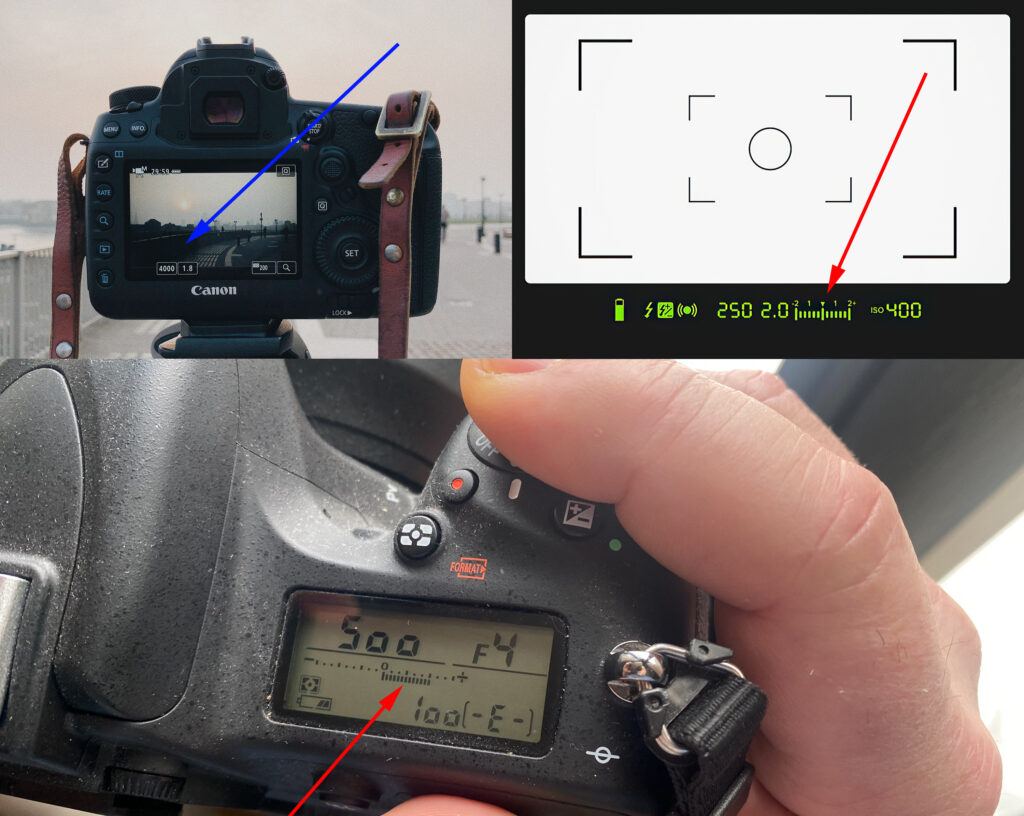
Before we can test out our camera’s light meter, we must first be able to recognize it. You can find this meter by looking through your viewfinder. You will be looking for something that resembles a line graph. It will have a middle value of zero, a negative sign (-) to the left, and a positive sign (+) to the right.
Before we can test out our camera’s light meter, we must first be able to recognize it.
You can test the light meter by aiming your camera at a bright spot in your frame. You should see the markings on your meter move to the right. This indicates that, based on your current settings, your photo will be overexposed. Next, aim your camera at a dark spot in your frame and you should see the meter move to the left. This indicates that, based on your current settings, your photo will be underexposed. To change your current settings, simply turn the rear dial to the left or the right, until you land on zero. You now will know that your photograph will be properly exposed.
The meter will read the light in manual mode, aperture priority, shutter priority, program mode, and scene modes as well. In the auto and scene modes, the meter will make automatic adjustments to your exposure. In manual mode, when the meter is activated, the bar graph indicates whether your current settings will produce a correct exposure or an over or underexposure, and you must manually make the adjustments.
The Most Common Metering Modes and Their Explanations
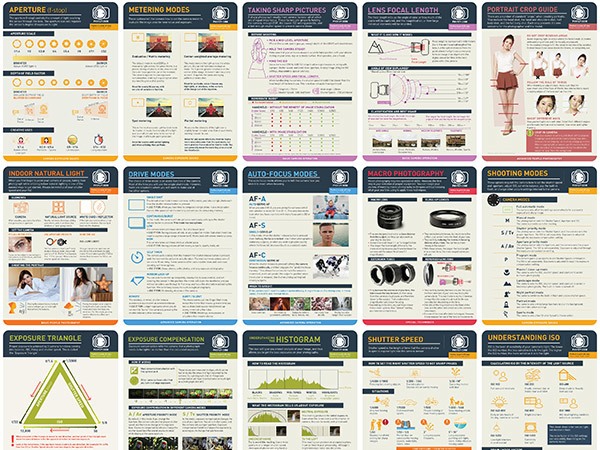
Now that you know how metering works, let’s look at the three most common metering modes. These modes will tell the camera which areas in our scene are important to us when properly exposing our photo.
Evaluative/Matrix/Multi-Metering
This is the default metering mode for most cameras because it works well for scenes that are evenly lit. It will ensure that the entire scene is properly exposed and that the dark and light areas are balanced.
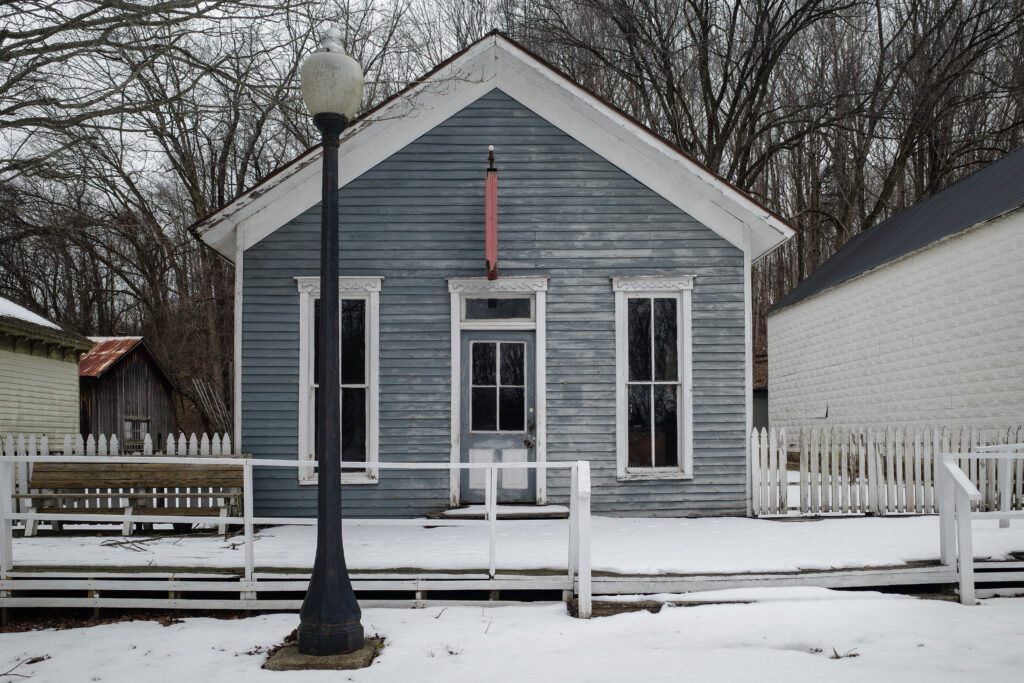
The even light on this overcast day was perfect for using the evaluative mode with my Nikon D750. Everything from the darks to the lights is exposed perfectly, right down to the tree branches. Photograph by Angela Fulks.
Center-Weighted Metering
This mode will only measure the light from the central portion of your scene to be sure that whatever is in the center of your scene is properly exposed.

By using the center-weighted mode, I was able to expose the chair exactly how the scene presented itself – the chair was lit beautifully by the window light. The fact that shadows fell dark only enhanced the focus of the light hitting the chair. Photograph by Angela Fulks.
Spot Metering
Spot metering only measures the light around your chosen focus point and ignores everything else in your scene. The center of your scene is usually the default spot for this mode, but some cameras will allow you to move the focus point around until you settle on the specific spot you want to be properly exposed. Older cameras may not allow this movement, and in that case, the spot metering area will be exactly in the center of the viewfinder frame.

It was important to me that the viewers of this image be able to see through the windows behind the chairs. By placing my focus point on the windows and using spot metering, I was able to bring the exposure down just enough to let the outside environment show through. Photograph by Angela Fulks.
Some cameras will have additional metering modes other than what is listed above, helping to expose a wider range of light situations. Consult your camera’s manual to learn if your specific camera has more for you to take advantage of.
When to Use Each Mode
Deciding which metering mode to use will mainly depend on what area of the scene you, as the photographer, want to be properly exposed too.
Evaluative/Matrix/Multi metering works great for evenly lit scenes with uniform light throughout. Portrait photography, landscape photography, street photography, and most everyday photography situations will benefit from this mode that measures the light throughout the entire scene.
Deciding which metering mode to use will mainly depend on what area of the scene you, as the photographer, want to be properly exposed too.
Center-weighted metering works well with photographs being taken with the subject located in the center of the camera frame This mode works well with large subjects that are in the middle of your scene. It is particularly useful for portraiture.

Difficult or high-contrast light is more manageable when you can use the correct metering mode to expose an image the way you want. Photograph by Angela Fulks.
Use spot metering for a specific area of your scene that you want properly exposed. You can use this mode to emphasize beams of light, the moon, silhouettes, and other high-contrast lighting situations. It’s also useful for backlighting and distant objects that you cannot get close to for a meter reading.
Consult your camera’s manual to find out how to change your metering modes from one to the next.
Each camera manufacturer will have these settings in different places within their menus or buttons.
Conclusion
The best way to understand metering modes is to experiment using each mode. Use your camera dial to properly expose using each mode and compare the outcome. The results may surprise you! Have fun and use the metering modes to expand your knowledge of exposure and raise the creativity levels of your photos.
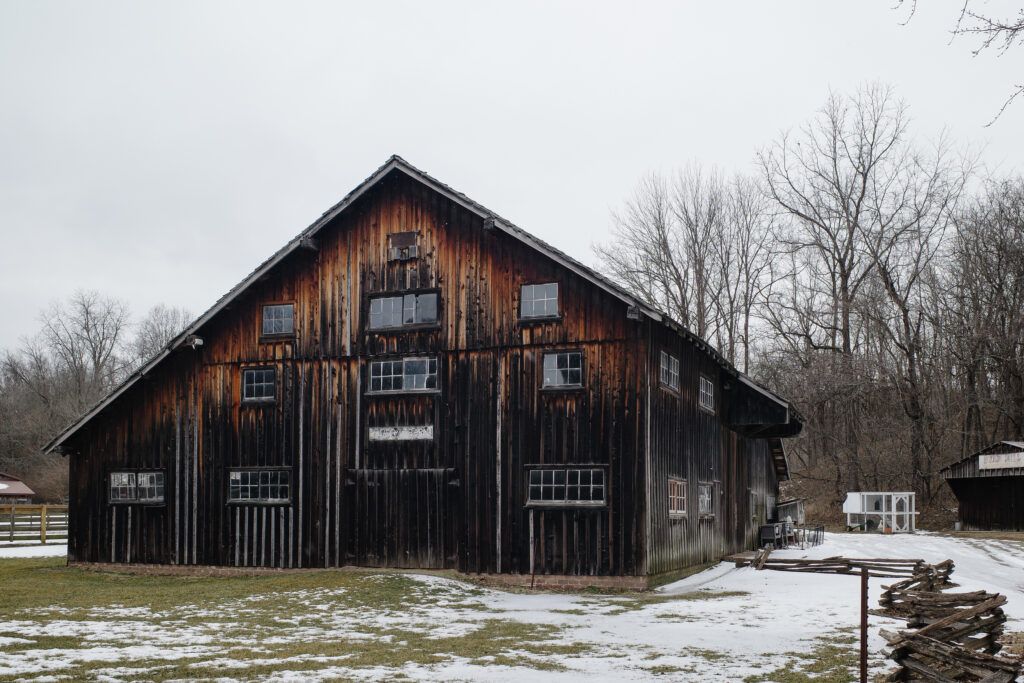
Photograph by Angela Fulks