
ISO is the third element that works together with shutter speed and aperture to complete the photography exposure triangle. Learning and using these elements properly is what helps us ensure that our photographs are properly exposed and makes our images look their best.
Let’s take a closer look at ISO and how our ISO settings will affect our images.
- What is ISO?
- What effect do ISO settings have on our photos?
- How do we adjust our ISO settings?
- How do we determine what our ISO setting should be?
- Simple guidelines to commonly used ISO ranges
Recommended Reading: Want a step-by-step guide on photography skills with your DSLR? Grab a copy of our best-selling guide, the DSLR Crash Course.
What Is ISO?
ISO, pronounced I-S-O but sometimes called I-SO, is a term that has been used since the film camera days. It was used to specify how sensitive to light a particular roll of film was. The sensitivity, or ISO value, would remain the same throughout every shot taken on that roll of film. Photographers would need to choose the film with the appropriate ISO value for the conditions they would be photographing in depending on the available light.
Digital cameras allow us to change our camera’s sensitivity to light by changing our ISO settings instead of needing to change out a whole roll of film. This means that by changing our ISO settings, we can increase or decrease the brightness of our photos as needed, even shot by shot, if we wish!
Key Lesson: ISO is used to control the brightness or darkness of our photos.

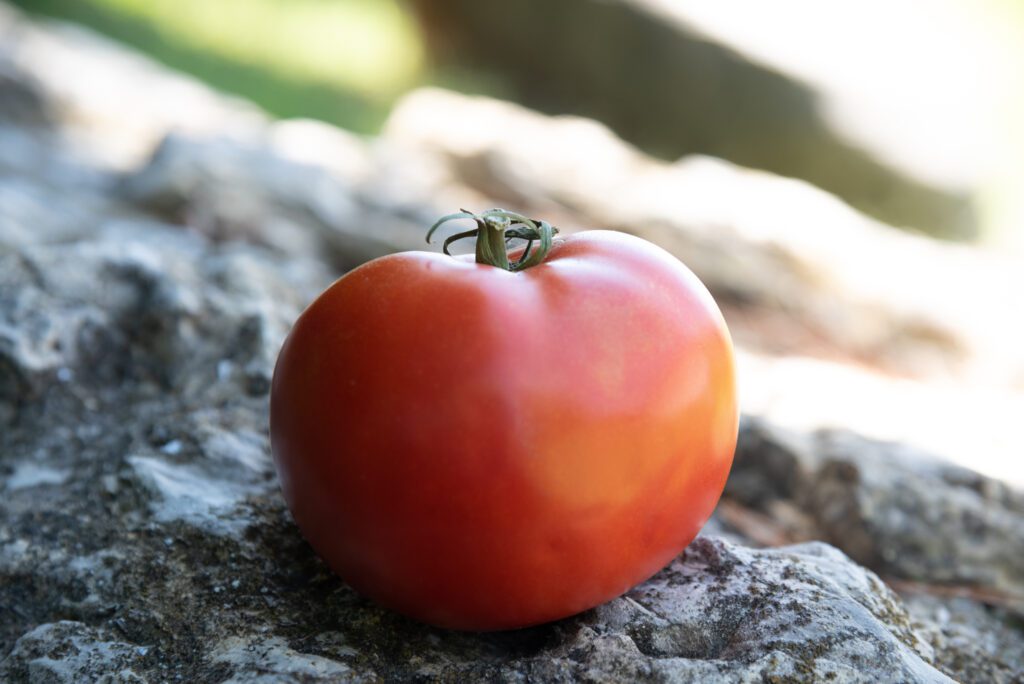
Photograph by Angela Fulks
We will be using this tomato as our test subject and see how different ISO settings affect the photo quality in a few different lighting situations. This photo was taken with my ISO setting at 100 (seen as ISO 100 on my camera’s LCD screen). I would like to brighten this photo, but I don’t want to change my shutter speed or aperture, so my only option now is to raise my ISO setting.
What Effects Do ISO Settings Have On Our Photographs?
We know that shutter speed and aperture determine how much light is being let into our camera’s sensor, but ISO determines how our camera’s sensor will respond to that light. A high ISO setting means our cameras will be more sensitive to that light and result in a brighter photograph. A low ISO setting means our cameras will be less sensitive to that light and result in a darker photograph.
Sounds simple, right? If you need your photograph to be brighter, simply crank up the ISO number and produce a brighter photo.
That is true, but it comes at a price.
If you need your photograph to be brighter, simply crank up the ISO number and produce a brighter photo. That is true, but it comes at a price.
Cranking up the ISO will also introduce digital noise, or grain, into your photo. Too much noise can result in photos looking blurry or grainy, not sharp and smooth.
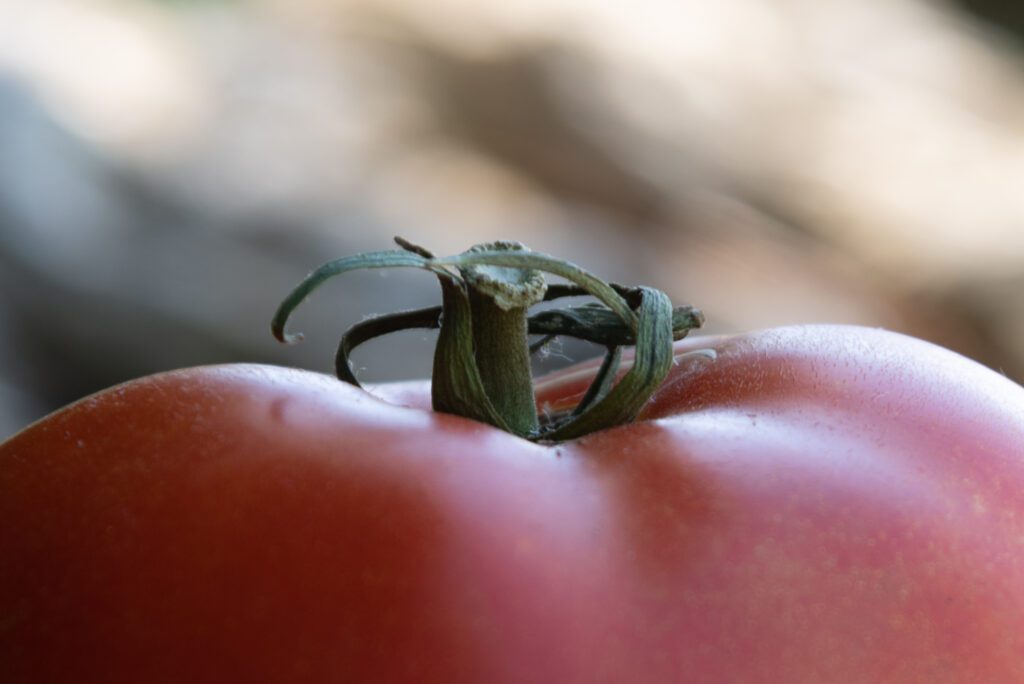
Photograph by Angela Fulks
Let’s take a closer look at the photo of the tomato with ISO 100. If we focus on the tomato’s stem, we can see that the details are still smooth and sharp. There is little to no noise because of the low ISO. I want to keep this photo as smooth as possible while raising my ISO value to brighten it. I now need to adjust my ISO until I reach an acceptable balance between brightness and quality.
Most photographers choose to keep their ISO setting as low as possible to avoid unnecessary noise. I like to think of ISO as the quality control setting for my images when determining how much noise I’m willing to settle for in my images to brighten my shot.
Key Lesson: A high ISO number will produce digital noise in your photos, while a low ISO number will keep your photos smooth and sharp.
Photograph by Angela Fulks
By raising my ISO to 800 (ISO 800) I was able to brighten the photo enough to make me happy, but still, keep the noise in the photo from being too noticeable or distracting.

Photograph by Angela Fulks
If we look closer at the stem now, we can see that it’s not quite as sharp as before. There is some noise in the darker and lighter areas around the stem, but it’s still hard to see, even zoomed in. Any downgrade in image quality due to a higher ISO was worth the trade-off to me.
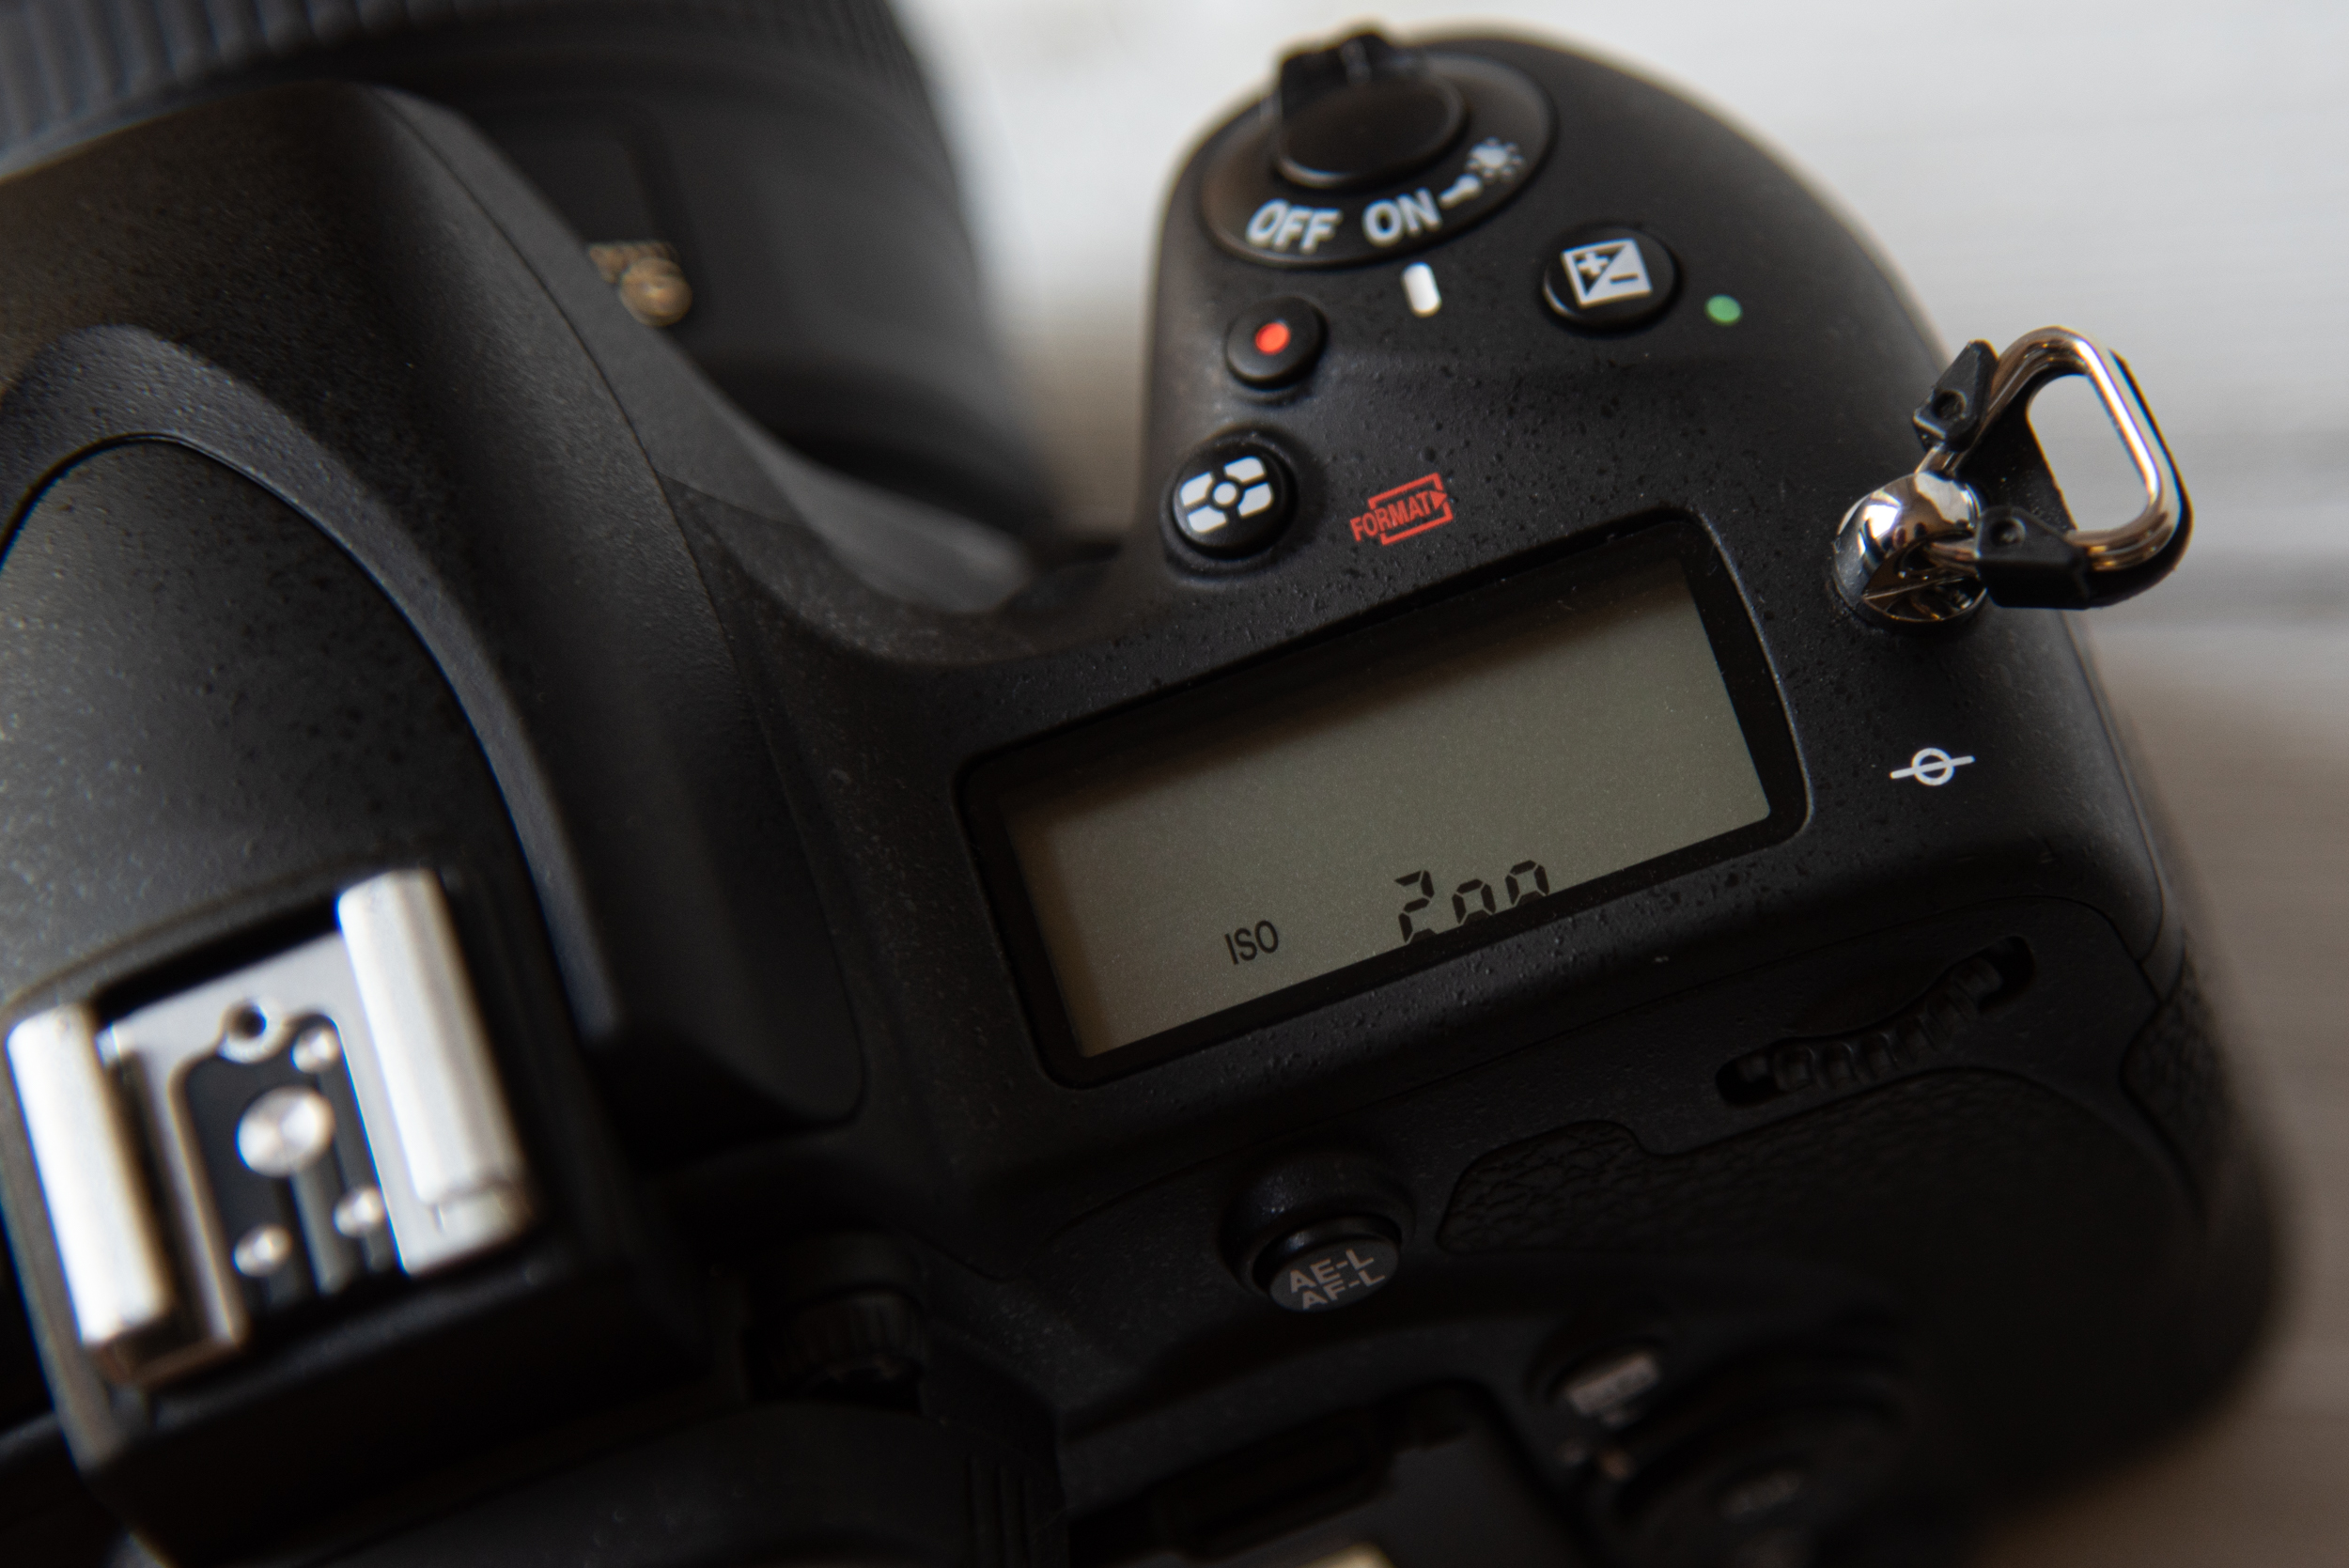
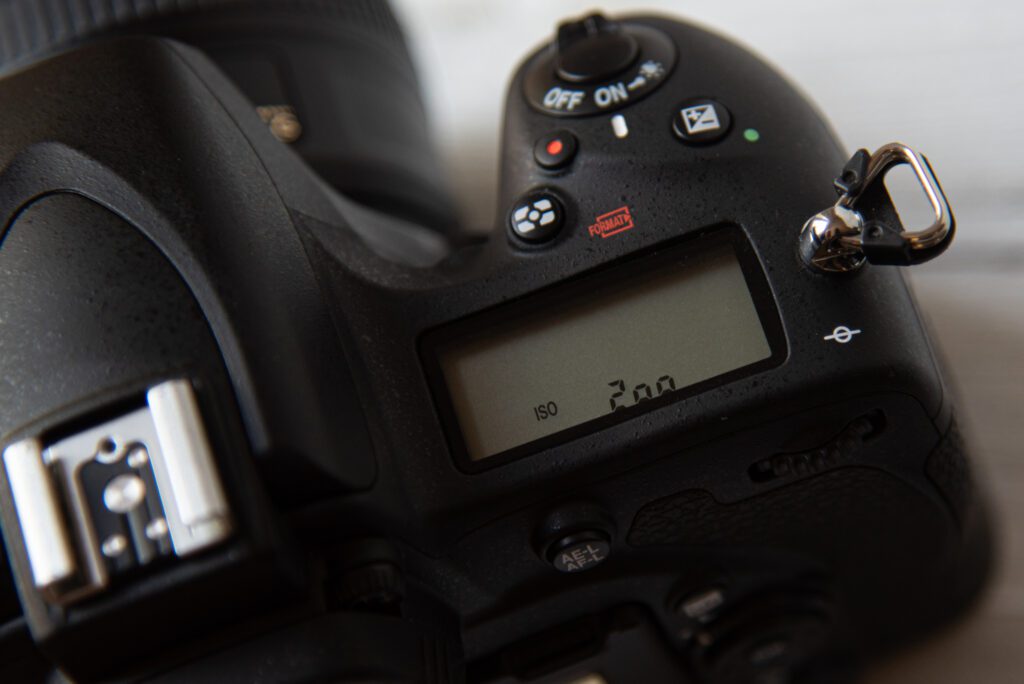
How Do We Adjust Our ISO Settings?
ISO can be changed in the camera body. We can adjust our ISO settings in manual mode, aperture priority mode, or shutter priority mode. ISO cannot be adjusted in auto modes. Remember that you may have to adjust your shutter speed and aperture along with your ISO settings when shooting in manual mode. This will ensure that your photograph maintains proper exposure.
Key Lesson: ISO settings are controlled by the manual mode, aperture mode, and shutter priority mode in our cameras.
How Do We Determine What Our ISO Setting Should Be?
An example of a low ISO will be ISO 100 and a high ISO number will be ISO 3200. Keep in mind that this is just a general range of common ISO settings and that your specific camera may have ISO ranges outside of these numbers.
We will need to determine what our ISO setting should be based on the available light that we have while photographing. We can keep our ISO setting low, anywhere from 100 to 200, when shooting in daylight or well-lit scenes with plenty of light. When shooting indoors, at night, or in scenes with dim lighting, it may be necessary to increase our ISO value to ensure that our photo is bright enough.
Experimenting with our ISO settings, in varying lighting conditions, is crucial in learning how high we can push our ISO to create photos that are bright enough to make us happy but also keep our photo quality acceptable to us.
You may be able to minimize the possibility of having to crank up your ISO value by using an external flash. This can help add light to your scene, giving you more flexibility to keep your ISO setting as low as possible.

Photograph by Angela Fulks
Moving the tomato from outside to inside and drastically decreasing the amount of available light creates a need to crank up the ISO to 3200 to capture a bright enough photo. I’m still happy with the quality of the photo on the whole, but a closer look will reveal a significant increase in digital noise.

Photograph by Angela Fulks
There is a noticeable amount of digital noise when looking closer at this photograph. The digital noise, seen as little “dots” across the entire image, is distracting and drastically degrades the quality of the image overall. This would be an example of a photograph, depending on its purpose, that I may decide to scrap altogether or try to find a way to bring in more light. Adding more light to my scene would allow me to decrease the ISO setting and produce a less noisy image.
Key Lessons: Varying light conditions will affect how high or low we need to set our ISO settings.
Simple Guidelines to Commonly Used ISO Ranges
There are many digital cameras out there. Each camera has a different range of ISO values to offer, but there is a common range you’ll see no matter what camera you choose to photograph with.
The common ISO values are, from lowest to highest:
- 100
- 200
- 400
- 800
- 1600
- 3200
- 6400
Notice that each ISO value doubles as we move down the list. This is because every time you increase your ISO value, you are doubling the brightness of your photograph.
In most lighting situations, you can use the following guide when adjusting your ISO settings.
ISO 100–200: Use during sunny, outdoor conditions or in places with a lot of available light.
ISO 400-800: Use on cloudy overcast days or indoors with less available light.
ISO 1600-3200: Use in cases with little to no available light. This range will produce noticeable noise in your photos.
Key Lesson: Increasing your ISO by one stop down the scale doubles the brightness of your photo.
Recommended Reading: Want a step-by-step guide on photography skills with your DSLR? Grab a copy of our best-selling guide, the DSLR Crash Course.

Photograph by Angela Fulks
I photograph a lot of weddings and I usually end up photographing in wedding venues that have varying light conditions or restrictions on using external light sources during the ceremony. This can be a tough predicament! Memorable moments and real-life happen quickly! I have decided that, in these cases, capturing those real-life moments is more important than delivering a technically perfect photograph.
Memorable moments and real-life happen quickly! I have decided that, in these cases, capturing those real-life moments is more important than delivering a technically perfect photograph.
This means I often have no choice but to crank up my ISO settings to capture a bright enough photograph. I would rather end up with an image that is too noisy than an image ruined by motion blur caused by a slow shutter speed or wrong aperture setting. This is a personal choice and the compromise I’m willing to make in my photography.
Conclusion
Photograph by Angela Fulks
Your photography is about you, as a photographer, capturing and sharing how you experience the world around you. Experimenting with ISO and the exposure triangle is a part of that process and can be an exciting one! Learning the basics of exposure and how to properly expose a photograph is important to discover who we are as photographers and how we choose to creatively bring our visions to life.
- What do changing ISO settings do to our photos?
- What happens to our photographs when we crank up the ISO settings?
- Where are the ISO settings found?
- True or false? We may need to change our ISO settings based on the amount of light in the scene we are photographing.
- True or false? High ISO settings will cause a lot of noise in our photos.


