
When I scroll through my Instagram feed, the number of images shared of peoples’ lives never fails to amuse me. So many shots of food, drinks, salads, coffees, cocktails, and other scenes from daily life are shared instantly across digital platforms. I wonder if those people pointing, clicking, and sharing are aware that they are continuing the art form that rose to its height in Europe in the 17th century.
“What are you talking about?” I hear you ask.
Still life.
It’s the art of assembling elements (usually inanimate or man-made) into an aesthetically pleasing arrangement, which was then painted to preserve the scene for posterity. Still life paintings and mosaics have been found in Egyptian tombs and in Pompeii, carried on through the Middle Ages with often strongly religious themes, and then into the Renaissance to the height of their popularity in the painted form.
Today it is still carried out, often unconsciously by social media users. Modern photographers are also proponents of the style, usually food inspired. Many magazine shots are essentially still life images as well. However, if you compare the work done by professionals to the many posted every day on Instagram, you will see a range of the quality of shots offered.
Still life looks like it should be simple, and yet it is not only quite challenging, but an excellent way to learn about composition, managing light, creating a mood, telling a story, and evoking emotion. These are all important elements to making an engaging image.
Still life looks like it should be simple, and yet, it is not only quite challenging, but an excellent way to learn about composition, managing light, creating a mood, telling a story, and evoking emotion.
My journey into still life began by being inspired by the works of Kim Klassen and Denise Love. Initially I found it really challenging because I lacked enough background and prop options to work with.
4 Key Steps to Shooting Still Life
Here we cover the 4 key elements in setting up (known as staging) your still life image:
- Subject, story, and mood
- Background
- Props
- Layout
Recommended Reading: If you’d like to improve your composition skills for better still life images, grab a copy of Photzy’s best-selling premium guide series, Understanding Composition and Advanced Composition.
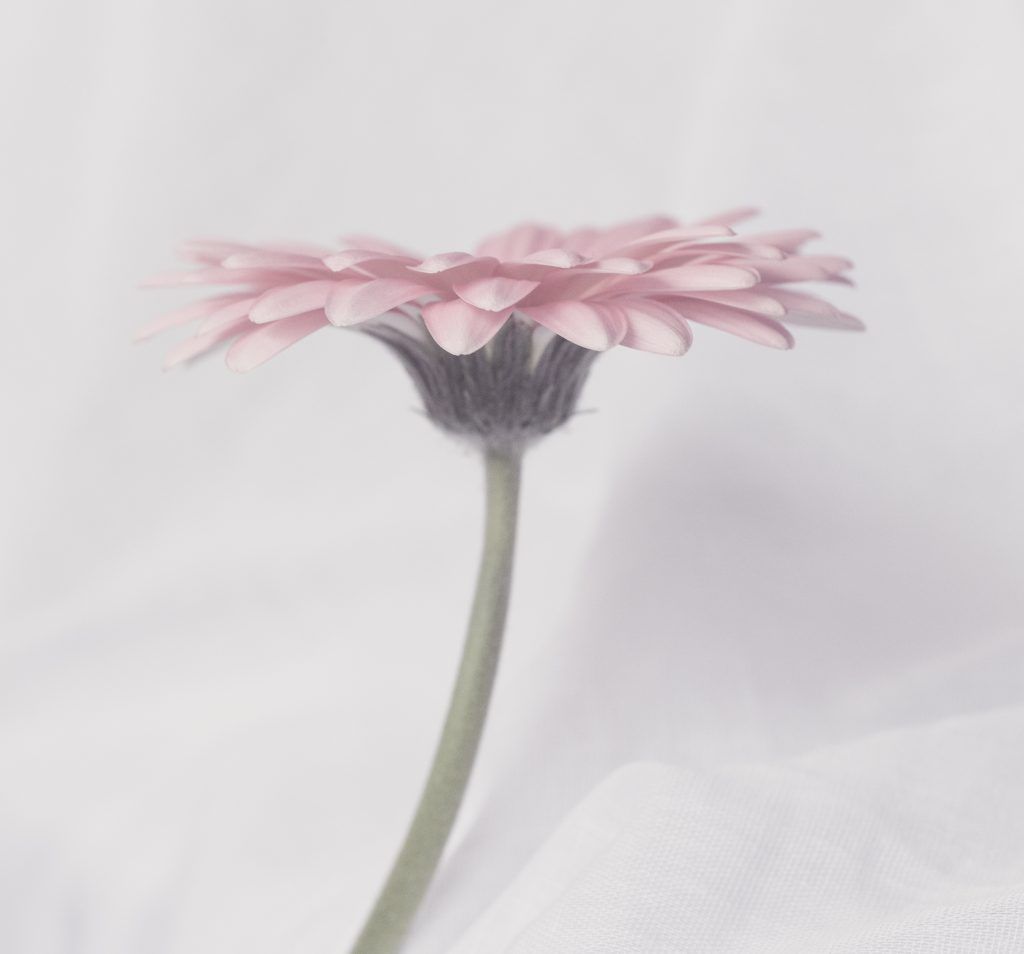
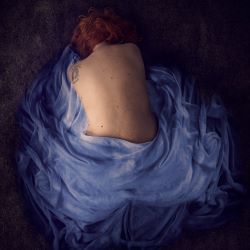
Photo by Stacey Hill
1. Subject, Story and Mood
Start with your subject. Let’s assume it’s going to be food of some kind. What kind of food is it? Is it fresh, plump, juicy, and tasty looking? What is the story you want to tell? What mood are you trying to set?
All of these concepts need to be considered now, because everything you do from this point on will affect those things. The lighting will directly impact the mood, and the props used are part of the story you are telling.
Thinking about it now is critical if you don’t want to spend ages mucking around. If you have very fresh fruit or another delicate subject, it will only be at its peak for a short time before it starts to look tired. Hot foods can start to cool and congeal quickly and look gelled, lettuce will wilt, and frozen food will melt. Plan in advance to get the best out of your subject.
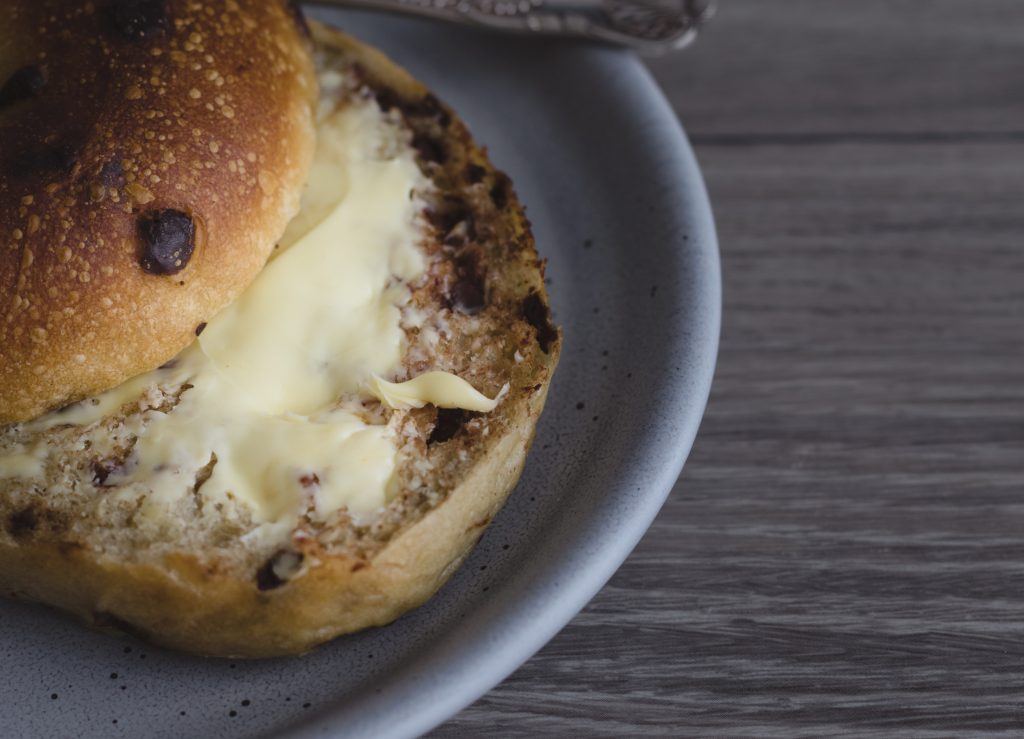
Let’s look at some chocolate chip bagels I wanted to capture with a Sunday Brunch theme (see photo comparison below).
Key Lesson: Think about the story you want to tell or the mood you want to set as that will have an impact on your lighting, staging, and prop choices. Save yourself time by putting some thought into it at the beginning, especially when working with fragile foodstuffs.
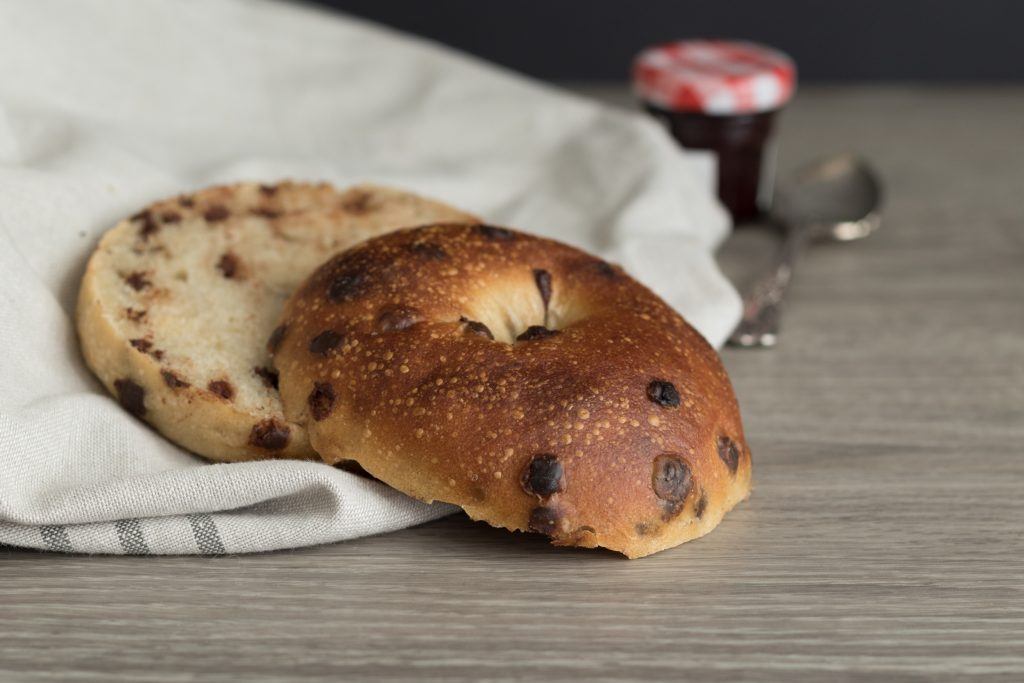

First we have a darker toned version (left), then the same staging but much lighter (right). Then I decided I wanted to go in closer, have a more intimate feel, and changed the plate and the background to be more neutral (bottom). Finally I added some rich yellow butter in a generous spread and got the image I wanted.
2. Background
Background consists of two elements: the two different planes within your scene. One is the vertical backdrop behind the image (often a wall) and the other is the flat surface you are arranging your still life on.
Both of these elements may appear in your final shot, and the colors and textures and tones play a large part in the story and mood you are building into your scene.
...The colors and textures and tones play a large part in the story and mood you are building into your scene.
Do you want it to be light and airy or do you want it to be dark and moody? Is it a rustic farmhouse theme or a slick modern style you are after? What color will enhance your subject best? Does it need to be subtly textured or smooth and neutral?

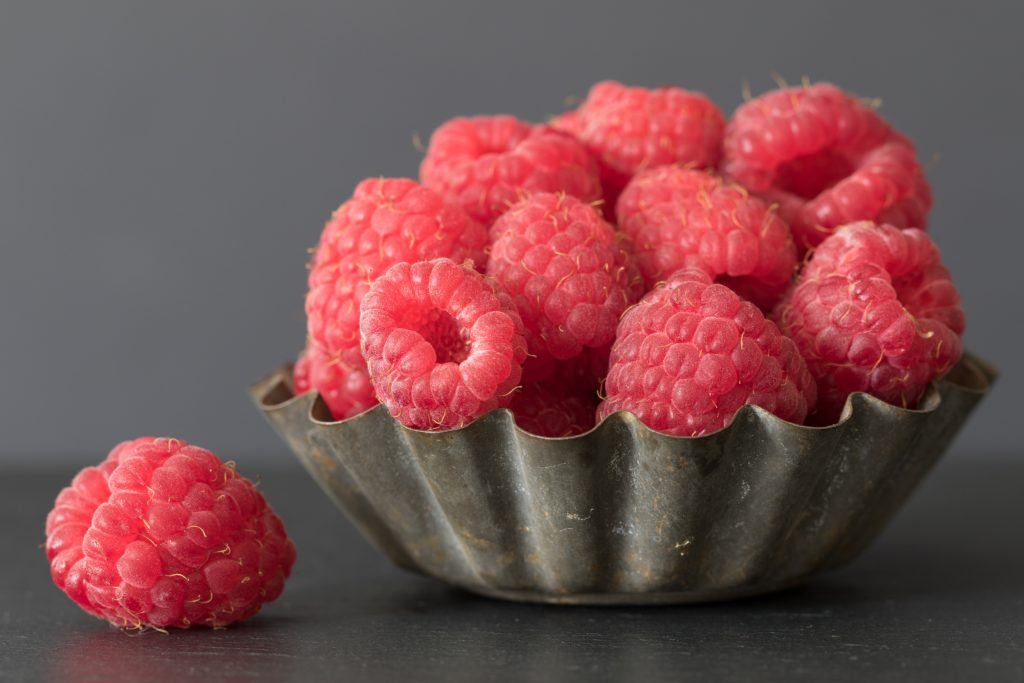
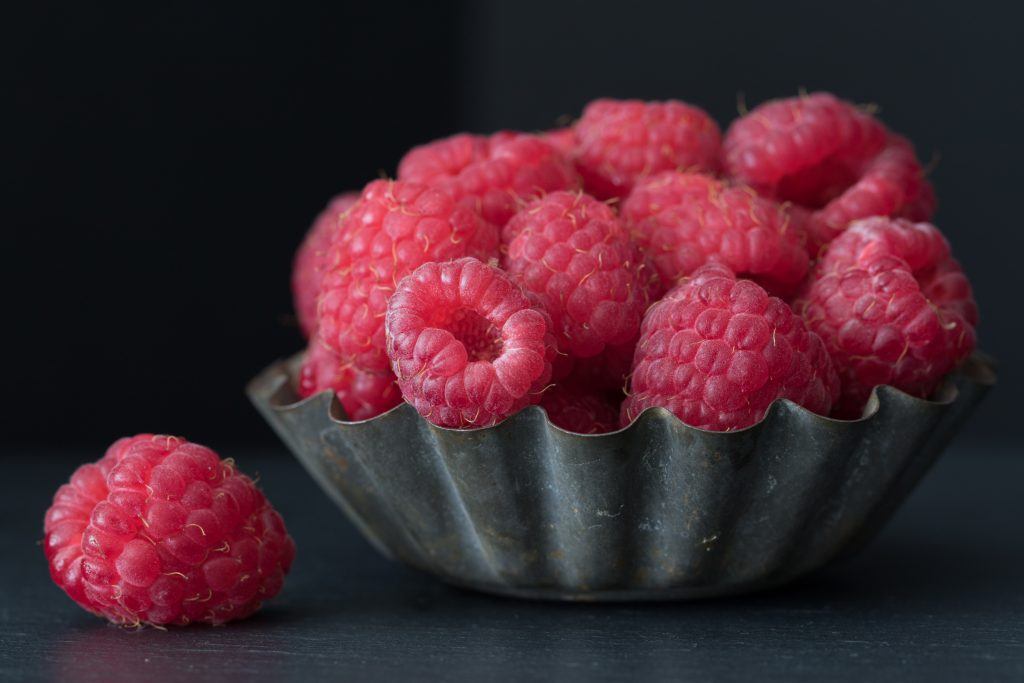
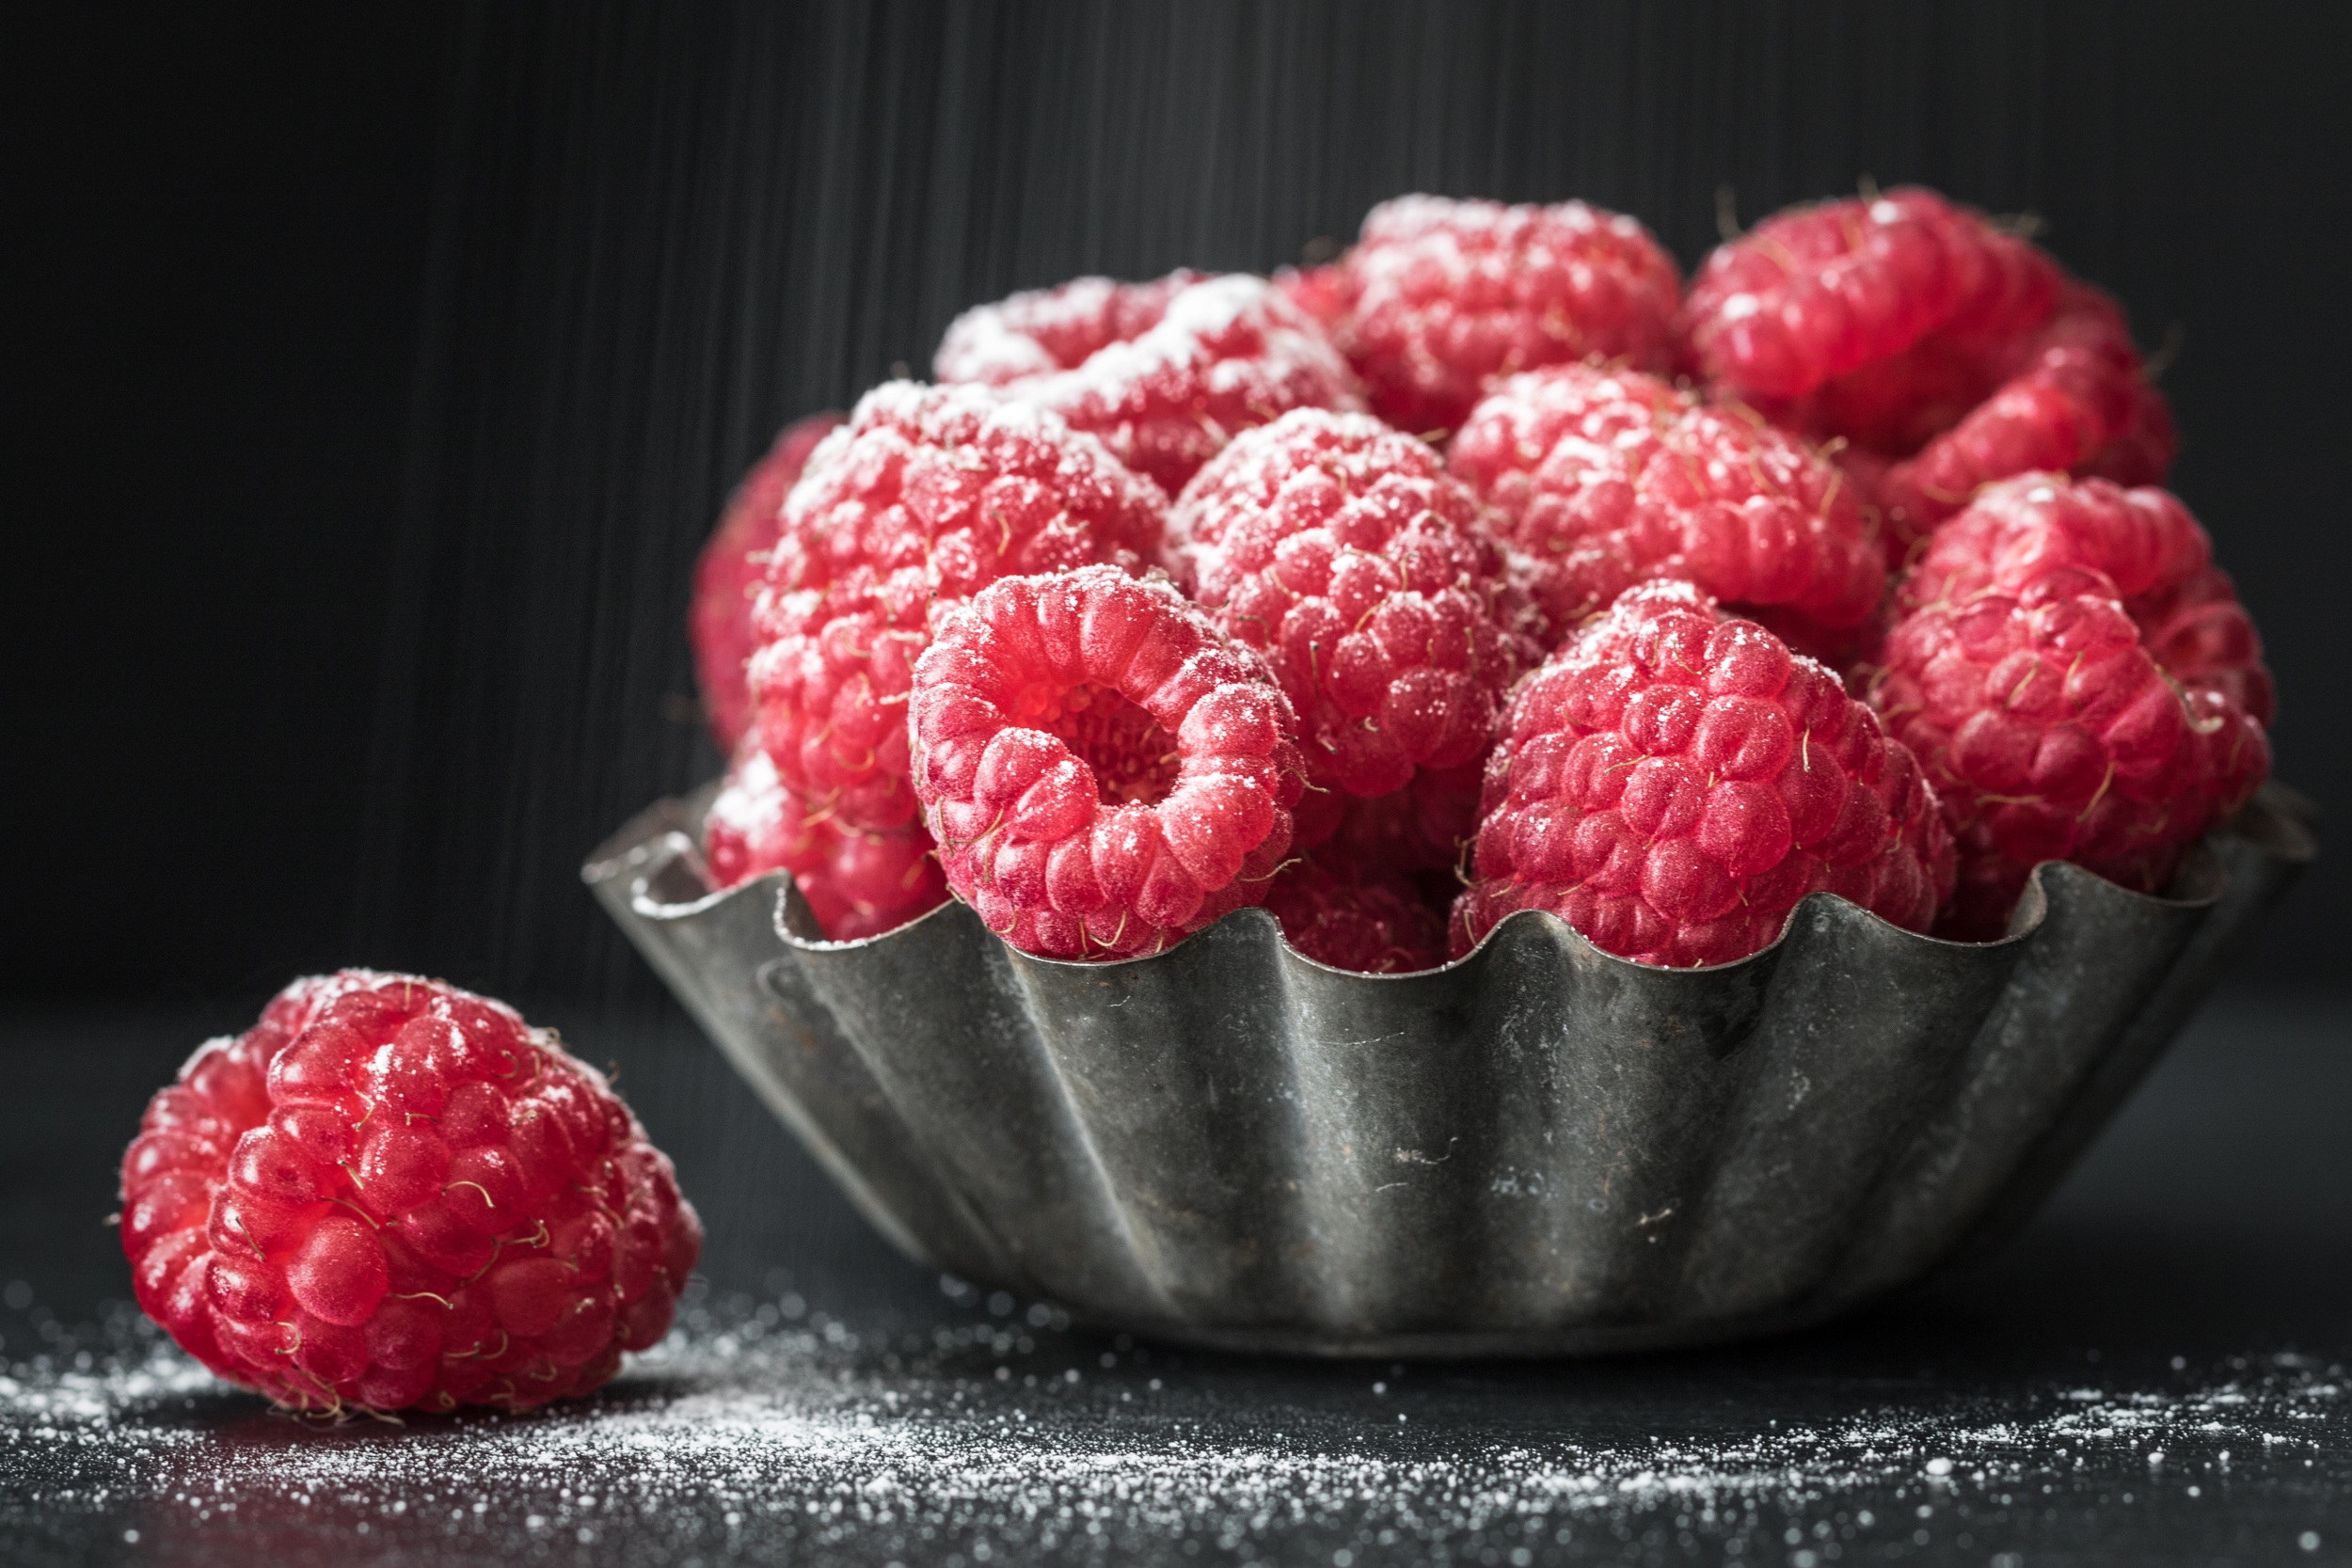
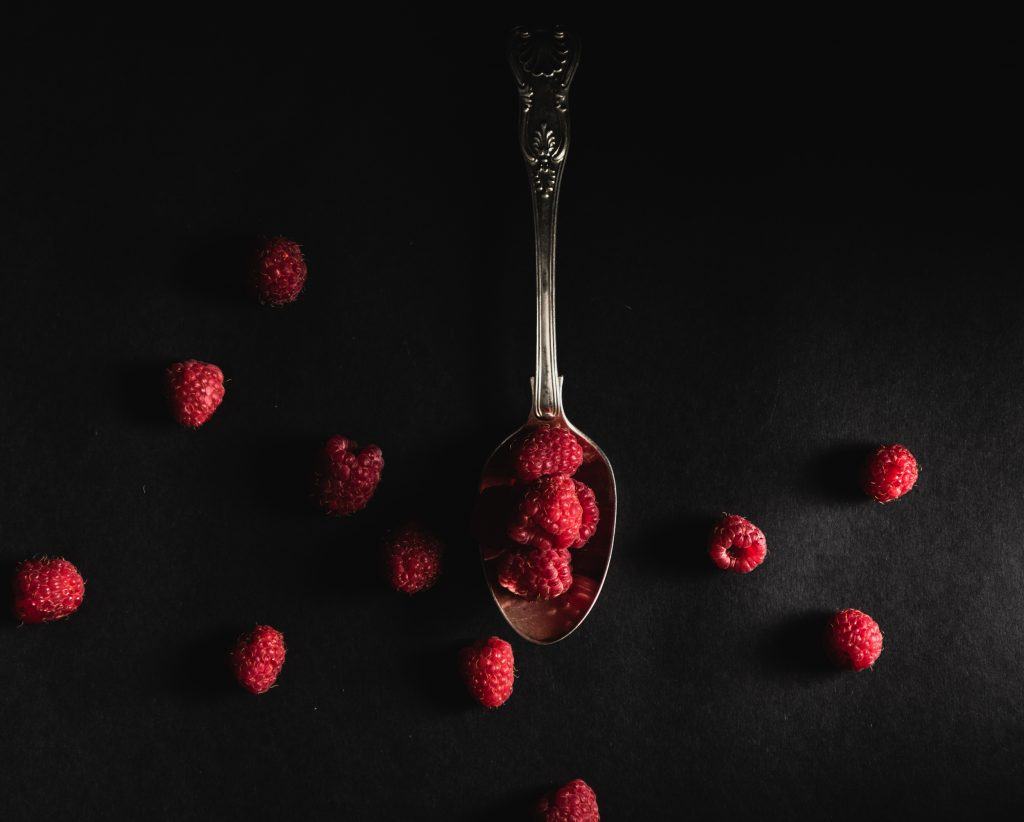
Photos by Stacey Hill
This raspberry shot has been taken with three different vertical backgrounds: clean white, neutral gray, and almost black. Compare the differences and see how it completely changes the feel of each image.
Note that backgrounds don’t need to be fancy or expensive. I use plain black and white foam core and cardboard as my vertical background options. Other easy options include the neutral cream wall in my studio or for backlit shots. I drape fine white cotton over the window to soften the light.

Getting your craft on is a fun and cost-effective way to make unique backgrounds. My favorite one is some black card on which I mixed up different shades of grey paint and smeared it on very roughly. Some wallpaper samples of handwritten envelopes were free and add extra depth and interest. For my food photography I often use a piece of black slate, which has great textural details.
Key Lesson: The color choice of your background has a direct impact on the tone and the mood of your image. If you have portable backgrounds like cardboard, you can easily swap out options.
3. Props
This is the fun bit! It can also be addictive and expensive if you start buying a lot of props, so my advice is as follows:
- Choose carefully and get a few good quality neutral options you can use over and over again.
- Raid the cupboards and drawers of friends and family – you might be amazed at what you can find.
- Look at second-hand shops and people selling stuff online – there are some good deals to be had.
- Have some plates, bowls, interesting cutlery, and some tea towels or fabric in the style you like.
- Don’t buy anything with a shiny surface. Go with matte where you can (this minimizes highlights and reflections).
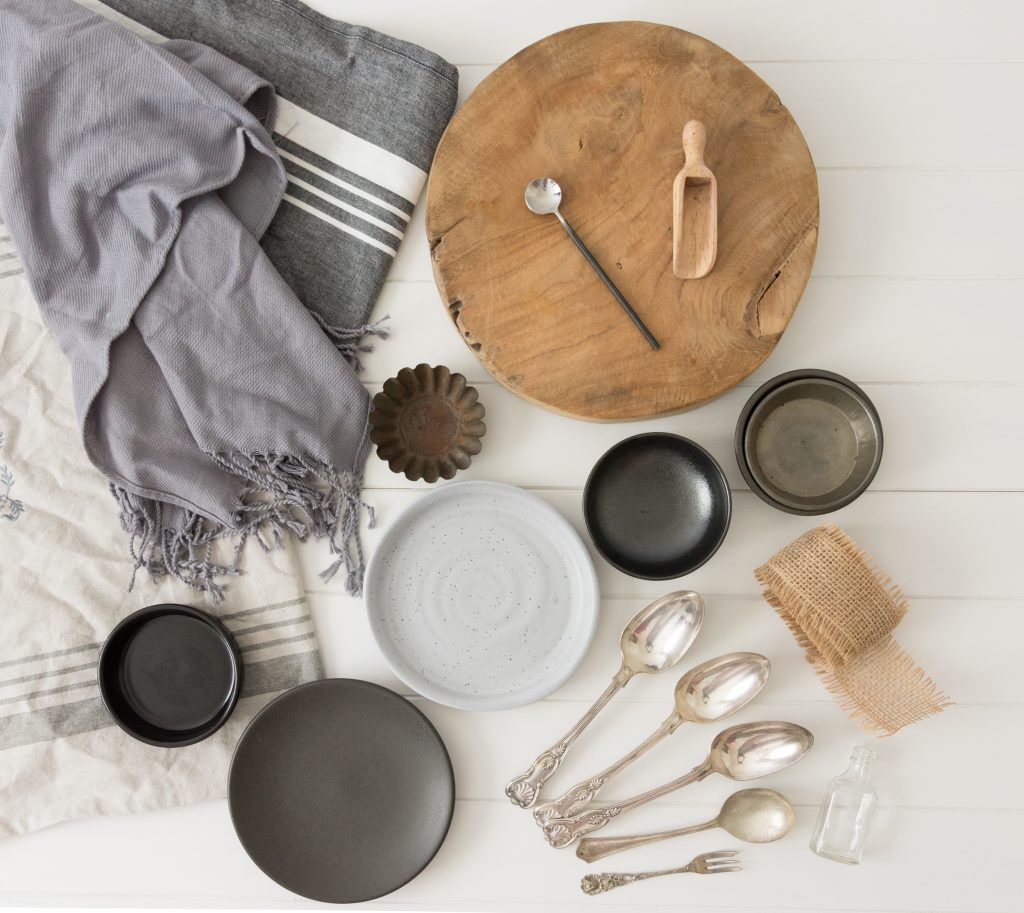
Photo by Stacey Hill
Using your original plan for the story and the mood, assemble your scene – this is known as staging. This is where you present your subject to the camera in the most appealing way.
Be warned, you will probably end up changing everything several times before you get the final keeper image.
Key Lesson: Props are lots of fun to work with and are critical to the story you want to tell or the mood or tone you want to present. Having a range of props is useful and adds flexibility to your options, but you also don’t need to spend a fortune. Take your time and shop wisely.
Recommended Reading: If you’d like to improve your composition skills for better still life images, grab a copy of Photzy’s best-selling premium guide series, Understanding Composition and Advanced Composition.
4. Layout
This is the final physical part of your staging. Layout involves deciding how you want the individual elements within the scene staged in relation to each other. It also involves deciding how the camera will be positioned in relation to the scene, and also the angle and distance the camera will be to the subject.
In modern still life photography there are a couple of layout options: side on and flat lay. Side on is the most common variation, where you point the camera at the subject somewhere between 0 and 90 degrees (0 being in line with the flat surface its set up on and 90 being pointed straight down at it).
Flat lay is when you plan to set the camera up directly overtop at the 90-degree angle point and shoot pointing straight down. This demands a very different staging style to side on, so this needs to be considered when assembling all the components of your image.
Most people prefer some variation of side on, in which case you then need to decide which is the best angle and how close or far away you want to be.
Layout involves deciding how you want the individual elements within the scene staged in relation to each other.
Is it going to be an abstract or very intimate shot? Do you want more of the background to be involved and tell more of a story? Perhaps you want a lot of negative space and really focus on the subject? Where is the lighting coming from, and what position does the camera need to be in to best take advantage of it?
Luckily you can allow yourself time to do your setup and then shoot all different angles and positions until you find the one that works best.

Key Lesson: Layout is how you bring all the different elements together in your final composition, including the angle of lighting and how your camera is positioned. This stage can take a lot of time to work out the very best setup to get your ideal image. It’s important to give yourself time to work and try different options.
Conclusion
I struggled for a long time with still life photography for a few reasons. I didn’t give myself enough time to work, and because I was hurrying the quality of my shots was pretty average, and I got quite frustrated. Also, not having enough props initially felt very limiting.
Everyone’s style is different, and in the beginning I tried to put too many things into my compositions. They were messy and confusing and I wasn’t getting the style of shots that I wanted.
The steps that I have laid out here is the process that I developed, mostly by making all the mistakes possible along the way. Once I learned to stop and think about what I was trying to achieve and why, it became a lot easier. My compositions became simpler and more focused.

Photo by Stacey Hill
I was also able to work quicker. Because I had put the time into thinking about the final product, that saved time with staging and laying out the shot. Eventually I ended up shooting a lot less and had a better keeper rate.
Now I have all my props and accessories in large boxes in my studio, all nice and tidy and close at hand for me to pull out what I need quickly.
If you have considered getting into still life, or have tried a few Instagram-style shots with your phone and been a bit frustrated with the result, maybe this process will help you refine your style as well.
Recommended Reading: If you’d like to improve your composition skills for better still life images, grab a copy of Photzy’s best-selling premium guide series, Understanding Composition and Advanced Composition.
Self Check Quiz:
- True or False: Still life is not a modern photography invention.
- How many steps are key to setting up a good still life image?
- What are the three elements of Step 1?
- Does the color of the background affect the mood of the image?
- When buying props, should they be shiny or matte finish?
- What are the two most common layout options for a still life?
Answers:
- No, it dates back to 16th and 17th century painting styles.
- In this guide there are four steps.
- Subject, story, and mood.
- Yes, it absolutely does.
- Matte finish is recommended.
- Side on and flat lay.


