
Photo by Björn Bechstein
If someone asked me to compile a list of topics photographers enjoy discussing, I doubt aspect ratios would make the top ten. I might include sensor noise, low light performance, fast apertures, and long exposures: these are all subjects that garner considerable interest. Aspect ratios, on the other hand, would leave many photographers with a blank look on their faces.
Despite this, I jumped at the chance to write about different aspect ratios and their uses. Unlike many photographers who only shoot the one dictated by their camera, I am a connoisseur of different ratios. I regularly compose my images in 1:1, 16:9, and even 2.35:1. This began years ago with my third digital camera, a little 12-megapixel point and shoot. One of the quick menu options defaulted to aspect ratio selection. At first, I had no idea why I would want to change the dimensions of my images, but after a few experiments, I was hooked. My hope is that through this tutorial, you’ll gain some understanding of the different aspect ratios including why and how to use them.
Let’s begin with the dictionary definition of aspect ratio: the ratio of the width to the height of an image or screen. It’s a simple definition for a simple concept. If you framed a picture that was 16 inches wide and 9 inches tall, you’d be using the ratio of 16:9. (You may be familiar with that ratio already – most widescreen televisions are now manufactured in the 16:9 ratio). If that same image was actually 24 inches wide and 18 inches tall, the ratio would be 4:3. Again, while this may just sound like a meaningless collection of numbers, you’ll see the differences when I demonstrate the specific types of ratios.
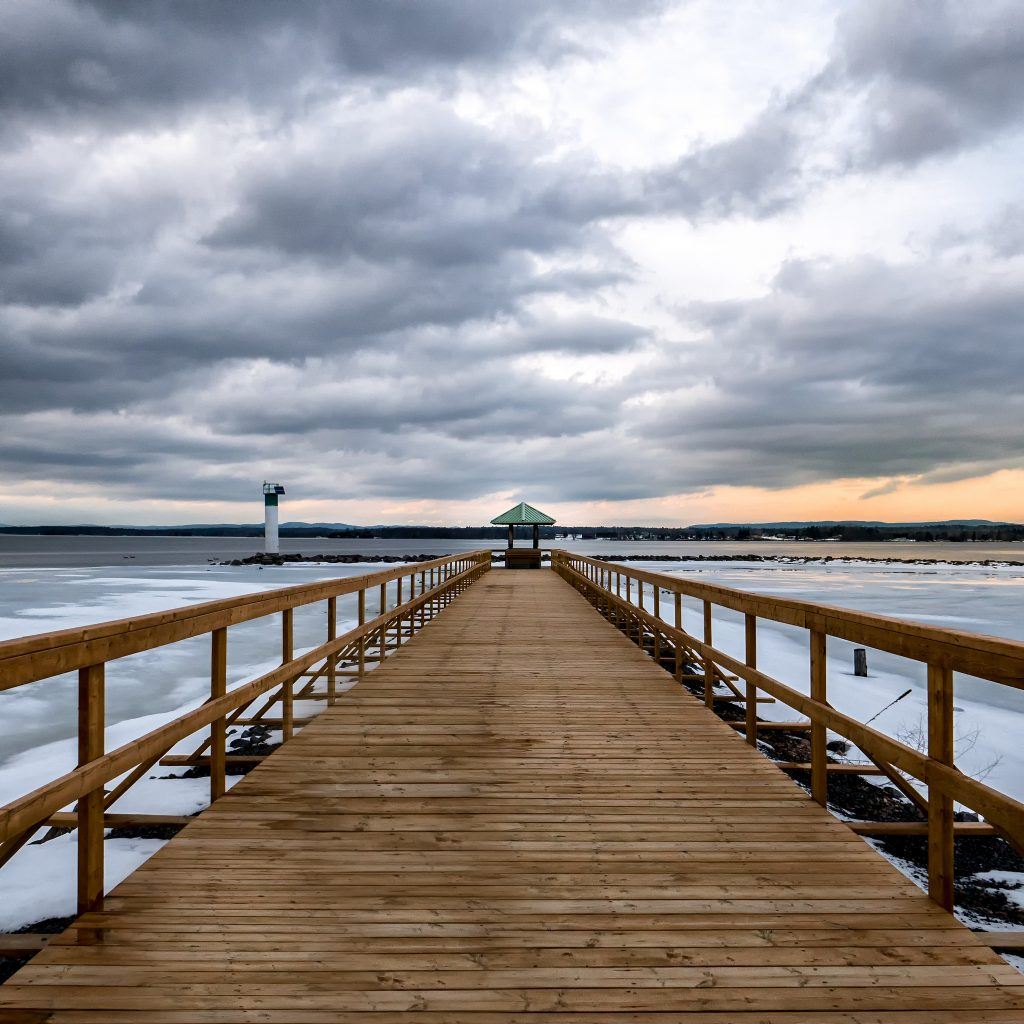
Photo by David Veldman
Why Does It Matter?
One of the most important choices a photographer makes is what to include in their frame, and what to exclude. This is the most basic step in composition, albeit one that we often overlook. We can include and exclude objects in a variety of ways. We can move closer or step back. We can use a wide angle or telephoto lens, and we can change our aspect ratio. In the picture below, I specifically chose the wide 16:9 image format (aspect ratio) to capture all of the rotting piers while excluding unnecessary sky.
Changing your aspect ratio affects more than just inclusion and exclusion, however. It alters the relationship between objects in your frame, which can dramatically affect your entire image. Also, as you’ll see in the succeeding sections, each aspect ratio has its own ‘ideal composition.’
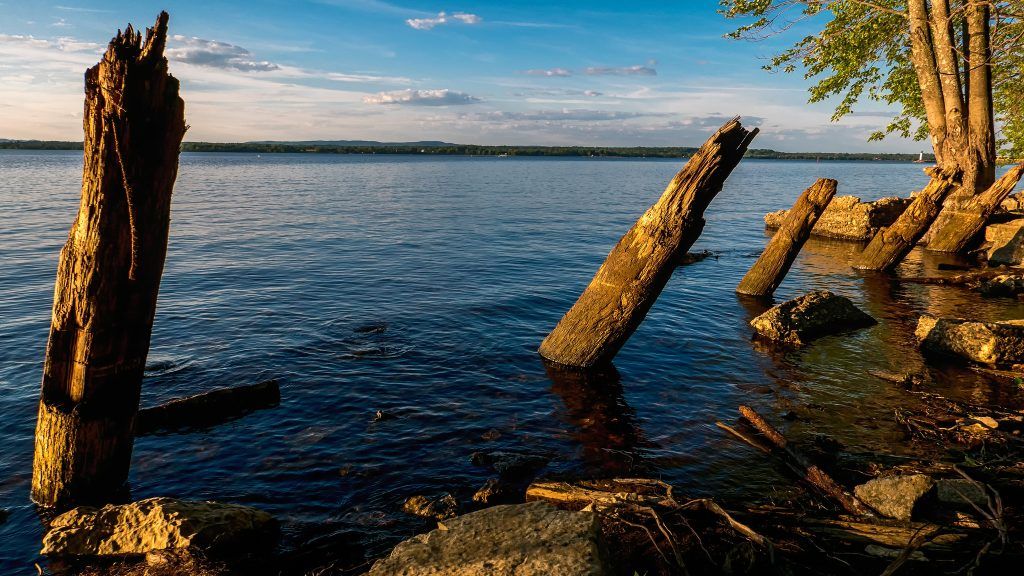
Photo by David Veldman
Note: If you want to learn more about using composition to improve your photography, take at look at Kent DuFault’s best-selling guide, Advanced Composition. This ebook will help you get beyond the rule of thirds, to create visually stunning images that tell your story, express your vision, and captivate any audience.
How To Change Your Ratio
Every camera allows at least some control over aspect ratio. Even cell phones have the option buried in their menus. Here are a few points to consider before you begin to change the ratios on your cameras.
Firstly, every camera has a native aspect ratio. Simply put, the native ratio is the ratio of the sensor itself. The vast majority of sensors are 4:3 or 3:2. If you crop to any other ratio, such as 16:9 or 1:1, then you will be using only a portion of the sensor, and thus lose total resolution.
Thankfully, the majority of cameras today are blessed with an abundance of megapixels, so it is rarely a concern.
Secondly, there are two main ways to change your aspect ratio: while you are shooting and afterwards in post-processing. While I have nothing against cropping later (I often do it myself), there is something to be said for composing with your intended ratio. Mirrorless and compact cameras will allow you to do this through an electronic viewfinder or LCD screen. I find it invaluable to actually see the final product right before I trip the shutter.
It is invaluable to actually see the final product before you trip the shutter.
Thirdly, with very few exceptions, changing picture dimensions in your camera menu will do nothing to the raw file. If you shoot raw, your camera may even preview the image with a crop applied; however, the raw image will still appear at the native ratio. The easiest way around this is to shoot in JPEG + Raw, as this will save a cropped copy the way you saw the image, and a raw file that you can edit to your taste.
With that preamble out of the way, let’s get to the good stuff, and examine some different ratios!
1:1 – It’s Cool to Be Square
1:1, as you may have guessed, is a ratio that results in a perfectly square image. I personally love the 1:1 ratio and shoot in it regularly.
I know the first thing that came to your mind when you read ‘square.’ If I had a quarter for everyone that replied ‘Instagram’ when I mentioned the square format, I’d be a few dollars richer. However, long before Instagram filled cyberspace with square images of lattes and cats, film shooters used the format. Many twin lens reflex cameras were medium format 120 film – a large square exposure. So, square pictures are not only for social media. 1:1 is a viable and fun way to compose.
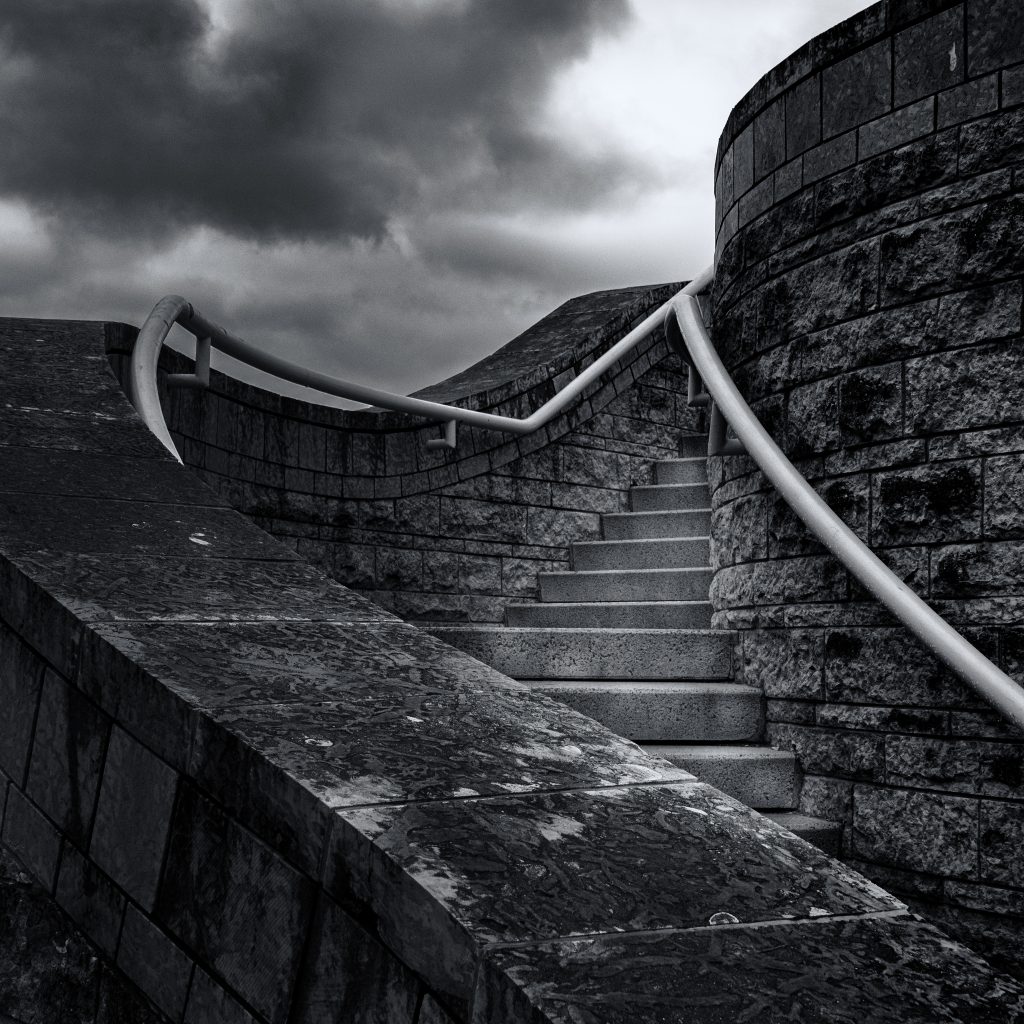
Photo by David Veldman
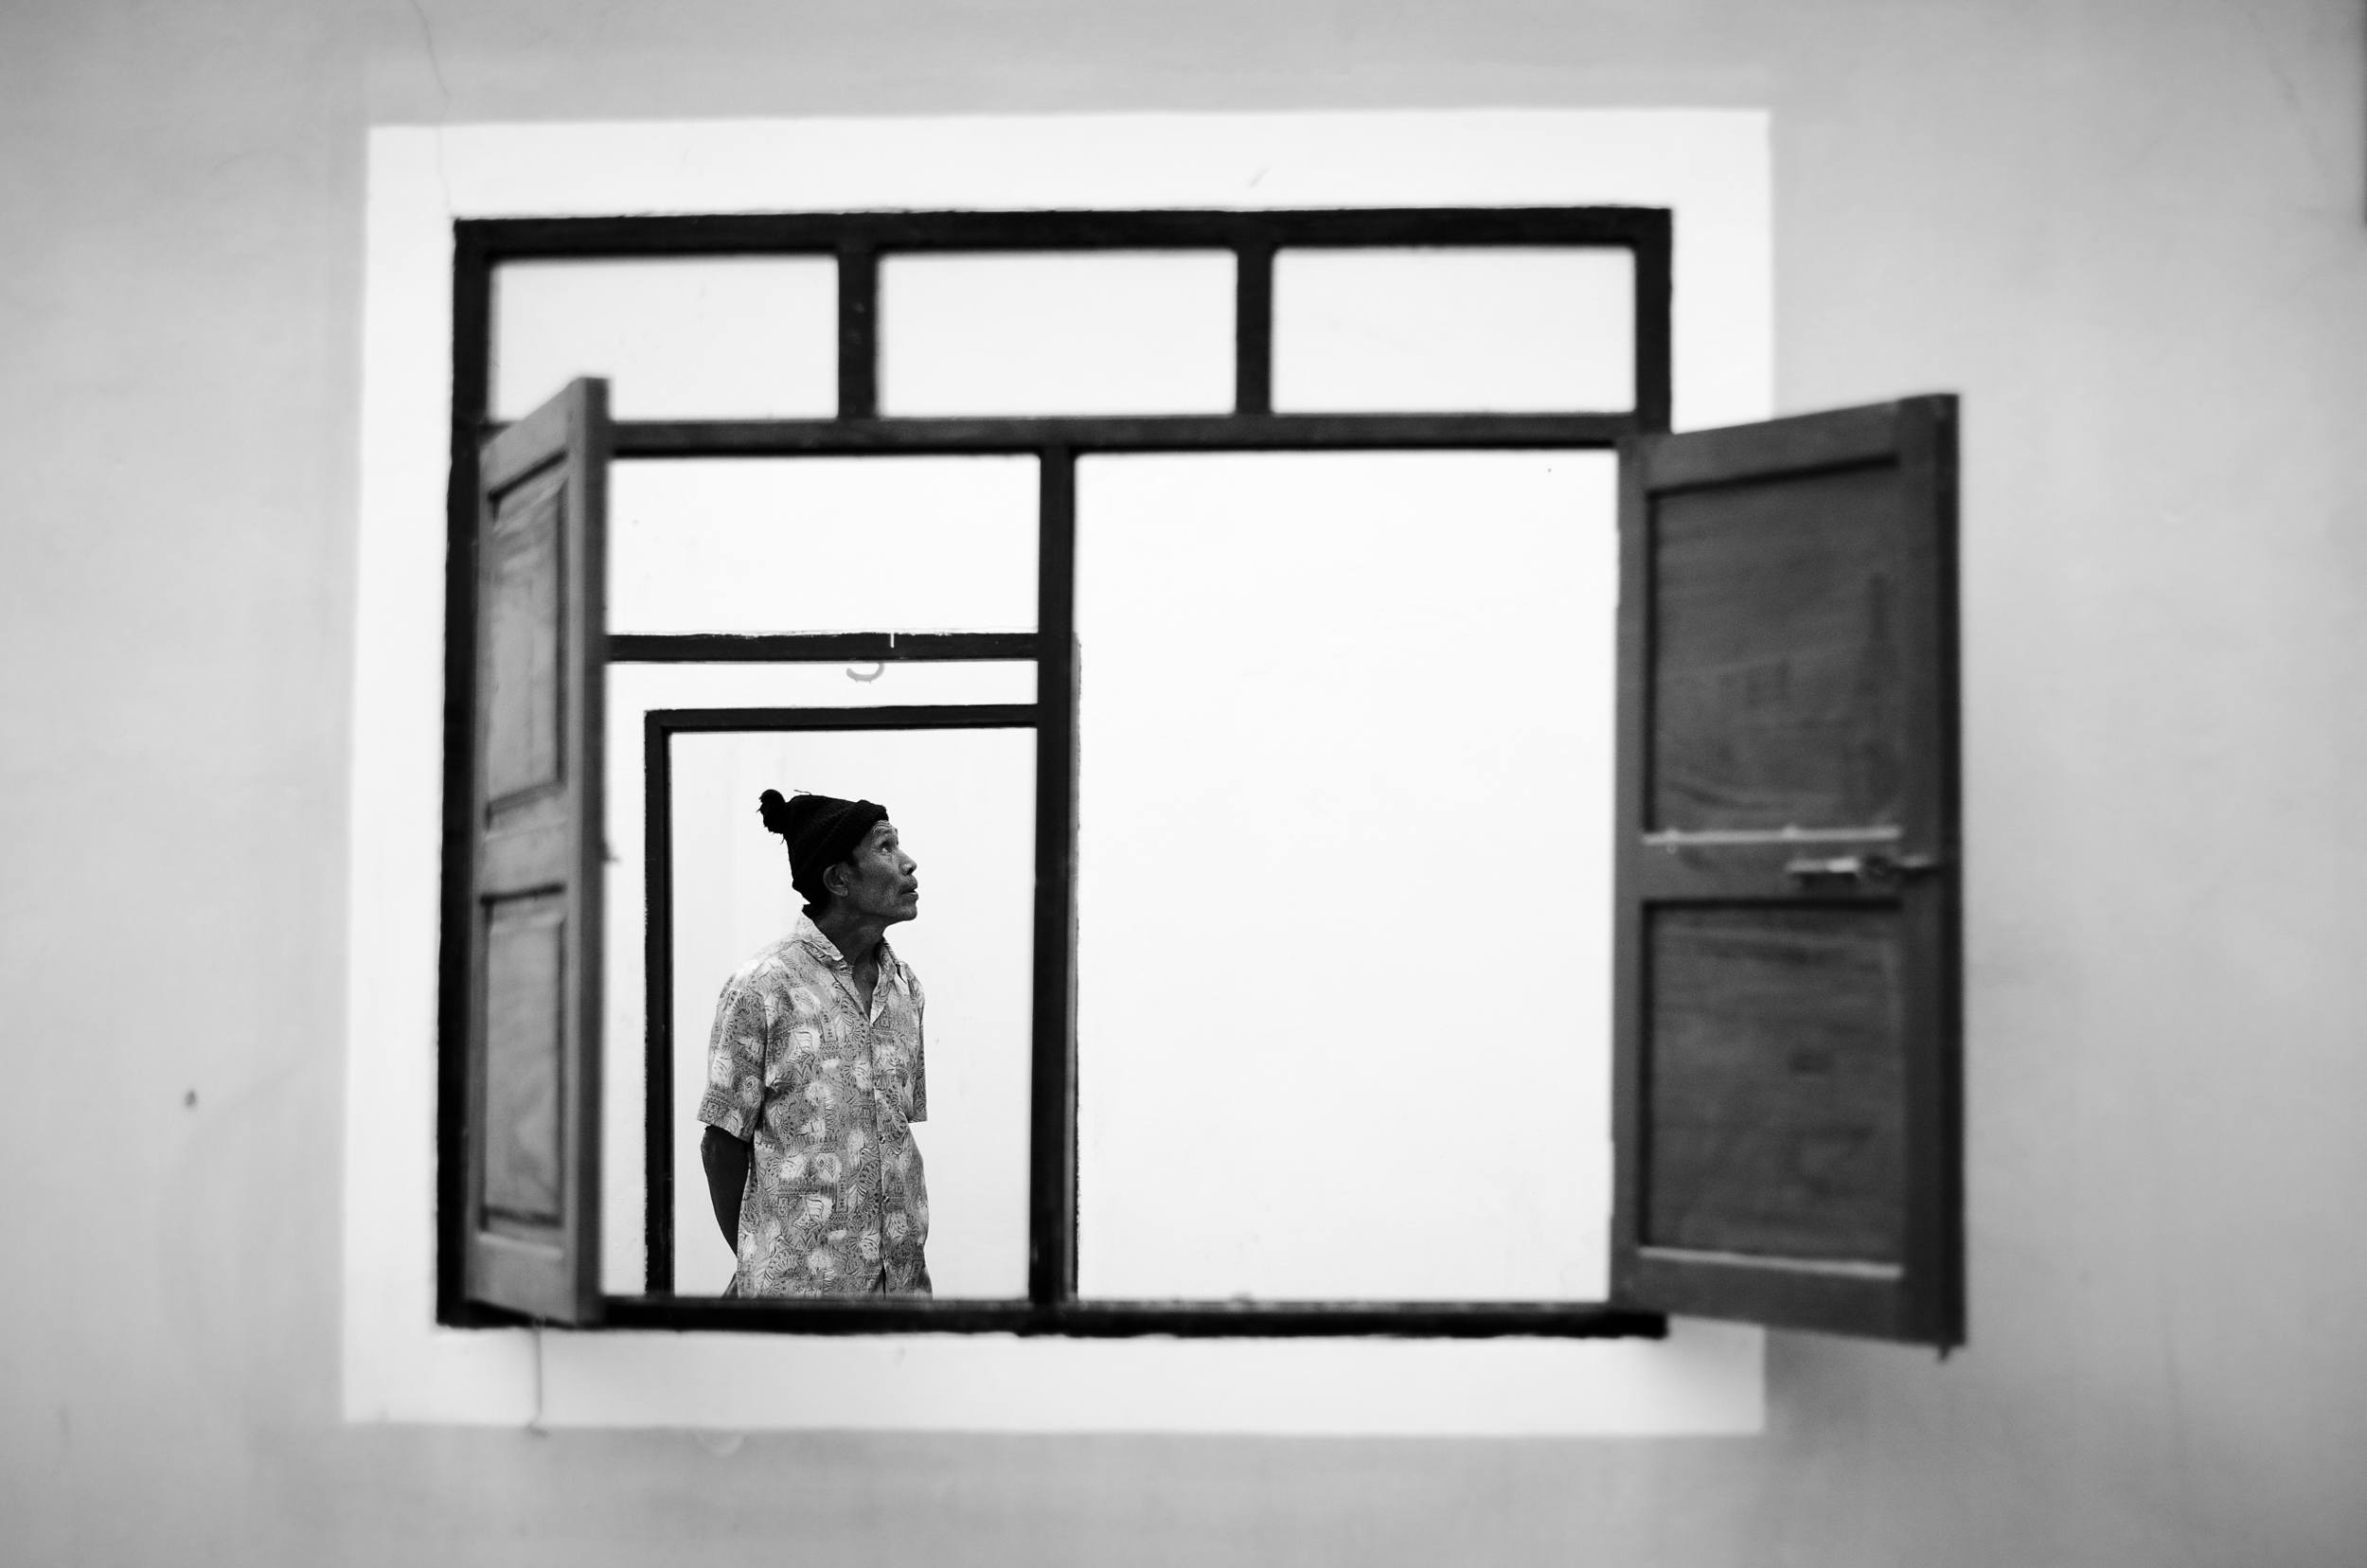
When you begin to compose your images in 1:1, you’ll quickly realize that the standard rules of composition do not apply. In particular, the rule of thirds fares poorly in a square image. The equal width and height feel awkward when divided into three.
Instead of the rule of thirds, I like to center my subject in 1:1 images. One of the first things we are taught as photographers is to avoid placing our subject in the center, but in this case, rules are meant to be broken.
Another technique for 1:1 is balance. This could quite literally mean splitting the image in half, with the horizon running down the center, or it could mean that elements are arranged in a complementary manner across the frame. It’s a difficult technique to master, but images with a strong sense of balance are always a pleasure for viewers.
Lastly, use the 1:1 ratio to capture circular elements. Circular shapes, especially repeating ones, look fantastic when juxtaposed against the square frame. Flowers are an excellent example of a circular element that can be centered in the frame to provide a simple, but striking image.
Shooting square is not always easy – in fact, it may be the most difficult ratio to master. However, it can be a great way to kick-start your creativity and experiment with breaking the rules.
Note: If you want to learn more about using composition to improve your photography, take at look at Kent DuFault’s best-selling guide, Advanced Composition. This ebook will help you get beyond the rule of thirds, to create visually stunning images that tell your story, express your vision, and captivate any audience.
4:3 – What We See
According to some scientists, the 4:3 ratio may closely mimic what the human eye sees. If that’s true, it’s no surprise that 4:3 is one of the most popular aspect ratios. While it was formerly used for television screens and broadcasts, it can be found today in many cameras, such as those in the popular Micro 4/3 systems.
4:3 is my most frequently used ratio. It provides a nice compromise between the wider 3:2 ratio and the square. It is useful for landscapes, portraits, and just about everything in between. The rule of thirds is especially effective in 4:3.
4:3 may be most useful when you turn it vertically, effectively creating a 3:4 ratio.
Other ratios such as 3:2 and 16:9 can feel awkward when turned vertically. 9:16, in particular, feels painfully thin and tall. 3:4 is the Goldilocks of dimensions: just right. It lends itself well to vertically oriented landscapes and portraiture work.

Photo by David Veldman
3:2 – A Film Classic
Many people shooting today, including myself, began photography with a film camera. Despite their prevalence, digital cameras are a relatively new invention. Some of us still remember the days of darkrooms, red lights, and fixing chemicals. The most common film format that dominated before the rise of digital photography was 35mm, which existed in a 3:2 ratio. Although few photographers today shoot film, 35mm became the standard for digital sensors, the so-called ‘full frame.’ Certain high-end DSLR and mirrorless cameras utilize a 35mm digital sensor. Their lower end counterparts use a sensor size called APS-C, which is smaller but also conforms to the 3:2 aspect ratio.
All history aside, if you own a DSLR, your native sensor ratio will be 3:2. This classic ratio is a bit wider than 4:3, also making it usable in portrait orientation. Like 4:3, it plays nicely with the rule of thirds, and is wide enough for lovely landscape work as well. I personally avoid shooting in 3:2, but there is one very good reason to use this ratio – printing.
When you begin to print your images, you will quickly realize that camera sensors and paper sizes are worlds apart. Print sizes conform to their own standards, with odd ratios like 5:4 and 7:5. If you try to print a square or widescreen image, you will be forced to leave empty space or crop. Fortunately, 3:2 corresponds with several common sizes like 8×12, 12×18, and 20×30.
When I decided to create the triptych on the next page, I immediately chose the 3:2 aspect ratio for the canvas size (for printing purposes). This enabled me to easily make a stunning 30×20-inch reproduction.
It can be very useful to shoot or crop in 3:2 if you intend to make prints.
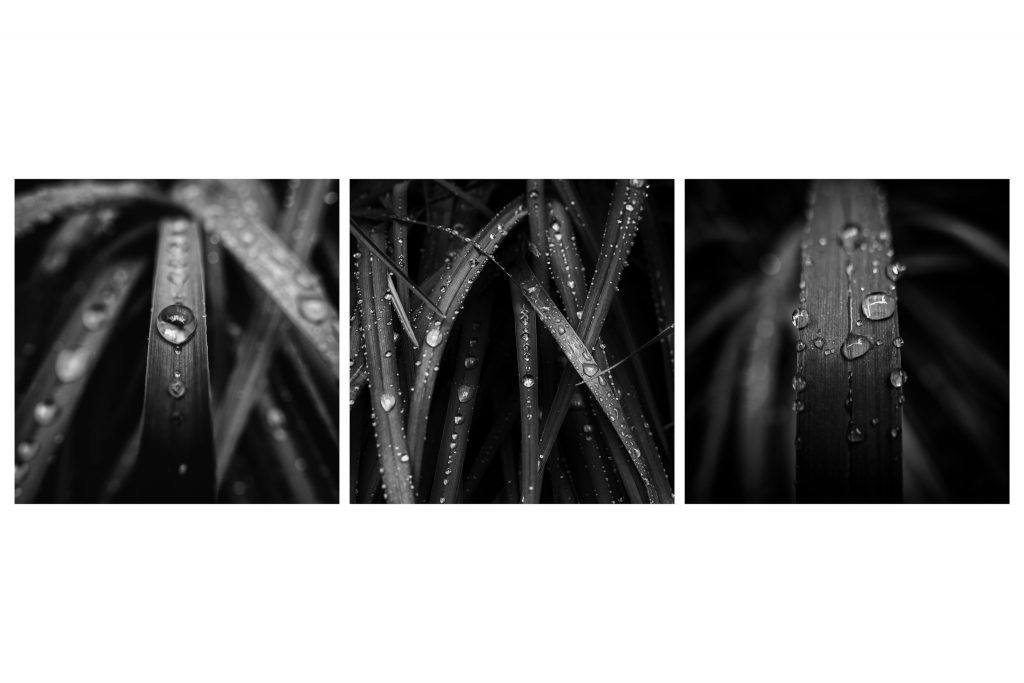
Photo by David Veldman
16:9 – Go Wide or Go Home
There’s a very good chance that right now, you are reading this while looking at a screen with an aspect ratio of 16:9. Most televisions, computer monitors, smartphones, and tablets are now made in the 16:9 ratio. Years ago, manufacturers and scientists determined that the standard for HDTV content would be 16:9 (as opposed to 5:3). Because of this, the manufacturers of televisions and other screens moved away from the 4:3 format.
Many photographers also now use the 16:9 aspect ratio creatively. While there are no sensors being made with the 16:9 dimensions, cropping to this ratio can create a vast free feeling. This is particularly effective for landscapes.
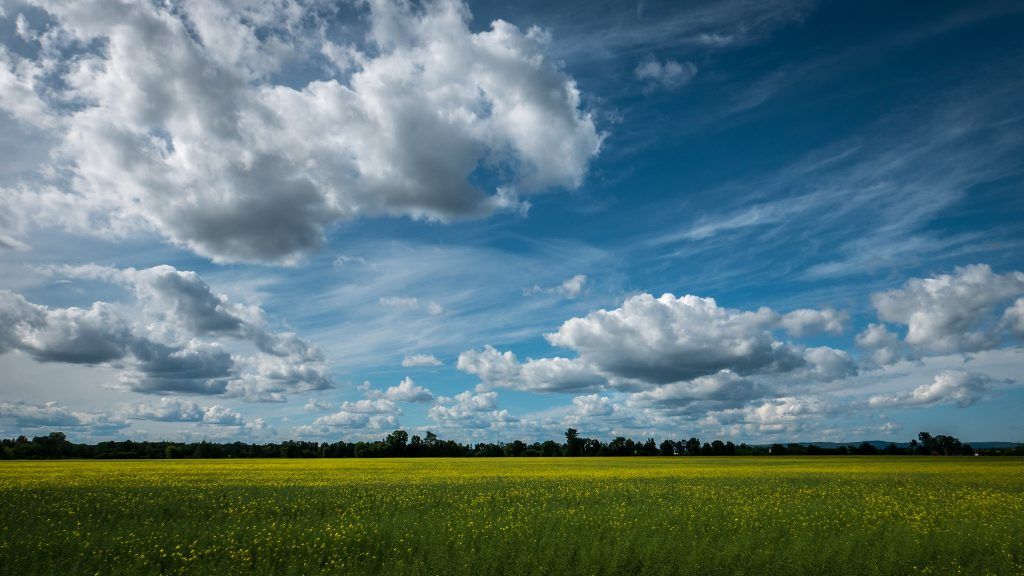
Photo by David Veldman
16:9 is generally too wide for single person portraiture, as it leaves large amounts of negative space, but it can work well for groups of people.
I personally use this ratio extensively for landscapes. It also works well for urban shots, creating a cinematic feeling when used properly.
All the Others
There are many more aspect ratios than those I listed here. 16:9, 4:3, 1:1, and 3:2 are merely the most popular ones, but don’t feel restricted by them. Crop or shoot in whatever ratio you prefer. Think about the mood or message you are trying to convey with your image, and select the ratio that best serves your purpose.
Just selecting a different ratio will not necessarily improve your photography. You need to become competent at composing within the different frames.
Just selecting a different ratio will not necessarily improve your photography. You need to become competent at composing within the different frames.
To train yourself to see in different ratios, try challenging yourself by shooting an entire day in an aspect ratio that you don’t normally use. You may be pleasantly surprised by the results.
Note: If you want to learn more about using composition to improve your photography, take at look at Kent DuFault’s best-selling guide, Advanced Composition. This ebook will help you get beyond the rule of thirds, to create visually stunning images that tell your story, express your vision, and captivate any audience.


