
Modern DSLRs have a variety of modes available, but most professional photographers will tell you that you only need to focus on three: aperture priority, shutter priority, and manual mode.
These are the key modes that you need to produce high-quality photographs in all situations. But how do they work? And which one is appropriate in which situations? This guide will explain the differences between them and help you understand which mode is best for you.
Here is what we will cover:
- Aperture priority uses and benefits
- Shutter priority uses and benefits
- Manual uses and benefits
- Adapting to any situation
Recommended Reading: Want a step-by-step guide on photography skills with your DSLR? Grab a copy of our best-selling guide: the DSLR Crash Course.
Aperture Priority Uses and Benefits

Aperture control is important here to keep everyone center stage.
In aperture priority mode, your camera will preserve your aperture settings and change every other setting around them to ensure that you have enough light to capture your image. In other words, your f/stop will stay the same, but your shutter speed and ISO will be controlled by your camera’s automatic detection tools.
This is a way to shoot fast in changing situations without losing the correct exposure. It’s extremely useful in the following environments:
- Outdoors on a cloudy day, where the light of the sun may brighten or darken as clouds move rapidly across the sky
- Indoors, when moving between rooms that may have different lighting situations (for example, when photographing inside a museum or gallery)
- During a live performance, when light shows and effects may constantly affect the quality of light available
- In any situation where you do not have full control of the light, to adapt just in case, the light changes mid-shoot

Depth of field is extremely important to this shot.
Why would you want to keep control of your f/stop, rather than switching to fully automatic mode and letting your camera decide everything?
Simply put, it gives you the option to keep your depth of field at the same level. This could be important to the shot for several reasons:
- When photographing a wider scene, you may wish to ensure that everything important stays within the range of focus.
- When photographing a smaller detail, you may want to make sure that detail is as sharp as possible.
- To blur out some elements (for example, shooting a portrait in which the background is out of focus but the subject is clear and sharp).
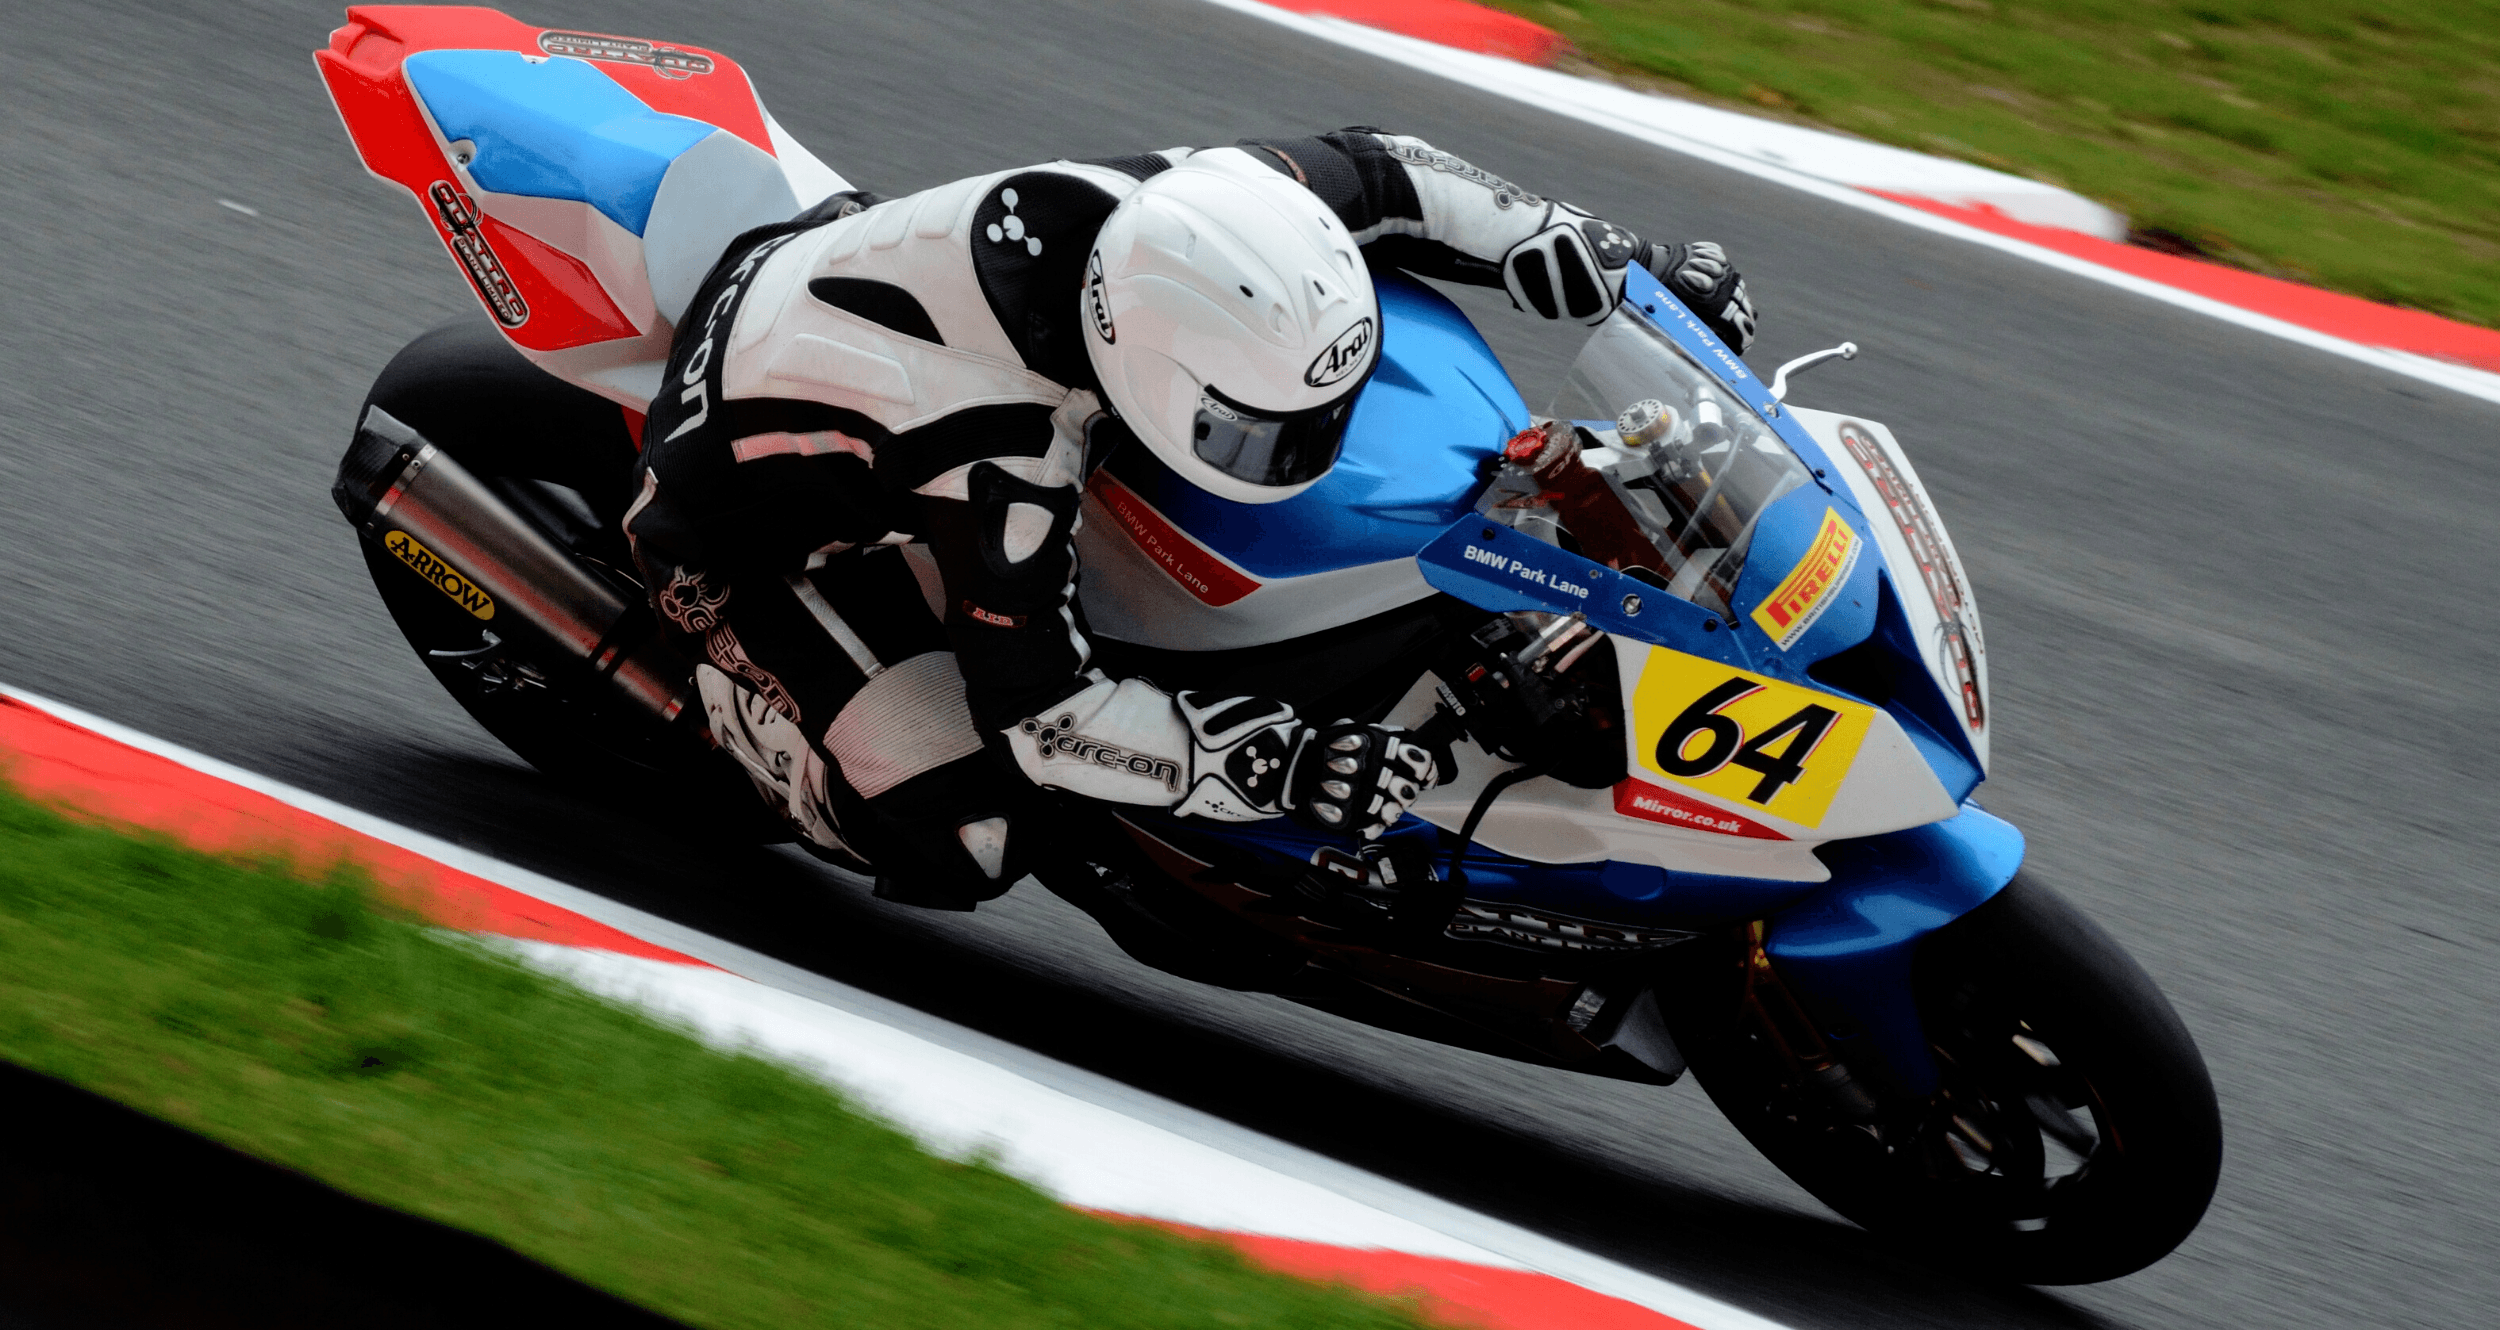
- In the case of live-action photography, to keep the element in sharp focus and to produce a pleasing motion blur in the background (for example, in motorsports photography, in which the car or motorbike can be picked out from a blurred background to indicate speed).
Key Lesson: Aperture priority mode gives you control over your depth of field and allows you to capture or blur what you wish while allowing you the freedom to react quickly to changing light scenarios.
Shutter Priority Uses and Benefits

If your flash speed and shutter speed are different, expect poor results.
Shutter priority mode does exactly what it sounds like: it allows you to control the speed of your shutter above everything else. This means that the setting you choose for your shutter speed will remain the same, while the DSLR uses automatic functions to control the f/stop and ISO based on the amount of light coming into the sensor.
Shutter priority mode allows you to control the speed of your shutter above everything else.
Allowing the camera itself to calculate the f/stop and ISO can help you in the following scenarios:
- To allow the reduction or addition of grain so that the image can still be visible even in tricky lighting situations
- To ensure that you are always going to get a usable image, even when the light is changing rapidly and you don’t have enough time to react manually
- To get the best possible depth of field that the environment will allow, without having to calculate it yourself

In this image, the motion blur keeps the car in focus but adds the impression of speed.
All of this makes sense so far, but why would you want to choose shutter priority instead of just setting your camera to full automatic? Keeping your shutter speed at a specified value can be very valuable in the following situations:
- In live-action photography, to freeze the subject in the midst of the action while the background creates a motion blur indicating speed due to the panning technique
- When shooting in a studio, to ensure that the speed of the shutter aligns with the speed of your flash, preventing black bars or other strange effects on the image
- When shooting at either a very high or very low shutter speed to capture specific effects, without having pushed it to such an extreme that you would need full manual control of the settings
Key Lesson: Controlling your shutter speed means that you have full power over your exposure duration, and you don’t have to react to changing light situations to change every other setting. You can focus on the part of the capture that will make all of the difference.
Manual Uses and Benefits

As a new photographer, you will probably feel under pressure to learn how to use full manual mode. It certainly has its uses, as understanding your camera to the degree that you can set it up manually will help you develop your photography skills to an intuitive level.
With manual mode, you are in control of every aspect of the shot. This means that you can carefully choose your settings to override what might be suggested by the automatic sensors in the camera. For example, you can create sharp silhouettes by adjusting the settings until your subject appears to be totally dark.
You can also use manual mode for long exposures, which require you to change your settings down as light will be flowing into the sensor for a much longer time than is standard.
With manual mode, you are in control of every aspect of the shot.
You may also find that in some scenarios, your camera is simply unable to come up with a workable suggestion in automatic modes. For example, when your subject is backlit, your camera may underexpose it against your will. In another example, when you have a bright subject but a dark background, the camera may overexpose the subject. All of this can be avoided by using manual mode.
Knowing how to use manual mode is a huge boon for any photographer, as it means you can take full creative control when you need it. But you might not want to always use it; when conditions are changing and you want to get the best possible exposure in a rapid situation, your priority modes will give you a better chance of getting it right.
Key Lesson: Learning how to use manual mode is essential for professional photography, but once you know how to use it, you can also leave it behind when it isn’t needed.
Recommended Reading: Want a step-bystep guide on photography skills with your DSLR? Grab a copy of our best-selling guide: the DSLR Crash Course.
Adapting to Any Situation

Some shots require lots of practice to solve the hurdles your camera might encounter!
Let’s discuss how you can use these three modes to adapt to any situation as it arises.
Follow these steps to solve any potential problem:
- If the shot is overexposed or underexposed, switch to shutter or aperture priority mode depending on your needs. If it is still at the incorrect exposure level, go into manual mode to take full control.
- If your images keep coming out with the wrong exposure because of changing light conditions, switch from manual to shutter or aperture priority.
- If the image appears blurred and you do not want it to be, choose shutter priority.
- If the focus area is so small that almost everything is out of focus, or if everything is in focus and you don’t want it to be, then switch to aperture priority mode.
- If you’re almost there but not quite, note your settings and then change to manual mode. You can recreate the same settings and then push them up or down as required to get that perfect exposure.
Key Lesson: Knowing your modes and being able to adapt to them can help you be more fluid and get the shot every time.
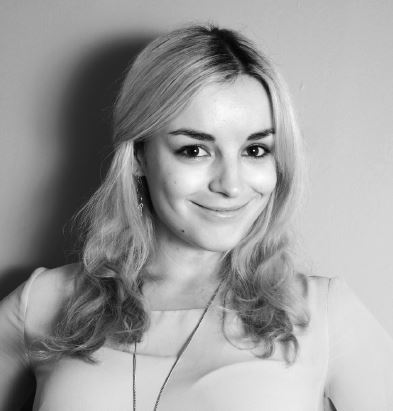
Photograph by Rhiannon D’Averc
Conclusion
When you are choosing your mode, think about the following:
- Do you need your depth of field to cover a certain range?
- Will a slower or faster shutter speed ruin the look of the image?
- Can you allow more grain into the shot if you need more light?
- Will you be able to adapt to the situation quickly enough to change the settings manually?
- Do you need creative control to be able to alter the settings beyond what the automatic suggestions will be?
Self-Check Quiz:
- What does aperture priority mode control?
- Why might you need to limit your depth of field?
- How does shutter priority mode affect your settings?
- Why might you need to set your shutter speed to a specific value?
- Should all photographers learn to use manual mode?
- What scenarios will always require manual settings?
- How can you decide which mode to use?
Assignment:
Choose a subject – any subject at all. It’s better if you can place it in an area with changeable light, such as outdoors. Try creating an image of your subject in aperture priority mode, shutter priority mode, and manual mode. Compare the results. Which image is strongest? Which setting was the correct one to use in this scenario?


