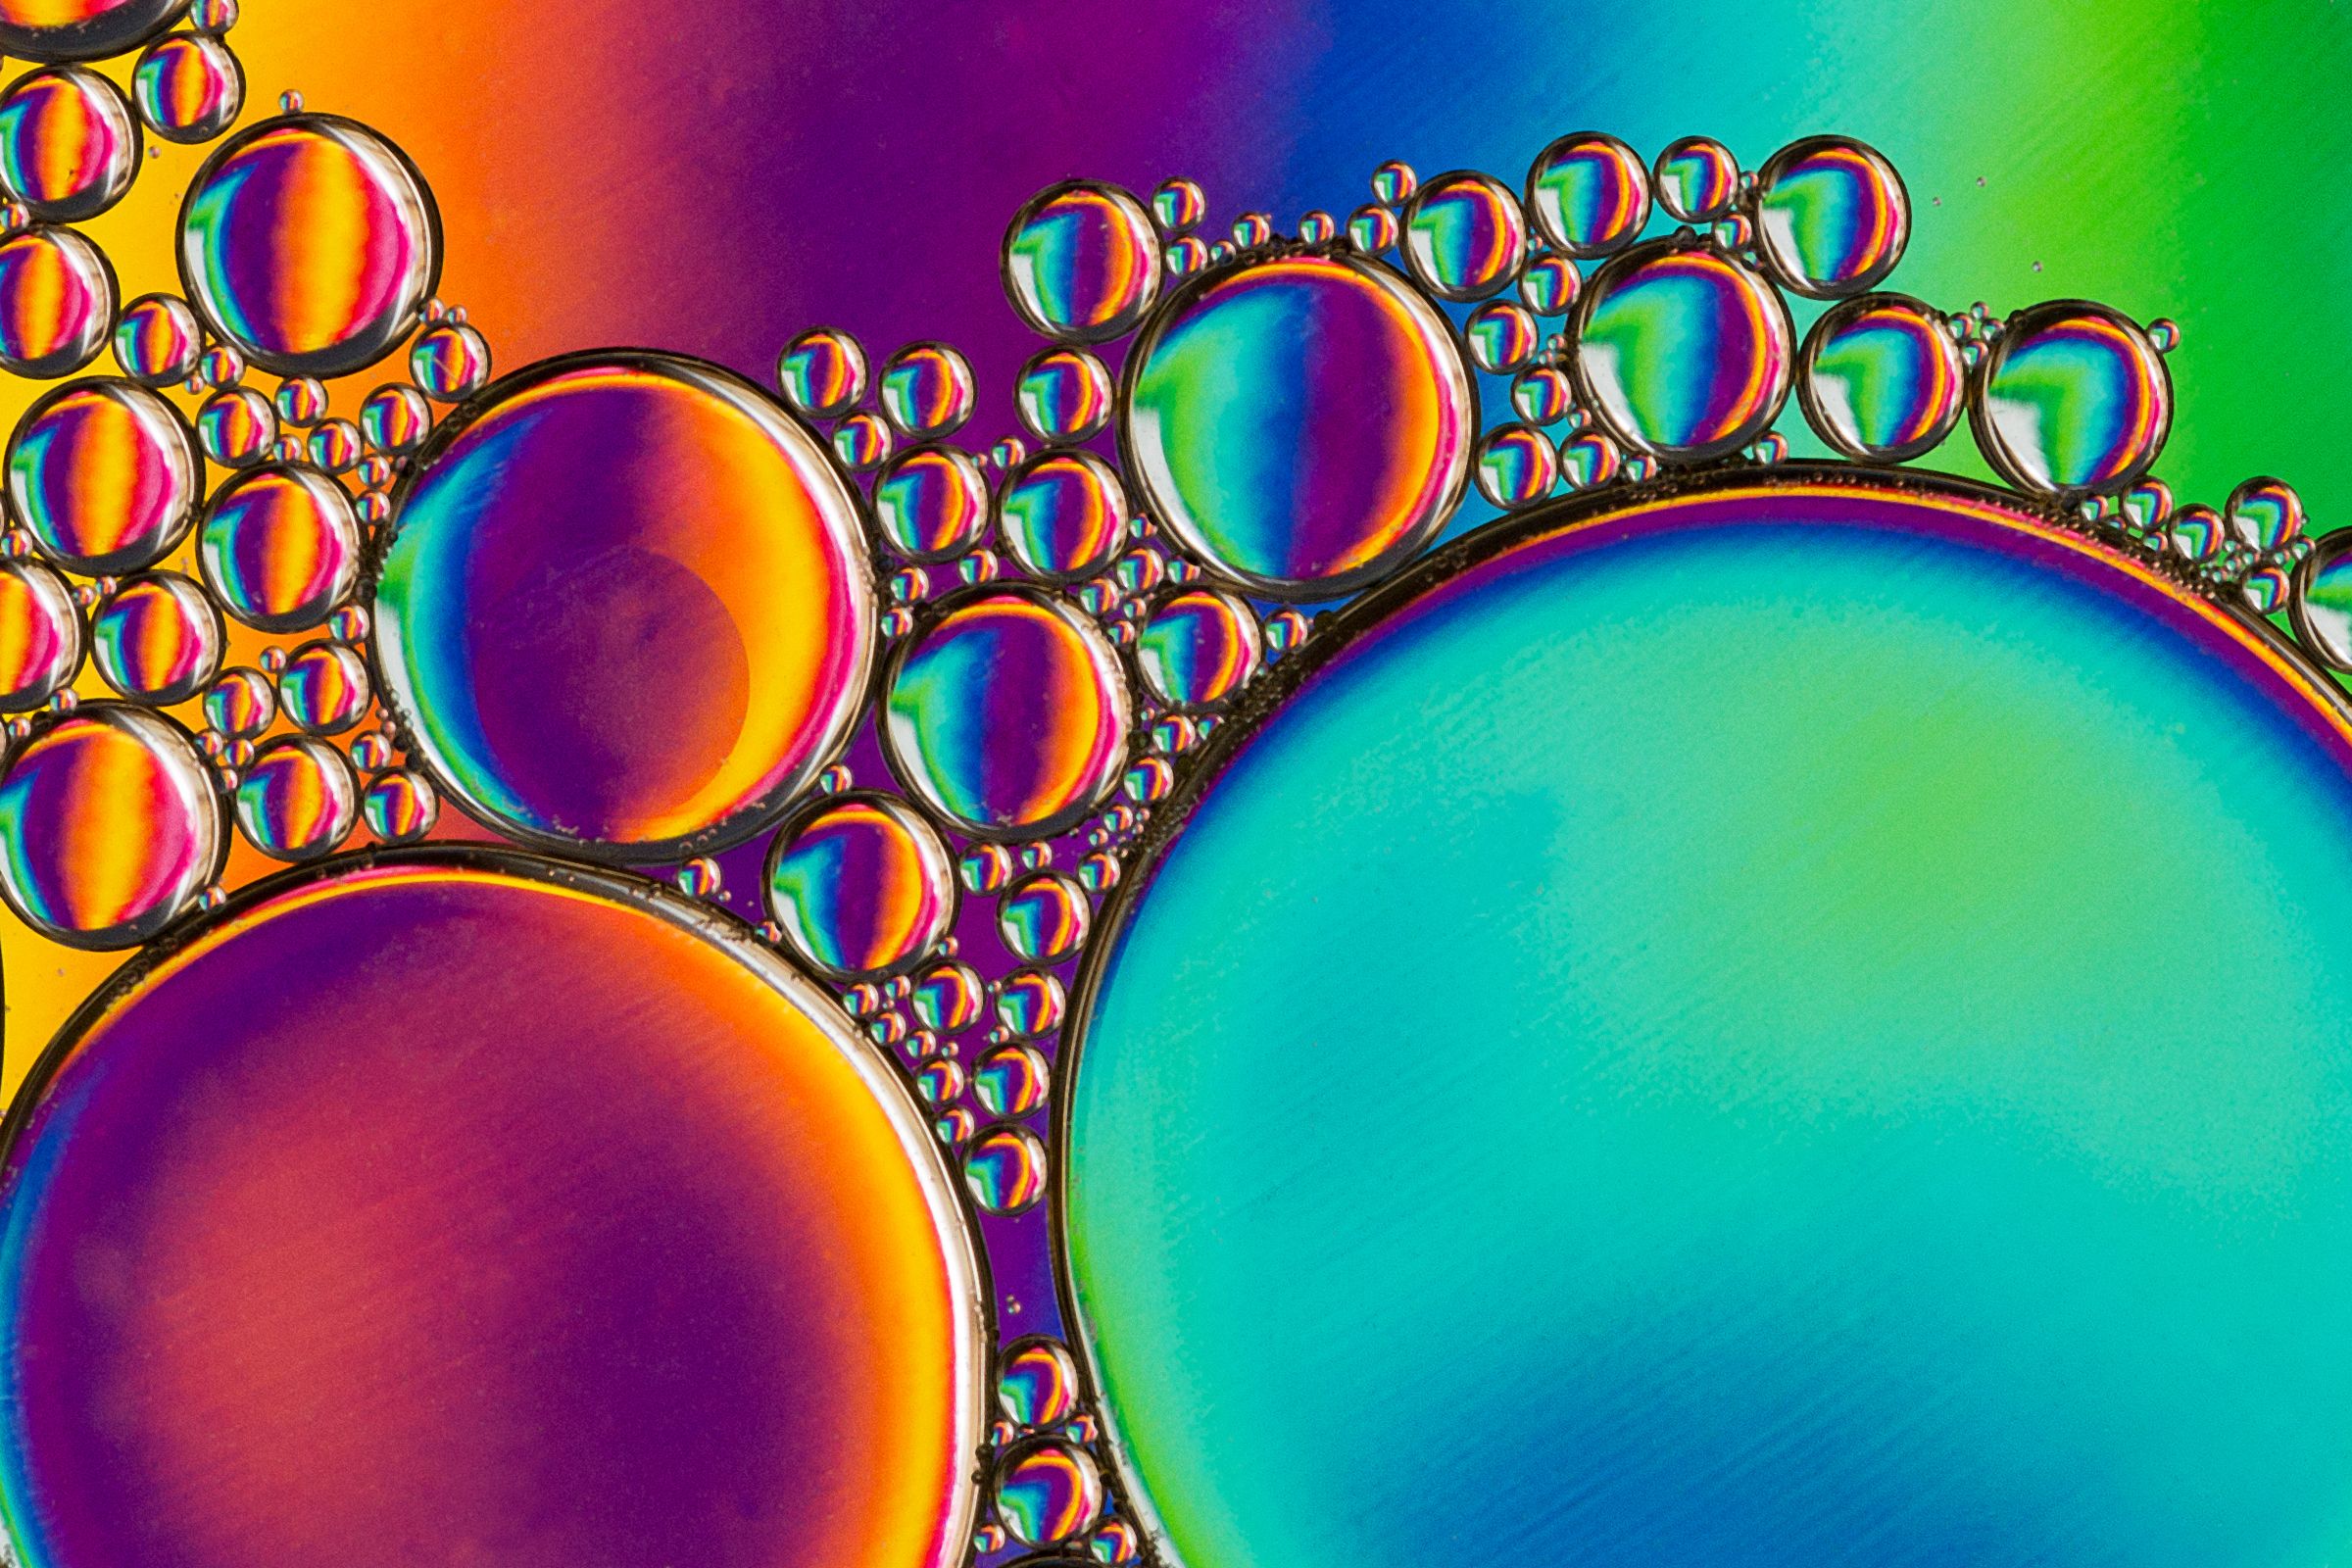
“I don’t know how to take abstract photographs,” was my response to a fellow photographer, and mentor, after he insisted that this should be my next photography challenge.
In all honesty, I didn’t even know what abstract was. So I did what everyone else does and “Googled” it. Now I was more confused than ever.
I was mid-way through a year-long “photo-a-day” challenge and feeling dispirited, and I was tired of coming up with new ideas of what to photograph.
A week later I came across some dreamy “bubblescapes” that were created using nothing more than oil and water. I thought, “Okay, maybe I can do this.”
The real lure for me was that the materials were easily accessible.
The setup took some trial and error, but I eventually found a way to capture some really amazing photographs using stuff everyone has in their kitchen.
It wasn’t until I was processing these images that I caught on to something…I was shooting abstract!
The bonus for me, and possibly for some of you if you are new to abstract photography, is that it allows you the freedom to play with composition. You can learn and experiment in ways that you cannot with, say, portraiture.
Abstract photography by definition is about creating effect using “shapes, forms, colors, and textures,” so you can turn the photographs upside down and sideways to look for patterns.
You can experiment with negative space and balance.
You can highlight particular parts in the shot using the rule of thirds. You can even alter the color.
If you are looking for something new and fun that nets very different results every time you try it, then give oil and water photos a try. It makes for a great photo project on a day when you can’t, or don’t feel like, venturing far from home.
If you are looking for something new and fun that nets very different results every time you try it, then give oil and water photos a try.
In this article, I will:
- Help you to discover a fun way of getting really amazing abstracts using a few materials that you already have around the house
- Show you how to set up your materials for great oil and water abstract photos
- Tell you what camera gear you will need to be successful
- Demonstrate how a variety of background materials can create different textures and colors
Recommended Reading: If you’d like to improve your composition skills to create better images, grab a copy of Photzy’s best-selling premium guide, Advanced Composition.
Ingredients for Success
You will have to gather a few items to set things up for oil and water photographs. Here are the items and materials you will need:
- A camera with a macro lens
- A tripod
- Something to weigh down the tripod to avoid it from tipping over
Key Lesson: It is always a good idea to stabilize your tripod and camera. here are special products that you can buy, such as sand bags or weight bags, to place on the tripod legs. I use old exercise leg weights for this. Use what you have around the house – such as a bag full of rice or you can make your own sand bag.
You will also need…
- A light source – I have used a very bright led lamp along with a portable flash, and also just two portable flashes, all with great results.
- A clear dish, with a flat bottom – My preference is to have one without any designs or markings on the bottom, but sometimes these can add something interesting to the photograph so don’t worry about it too much when you’re just getting started.
- Something to prop up the dish – This can be as simple as a few glasses of similar height, some wooden blocks, or two tables of the same height. You want to create some room between the dish and the background. Increasing and decreasing that distance can create some interesting effects as well.
- Oil – I have used canola oil and olive oil. I don’t find that one works particularly better than the other.
- Water – plain old tap water will do.
- Dish soap – this is an optional ingredient that I don’t always use.
- Some interesting backgrounds – This can be almost anything from a colorful placemat to some colorful wrapping paper. I suggest you gather a variety and have fun playing with different backgrounds.
- A skewer, or stir-stick, for moving the oil and water around.
Setting Up
The first step in the setup involves pouring a layer of water into your clear dish. How much depends on what you would like to photograph and the effect you would like to create.
If you use a small amount of water, scratches and markings on the dish you are using will be visible through the oil and water. This can actually look quite interesting.
As oil is less dense than water, causing it to float, using more water creates distance between the oil bubbles and the bottom of the dish. Adding more water will make any markings in the dish become background blur and are less visible.
Key Lesson: Make sure that your dish is clean and clear of hard water marks. Check carefully for hairs/bits of fluff, as all of these will influence the quality of your photos. I like to use microfiber cloths to clean and dry my dish, as they leave no lint.
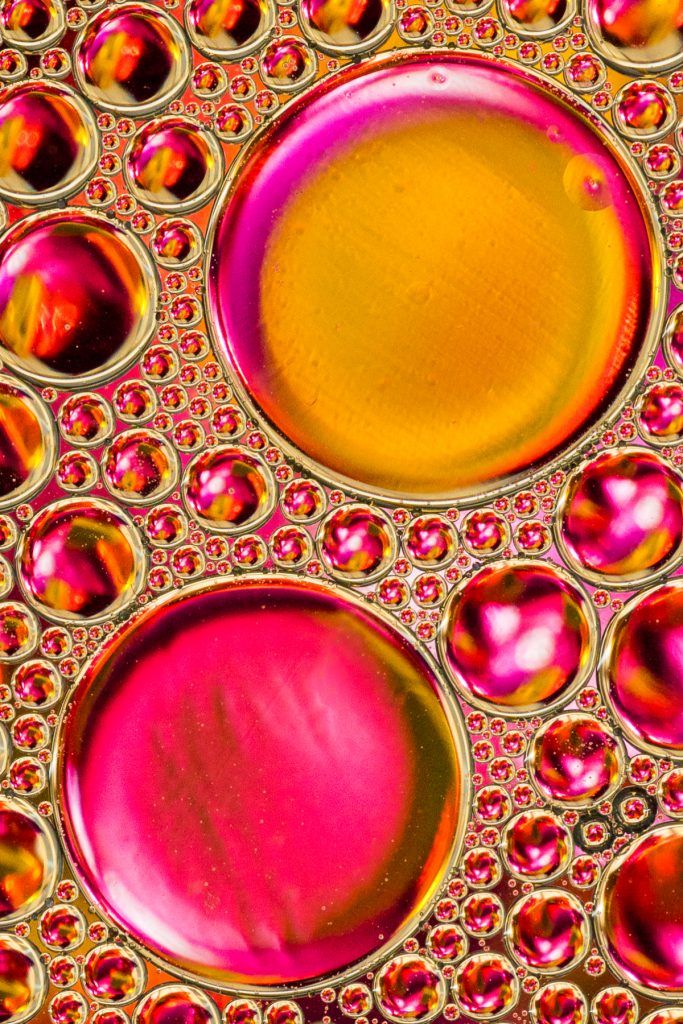
Flaws in the dish add some interesting texture to the larger bubbles in this photo. Photograph by Leanne Cleaveley
Next, add your oil of choice. The amount can vary. I recommend you pour a little in, observe, and then add more as you see fit. I usually start with about a teaspoon.
I have used a pump-and-spray bottle to create very small bubbles of oil across the water. I have also just poured some oil in and used a skewer to stir the oil until I get oil bubbles the size that I am interested in.
When first added to the water, the oil will have a “flat” appearance when you photograph it. By stirring the up the liquids, you give the oil bubbles a more three-dimensional appearance.
A drop of dish soap can have the same effect, while also giving the oil bubbles a rounder appearance, with thicker-looking walls.
Key Lesson: If you want your bubbles to “pop” and have a more three-dimensional appearance with thicker walls, then use a skewer to stir them up, or add a small amount of dish soap, and gently mix it in.
The next part of your setup involves propping up the dish using any of the items mentioned above. I prefer using tables for two reasons. Firstly, they allow more space to move your background closer to or farther from the dish. Secondly, the tables allow you to direct the light where you want it, without getting annoying reflections on the bubbles of oil. (I will talk about this more below.)
Next, you will want to place your background underneath the dish. Whether you are using wrapping paper, a colorful scarf, or some other material, be sure that it is directly below the oil and water that you will be photographing. I start at a distance of about 30cm (12inches) and raise or lower the background for effect.
Once you have all of the above set up, it is time to grab your camera and tripod. You want to set your tripod up so that you are looking straight down on the oil bubbles. I use a macro lens for this setup, so the camera is very close to the dish – about 15cm (6 inches) away.
With your lens so close to the dish, you will want to secure your tripod as lenses dipped in oil and water don’t perform very well. I use a weight on the leg farthest from the dish to prevent it from tipping.
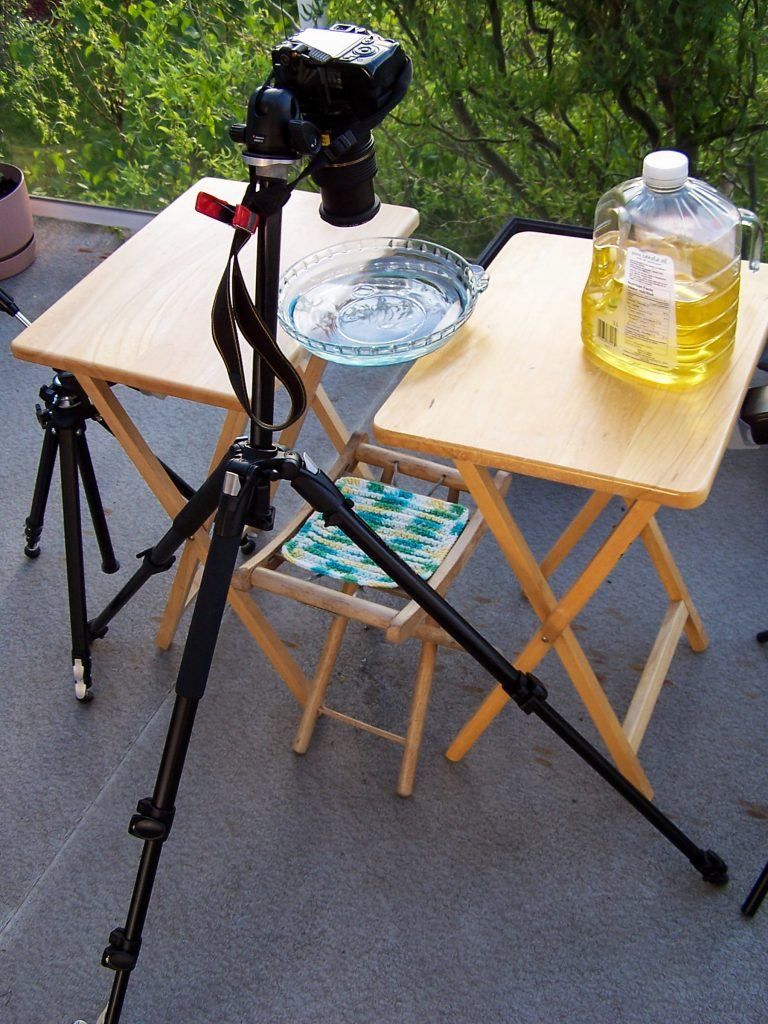
The background used here (a crocheted cloth) can create amazing images like the one seen on the next photograph. Photograph by Leanne Cleaveley
As you are using a macro lens, you will have a very narrow depth of field, so to get everything in sharp focus you will want to ensure that the “plane of the lens” is parallel to the dish with the oil and water. I usually take a few test shots and look closely at all the edges to see that everything is in sharp focus.
Set up your light source so it is off to the side and aimed at your setup. (You want the light to hit your background.) Be careful to avoid hitting the oil bubbles directly with the light, as you can get some very distracting reflections on the bubbles.
I usually take a few test shots and look closely at all the edges to see that everything is in sharp focus.
When using a portable flash, I cover the pop-up flash on my camera as the light it provides can create distracting reflections on the bubbles. That said, I have forgotten to do so a couple of times, and the results were interesting too.
Key Lesson: If you want to avoid light reflections from your on-camera flash, cover it. I use a piece of black duct tape wrapped back on itself, and I fit it to slide over my flash. That way, my oncamera flash can still activate my portable flash, but not show up on the oil bubbles.
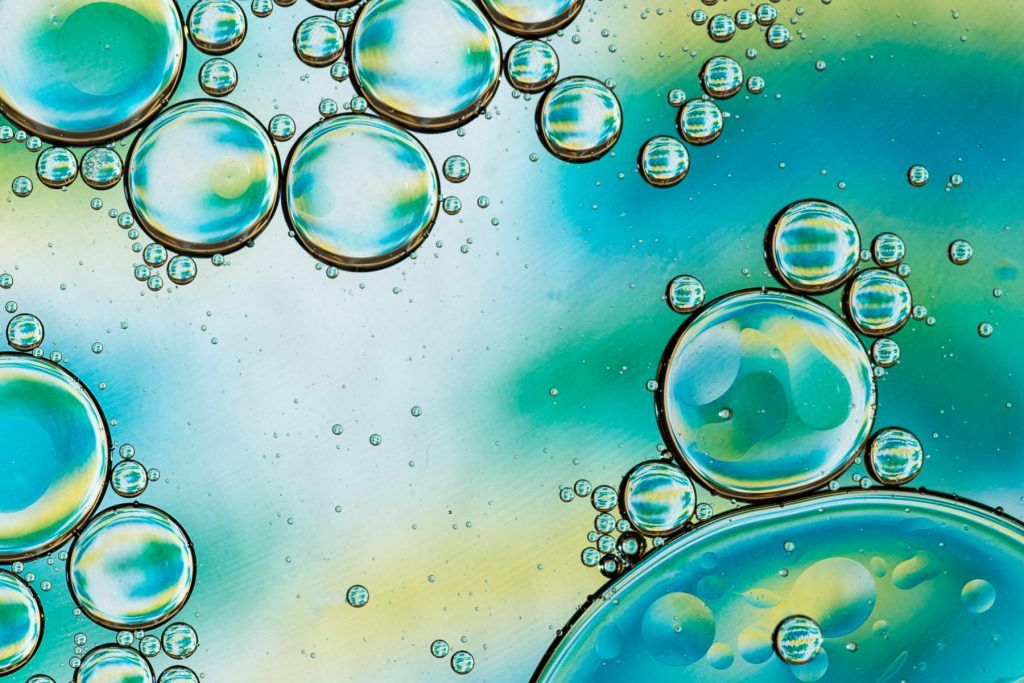
Photograph by Leanne Cleaveley
You will want to be conscious of any other light sources in the room, such as windows and overhead lights, as they too can reflect in the bubbles.
I find the lighting to be the trickiest aspect of these photographs.
You need sufficient light to properly expose the oil bubbles, but not too much light or too directly a light source, as either of those can ruin the effect.
Don’t be afraid to move the light around and experiment with distance until you get it just right (or alternatively, adjust the output on your electronic flash). Check your histogram to see that you aren’t underexposing or overexposing your photograph.
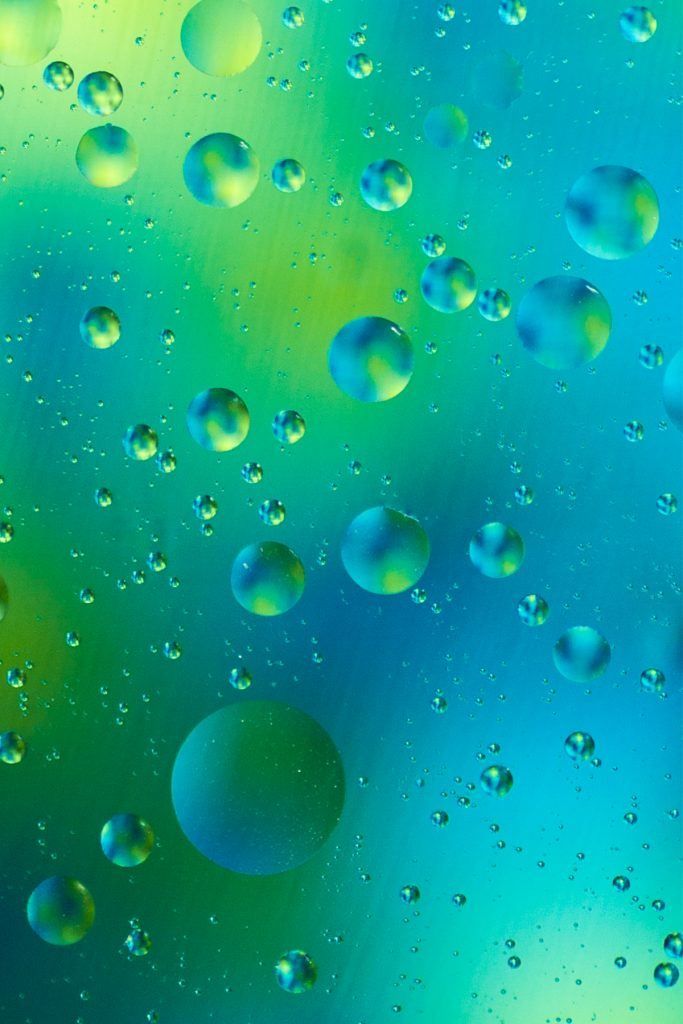
The Fun Part
The best part of oil and water photographs is how creative you can be. Once you have everything set up, you get to play!
Use a skewer, or a stir-stick, to move the oil bubbles around under your lens to get different looks. Swishing the liquid quickly with the skewer will break the bubbles into even smaller bubbles (just be careful not to splash on your camera gear).
The distance between the bubbles and the background allow for a nice blurred background. If you want to soften the background even more, you can increase the distance between your dish and background materials by using a table or blocks of wood.
Key Lesson: The different ways that you can create a nice out-of-focus background are to move the background farther from the dish, or alternatively, you can increase your aperture (open up your f-stop) to create a shallow depth of field.The different ways that you can create a nice out-of-focus background are to move the background farther from the dish, or alternatively, you can increase your aperture (open up your f-stop) to create a shallow depth of field.
If you zoom in and out, you will see how the oil bubbles become blurred or sharper.
There is a magic spot where the outside edge of the oil bubbles comes into sharp focus – a matter of millimeters – and it can change your photograph dramatically.
Another fun thing to try is getting your background in sharp focus, as seen in a bubble.
All those little bubbles are like tiny lenses, too! Play with the focus of your lens while looking at just one tiny bubble until a design in your background becomes sharp in that bubble.
There is a magic spot where the outside edge of the oil bubbles comes into sharp focus – a matter of millimeters – and it can change your photograph dramatically.
Play with the aperture as well. I usually start around f14 to get most of the bubbles in sharp focus. By closing down the f-stop, you increase your depth of field and can pick up more of the tiny reflected images from your background in the oil bubbles.
I’ve had fun doing this with playing cards, some photographs of my daughter, and also using interesting designs on wrapping paper.
Spend some time hunting for interesting background material before you set up, so that you will have plenty on hand.
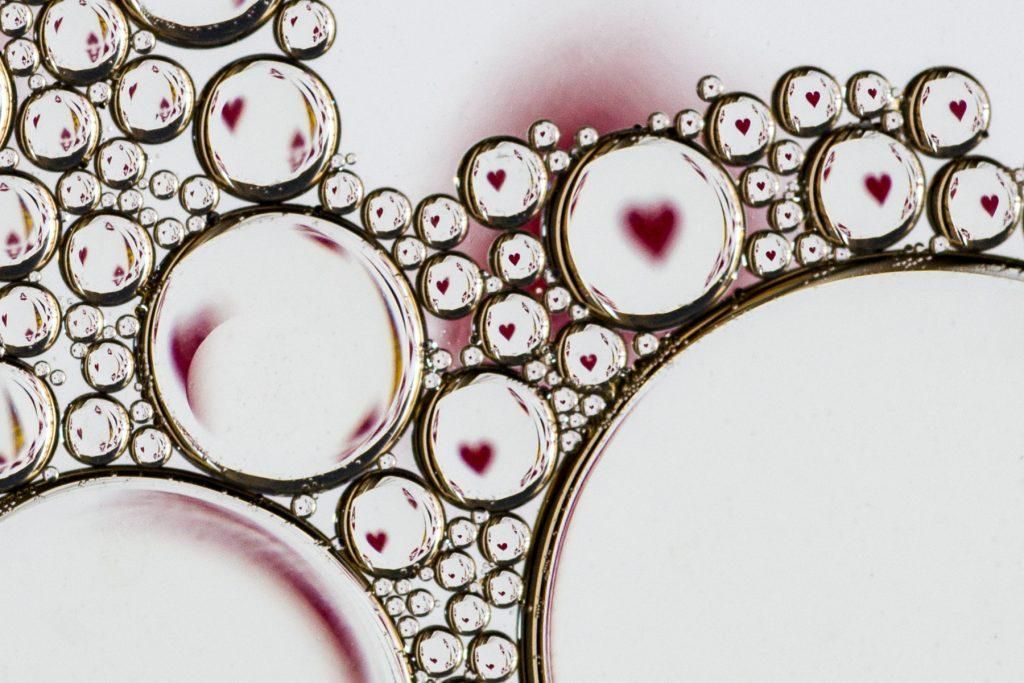
The ace of hearts on the playing card that I used as background is distorted and magnified in the oil bubbles in this photo. Photograph by Leanne Cleaveley
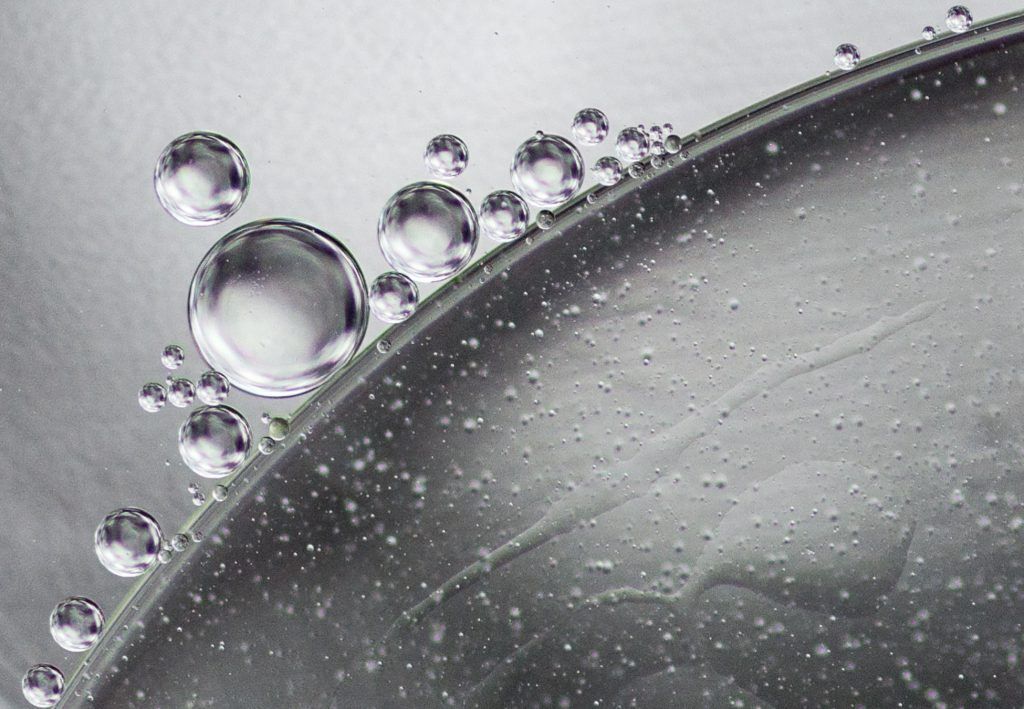
Using reflective materials in your background can create interesting results. One of my favorite background materials for some really cool monochromatic images is aluminum foil. I take a piece of foil and scrunch it up, and then I open it up again and place it underneath the dish. Photograph by Leanne Cleaveley
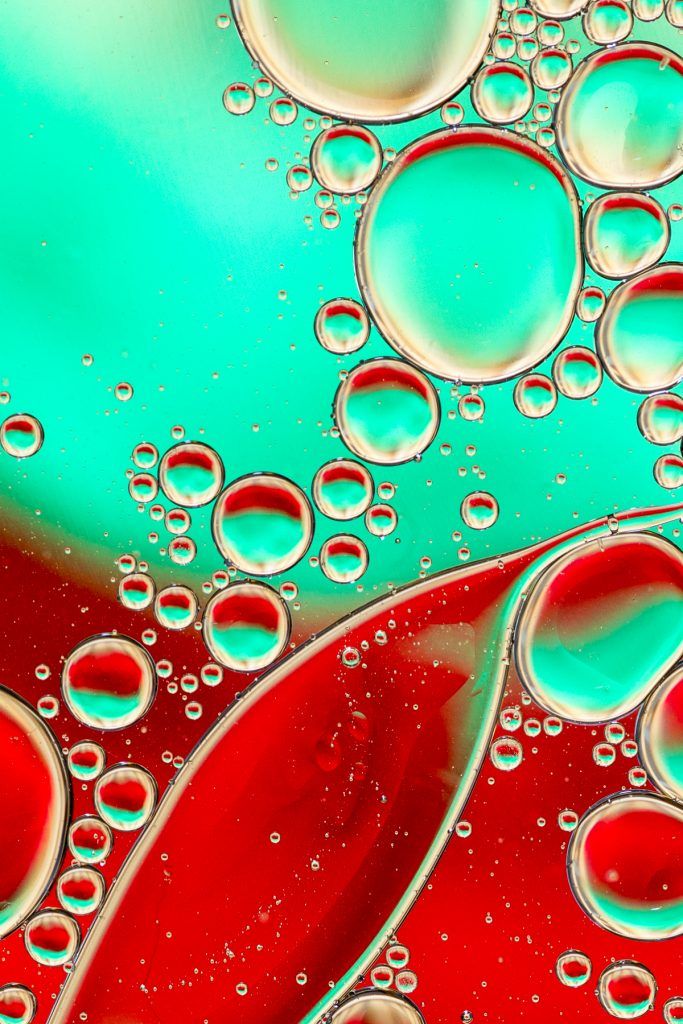
Also, you can stretch the bubbles out with your skewer and get some different shapes as I did in this photo. Photograph by Leanne Cleaveley
Finishing Up
Once you have taken a batch of oil and water photographs using different backgrounds to provide color and texture, it is time to do some post-processing.
A few things that I like to do are adjust the exposure, contrast, and vibrancy. I work in Adobe Lightroom to make these changes, and I like to manually adjust the slider until I get things looking just right.
Often, even after careful cleaning, you will find bits of fluff or debris in your photos. Using the clone stamp tool in Adobe Photoshop (or a similar tool in other editing programs) makes short work of these little eye snags.
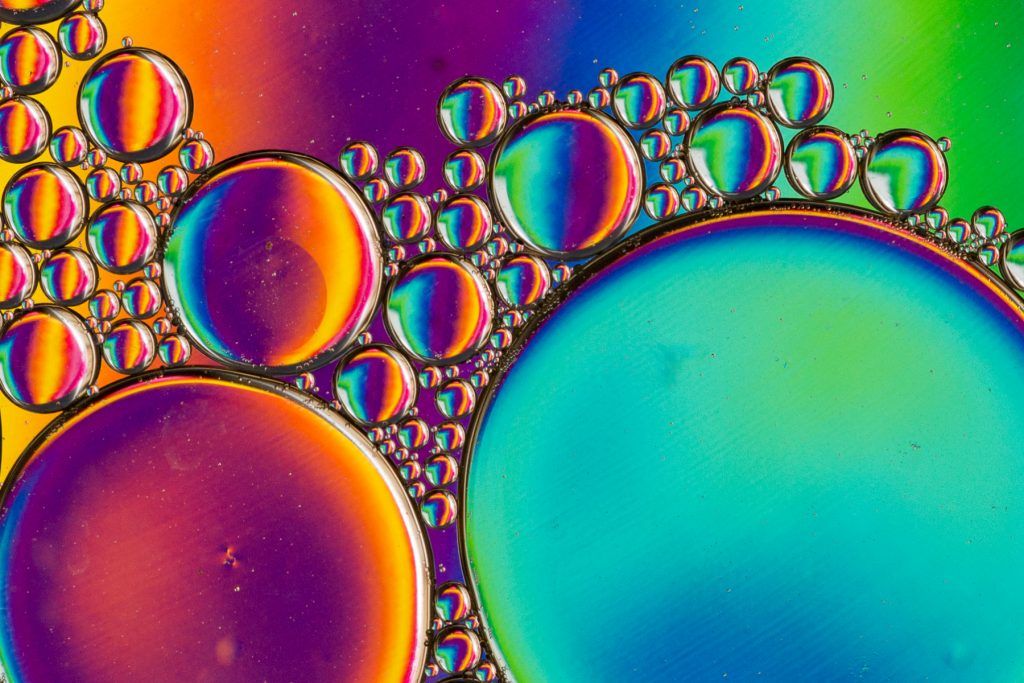
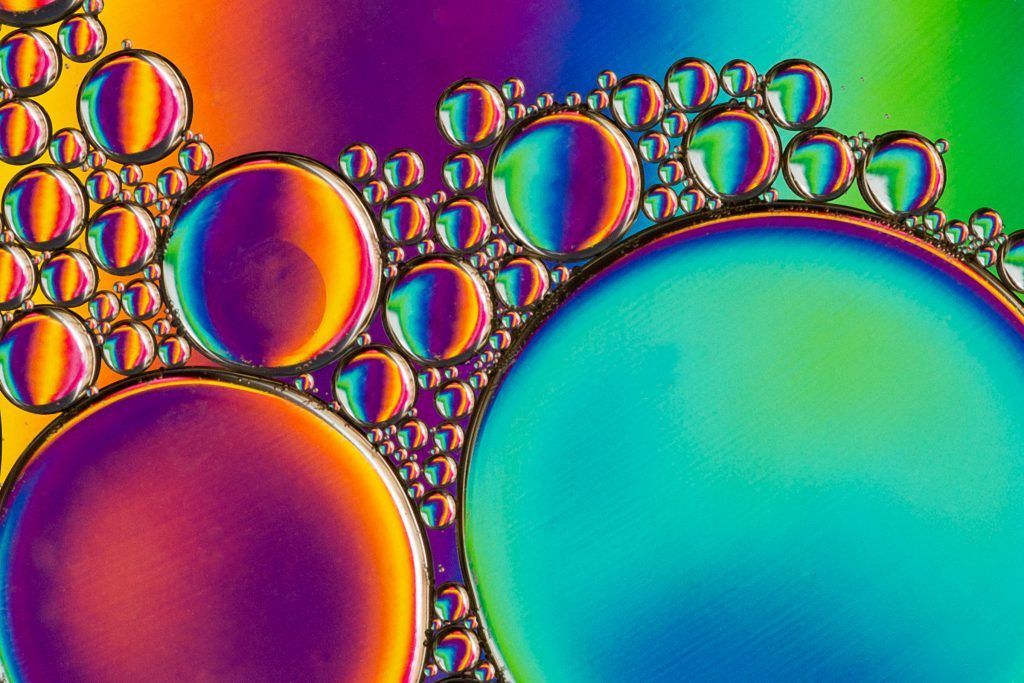
Photograph by Leanne Cleaveley
These two images show before (top) and after (bottom) of the same image using the clone stamp tool in Adobe Photoshop to “clean up” debris and dust spots.
One of my favorite parts of the editing process involves changing the orientation of my photos and cropping them. I will often see something at this stage of the photographic process that was too small to appreciate through my viewfinder.
Just be aware that every time you crop your photo down you are losing some resolution. You want to keep this in mind if you are planning on making large prints down the road.
See what kind of big changes a minimal crop can make to your photograph. Keep in mind some of your compositional rules as well (rule of thirds, negative space, patterns, and balance and symmetry to name a few). Use these rules to guide your decisions.
Recommended Reading: To learn more about these basic composition concepts, check out Photzy’s premium guide on Understanding Composition. If you’d like to improve your composition skills to create better images, grab a copy of Photzy’s best-selling premium guide, Advanced Composition.
I actually think that this process can lead to a better awareness for what works, and what doesn’t work, compositionally, and it can help improve your photography in general.
So give abstract oil and water photographs a try! I guarantee you will find it fun. And like me, you just might accidentally learn something while you are at it.
Self-Check Quiz:
- __________________ can be used to stabilize your tripod and prevent tipping.
- An optional ingredient that helps oil bubbles look more three-dimensional is _____________________. Alternatively, you can _____________ the oil and water to get the same effect.
- True or False: You should aim your light directly at the bubble to get the best shot.
- Name three potential sources of light that could negatively affect the quality of your oil and water photographs.
- True or False: The background becomes more blurred the farther you move it from the dish.
- A distance of ________________ between the camera and dish is appropriate for a macro setup.
- A distance of ________________ between the dish and the background is a good starting point.
- When using a portable flash, don’t forget to do this to your on-camera flash to avoid unwanted light.
- _______________ is a good amount of oil to start with, and you can add more as you see fit.
- Create a list of background materials that you think would be interesting for oil and water photographs.


