

Picture a lazy summer day. You are lying in your hammock, listening to the breeze blow through the leaves. The summer sunshine feels warm on your skin. Suddenly, you notice a flash of red in the leaves above you. You reach for your camera. It’s already set up on the tripod, the macro lens is attached, and you move in to get a shot of the spotted ladybug that has just crossed your path. Sound familiar? No? Well, it should! Macro photography of insects is fun.
I have a couple of different approaches to taking insect macro photographs.
One is to collect all my gear and hunt for the little bugs. However, as I bungle through the flowers and grass, I often find that I scare my prey as much as anything.
The second approach is to wait, relax, and enjoy the day… and maybe a bug will appear. Almost always, this technique nets me results.
However, my lazing about is well planned – the “when and where” of it is quite important to getting great shots of these critters.
Of course, it’s good to know a little about the insects that you seek.
As I always say, get to know your subject, and you will get better photographs.
Getting to know your gear, and what you can expect when taking macro photos, is just as important.
In this article, I will share with you the joy of taking macro photographs of insects.
You will also learn:
- How to connect with critters in your backyard and nearby green spaces
- The equipment setups that work well for insect macro photography
- How your camera perspective can make your shots better
- How to make the available light work to your advantage when taking macro photos
Note: If you want to learn how to enhance your photos and create better images, grab a copy of Photzy’s premium guide, Ultimate Guide to Fundamental Editing.
Know Your Subject
I am a gardener, so I do double duty in the backyard when I have my camera at hand. I can weed, water, and harvest, all while keeping a watchful eye out for photogenic critters.
As I spend a lot of time in the yard, I have grown familiar with many of the insects that live there, and I know where they hang out, their habits, and their habitat.
One thing that I’ve learned, through observation, is that certain insects will frequent certain plants at regular times throughout the day.
That knowledge comes in very handy when I feel less like weeding and more like taking photos!
One thing I've learned, through observation, is that certain insects will frequent certain plants at regular times throughout the day.
Take some time to learn about your local insects – whether through careful observation or your use of the Internet.
Use whichever approach suits you best. Although, eventually you will have to get your hands dirty and head outside!
If you are interested in photographing butterflies, find out which flowers they like to visit.
If you are looking for ladybugs, find out more about what they eat and where those annoying aphids (that’s their favorite appetizer) can be found.
Get curious and become a bit of a scientist. A little bit of knowledge can go a long way toward helping you find, and photograph, those little beasties.
Better yet, if you are a gardener, like myself, or you simply like to potter in the yard, plant some species that you know will attract certain insects.
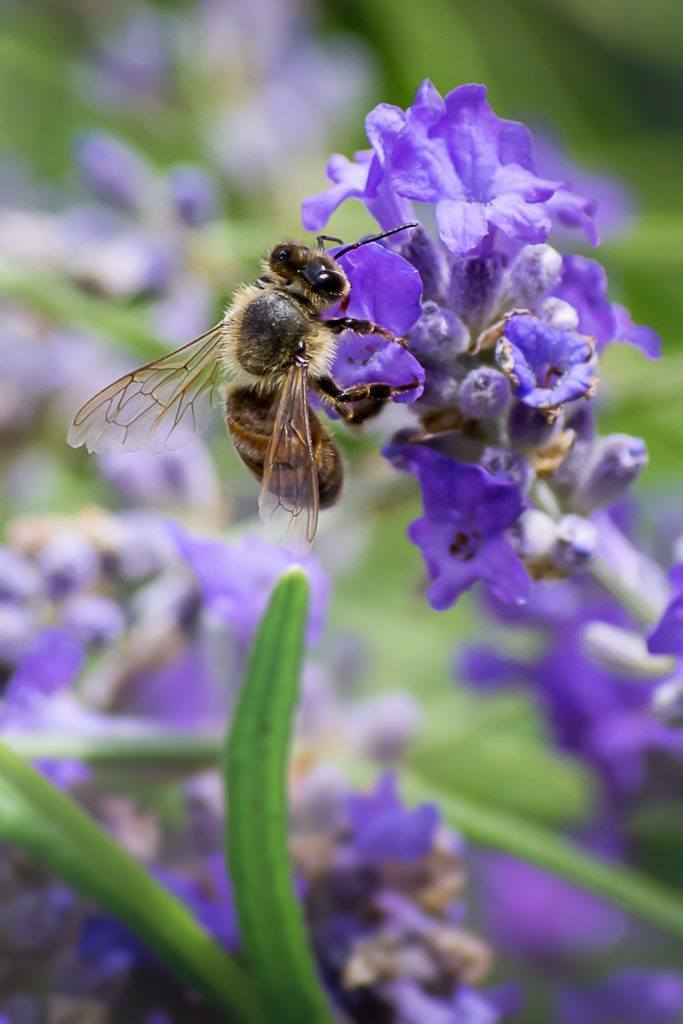
If I want to photograph bees, I know that the lavender and oregano flowers in my yard are great places to find them. Do you know where they hang out in your neighborhood? Photo by Leanne Cleaveley
From several years’ experience, I know that carrot seeds attract a multitude of insect species, so I will leave a couple of carrots to go to seed every other year (carrots are biennial, meaning it takes them two years to complete their cycle of producing seeds).
I call this approach, “If you build it, they will come.”
If all else fails, and you just can’t connect with the insects that you want to, then try this approach.
I call it “the sneak attack.”
Pretend that you are going to take photos of flowers, and then “catch” the insect when they don’t expect it!
I can’t tell you the number of times I have gone out to take macro flower photos and caught a spider, butterfly, beetle, or bumblebee in action. They seem to sense my lack of “hunting them” for a photo.
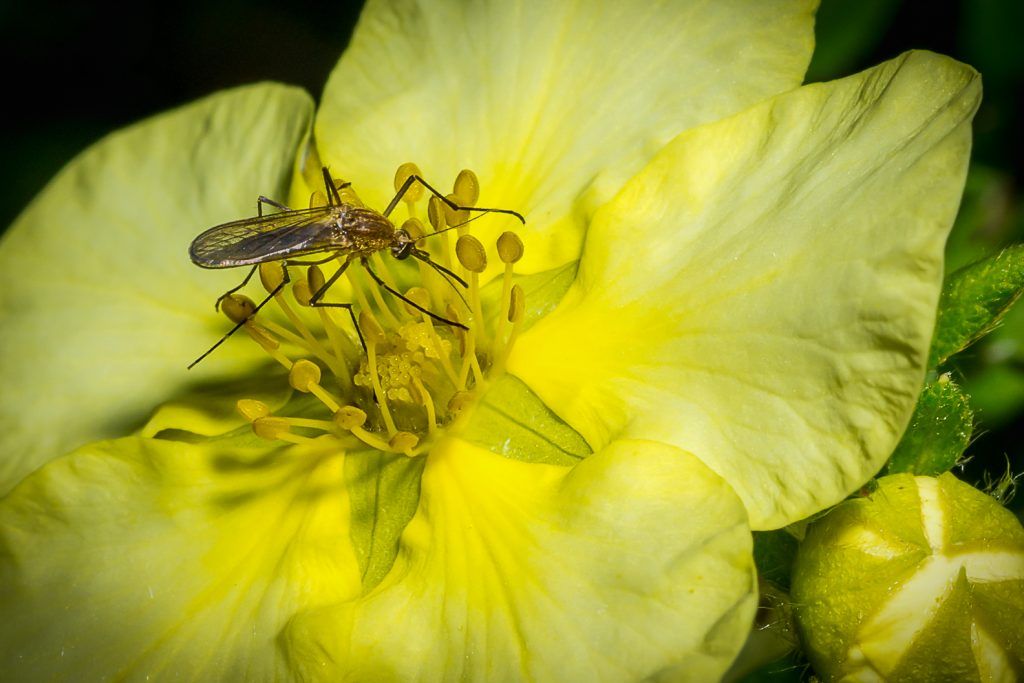
I was photographing flowers, when this mosquito flew into my frame. Insects are unpredictable. Have a Plan A and a Plan B. If the insects are a no show, at least you can get some great flower photos! Photo by Leanne Cleaveley
Gear and Setup
My basic setup for insect photographs is this:
- Camera
- Macro lens
- Tripod
- External flash
- Reflector
- Boards
You need something sturdy that you can rest the camera on at a lower elevation. (I recently discovered a piece of photographic equipment known as a “sand bag,” which is meant just for this purpose, and I love it!)
A few different colored boards (I use scrapbooking paper) help to eliminate distracting backgrounds. I also use a reflector of some kind (this can be homemade as well!).
Once you have all your necessary materials, take a moment to get your camera settings right for the conditions that you are shooting in.
Many insects move quickly, and you don’t want to miss a great shot because you were fiddling with your camera settings.
Take a test shot, and check your histogram. Ensure that your exposure is good.
Key Lesson: Taking some time to adjust your camera settings right away can mean the difference between getting a shot and telling everyone about “the one that got away.”
The next thing I do is check out the background.
If I am on a stakeout, near some flowers that I know the bees love, then I look at what is behind and in front of those flowers – things that may enhance my shot or things that may create eye snags and detract from it.
Look for a pleasing background.
Move around to find the best angle.
Many insects move quickly, and you don't want to miss a great shot because you were fiddling with your camera settings.
Remember that because you are shooting with a very shallow depth of field, your background will become a soft blur of color and light. However, distracting objects and colors can make for an “unsightly blur.”
You don’t want the background to overpower your subject. I use boards (actually, I use scrapbooking paper, but any art board will work) that I place behind the critter to create a more pleasing background.
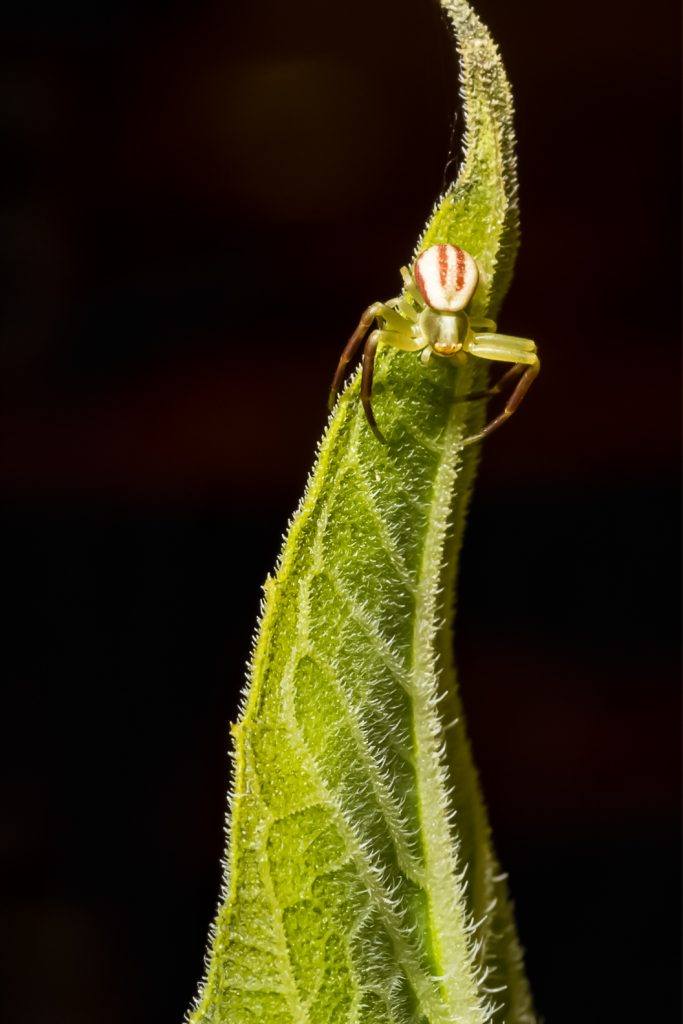
A black background (flat black paper) and the use of a flash made a distracting background
become a non-factor for this shot. Photo by Leanne Cleaveley
You will want to set up your camera on the tripod (or alternatively, if you are low to the ground, on a sand bag or some other stable surface). Very small movements can create blurry photos. In macro photography, camera stabilization is a must!
How close should you get?
Well, that depends. The closer you get, the greater the detail of whatever creature you are photographing. However, you need to consider what you are giving up by getting close: depth of field.
Key Lesson: When using a macro lens, you have to consider the shallow depth of field. You don’t have much “wiggle room.” Be sure your focus is placed on the insect, and not on a nearby leaf. Some people use “live view” to check the focus. I prefer the viewfinder. Whatever method you use, take a moment to review your photos and see that you are getting your critical focus where you want it.
There are two ways to affect your depth of field: changing the aperture and/or moving the camera closer or further away from the subject.

This image demonstrates just how shallow the depth of field can be when shooting macro photos. If you look at the back of this ladybug larva’s body, you can see it is starting to blur. The part of the leaf that is closest to the camera is quite soft. These little creatures are mere millimeters in width, so you have very little room to play with if you want to get it all in sharp focus. Photo by Leanne Cleaveley
By moving the camera further away, you can increase the depth of field. Doing that may provide enough depth of field to get the entire insect in focus (if that is your goal).
Alternatively, you can decrease your aperture, but remember that by doing so, you decrease the amount of light entering the lens (more on this to follow).
I must admit, I see the shallow depth of field as a wonderful advantage when taking macro shots. I use it to make viewers of my photographs zoom in on what I want them to see.
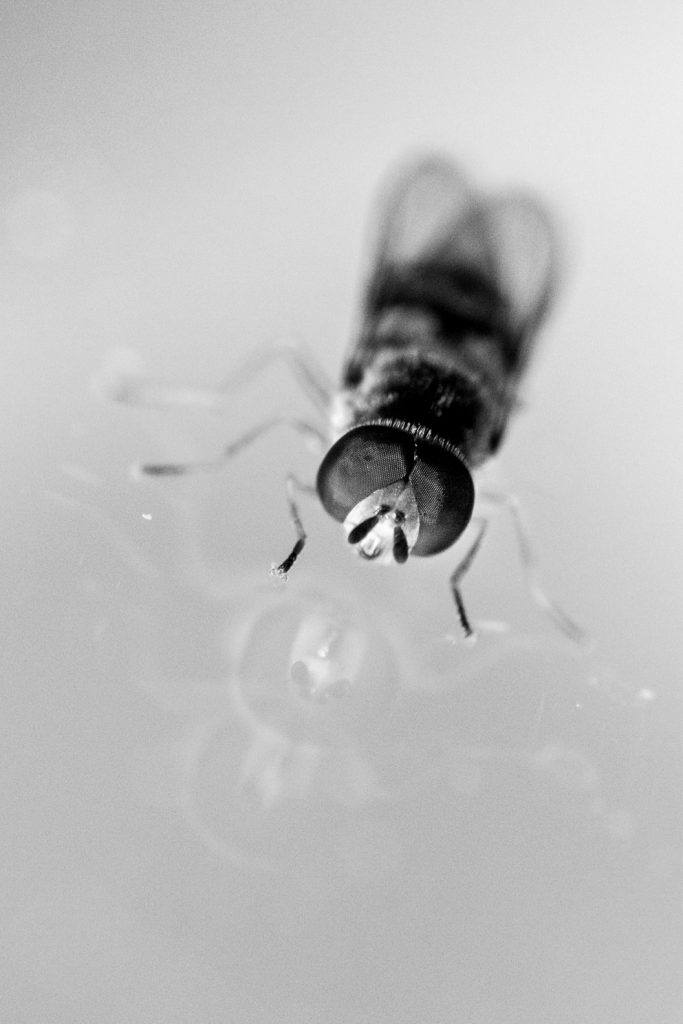
Photo by Leanne Cleaveley
I will often opt to use a very shallow depth of field (allowing me to get very close to the insect, and thus have greater magnification), focusing in on one part of the insect, like the eyes in the image above.
You will have to decide what is important to you when creating insect photography. Just remember that with each decision made, something else is sacrificed, whether it is depth of field, light, noise, or detail in the shot.
Perspective: Get Down or Look Up
Changing your perspective can go a long way when creating great insect macro shots.
Most of us are familiar with the bird’s eye view of a spider (the moment before we flatten it with our foot – just kidding!). So, shooting from that angle can be boring.
But, imagine for a moment that you let that spider live (and we all should). You get down beside it and stare into its cute (cute!?!) eyes and realize, “Hey! This guy is too adorable to squish!”
If you are photographing crawling insects that stick close to the ground, get down on the ground with them.
Spread out a blanket if you are going to be there for a while; you might as well be comfortable.
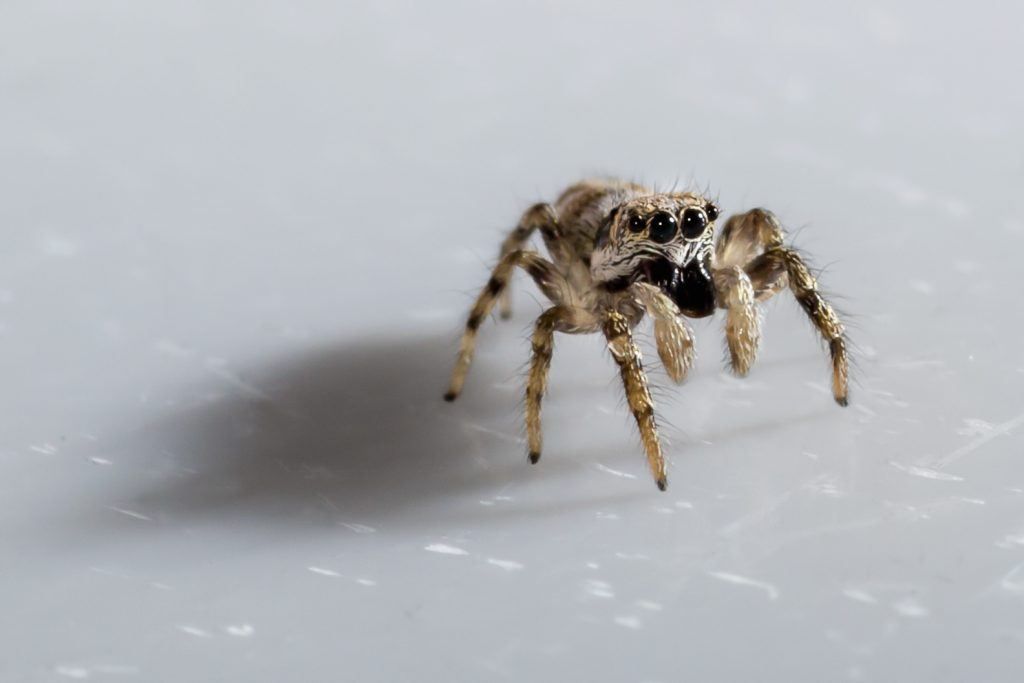
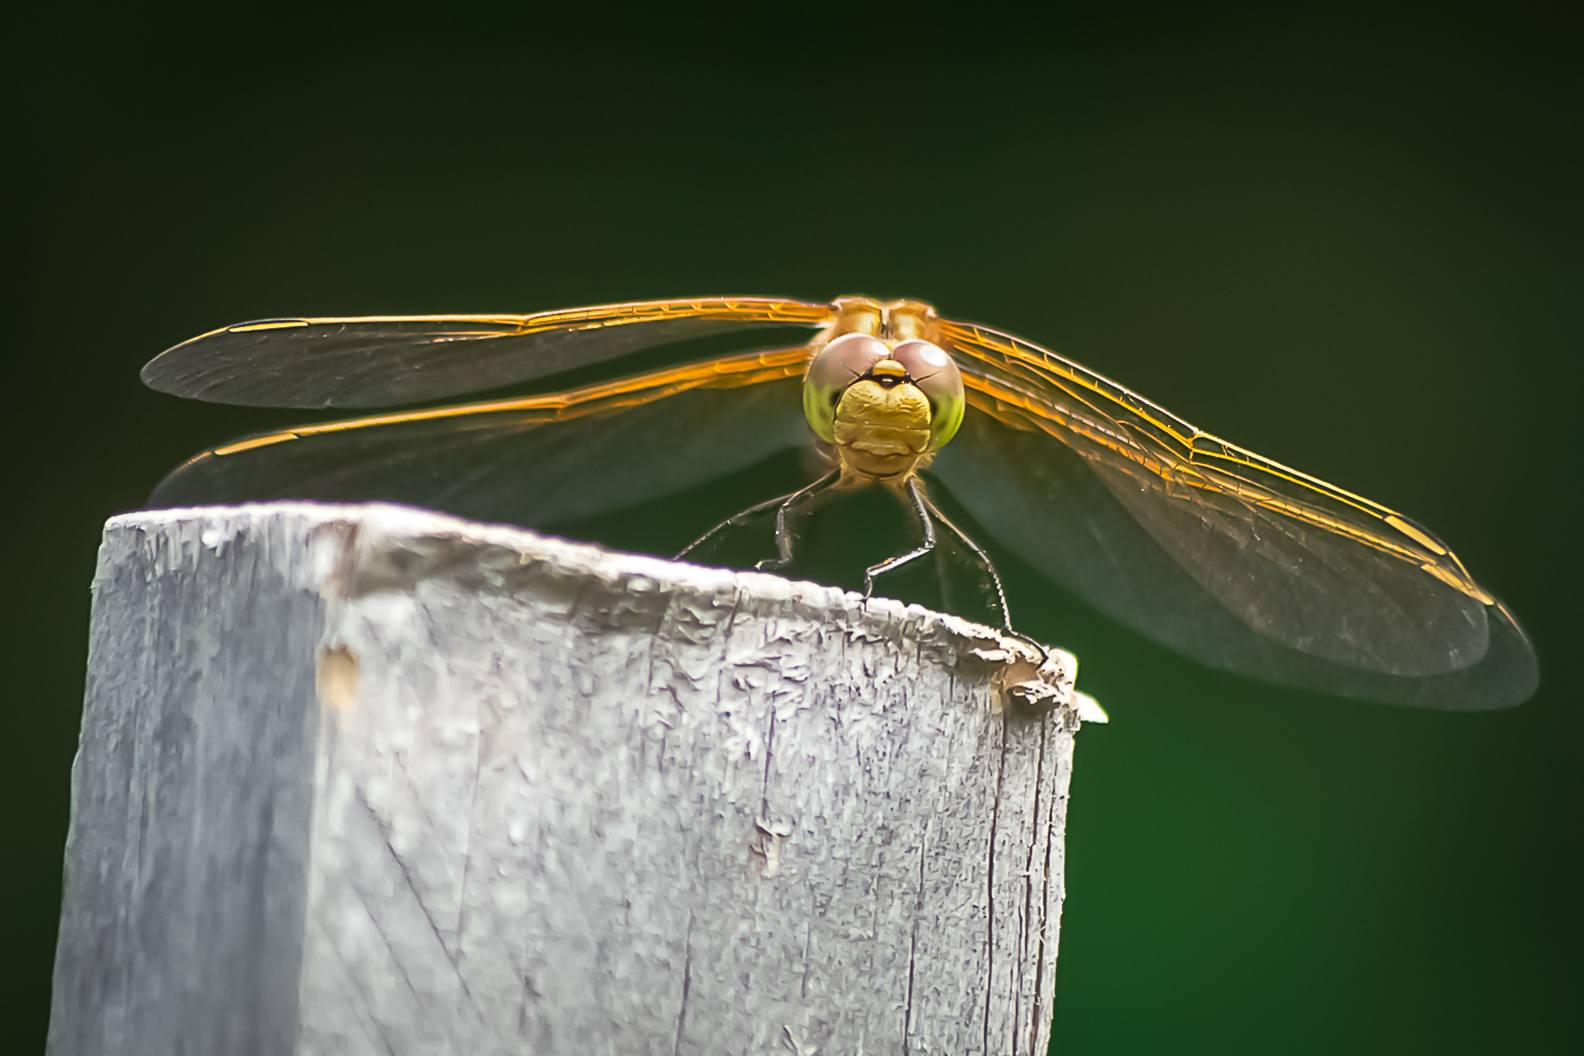
This image is an example of how changing the camera perspective can really change one’s personal perspective. Looking at an insect, from less of a common angle, can show you another side of that critter, and help you create some very interesting shots. Photo by Leanne Cleaveley
If you are shooting butterflies that are flitting from flower to flower, get down beside the flowers to get a “bug’s eye view.”
Don’t forget your rules of composition.
I see amazing macro shots of insects that fall flat because the insect is smack dab in the middle of the frame with no thought to composition. Putting that insect into a different position might have created a more pleasing composition. Use leading lines, frames, or the inclusion of the environment – anything that can make the shot even better.
Consider the Rule of Thirds. Consider using leading lines. Fill the frame with the insect’s wings, or zoom in on their eyes. Whatever you do, keep some of those rules of composition in the back of your mind. Just because the insect “looks really cool” doesn’t guarantee that it will make a great photo that others will enjoy.
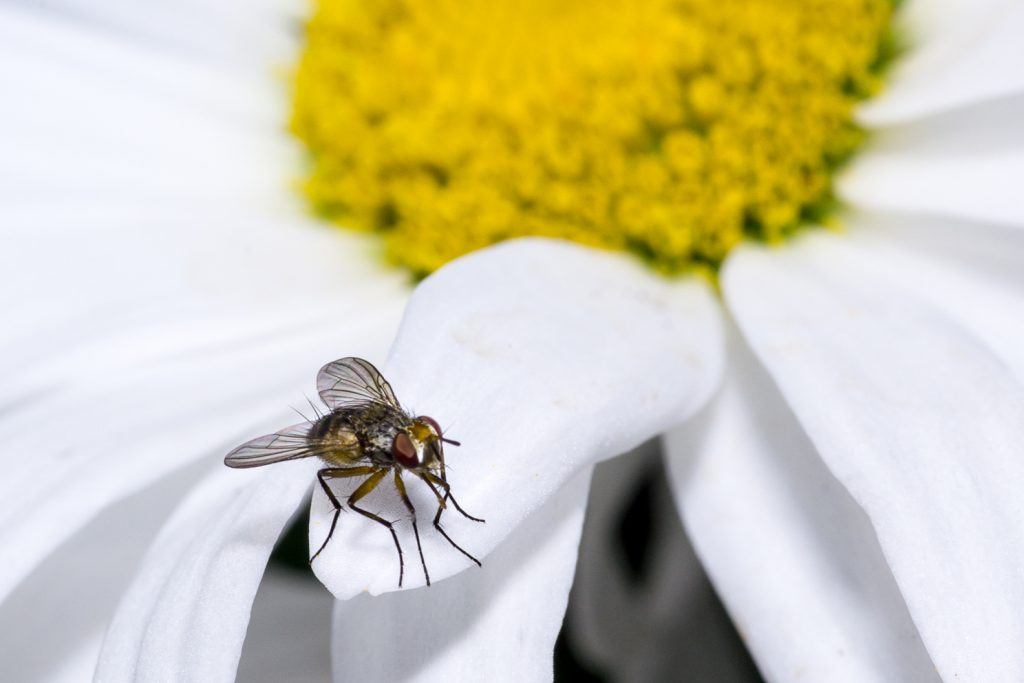
Although this fly makes for an interesting subject on its own, including some of the environment in the shot makes it even more interesting and creates a juxtaposition of something beautiful and something, well, beastly. Photo by Leanne Cleaveley
Recommended Reading: If you’d like to learn the fundamentals of composition, grab a copy of Photzy’s best-selling premium guide, Understanding Composition.
Light
In my opinion, light is one of the trickiest factors to control when taking macro shots.
There are all sorts of things working against you, including your proximity to the subject, your depth of field limitations, and the fact that teeny tiny insects often do not reveal themselves in brightly lit spots where it would be most convenient to photograph them.
Trying to control things that are out of your control is the definition of crazy, so here are a few ways that I deal with the lack of control.
#1 – Shoot in places, and at the time of day, when the light works in your favor. Macro shooting is one of the few forms of photography that I will brave in the full light of midday. Whereas shooting at noon might not be great for outdoor portrait sessions, it can work wonderfully for macro photography.
Recommended Reading: Learn the basics of light and how you can use it to improve your photography. Check out this Photzy premium guide, Understanding Light Book One.
#2 – Bring some tools. I make good use of my lens shade. This doesn’t always work when I want to get really close to my subject, but it can save you from hazy shots and sunspots.
#3 – Have something reflective handy. If you are shooting in the shade of a tree, you need something to direct that natural light on to your subject. Whether you choose a store purchased reflector or the homemade variety (a white sheet of paper, aluminum foil, etc.), use it to gently bounce some light on to your subject.
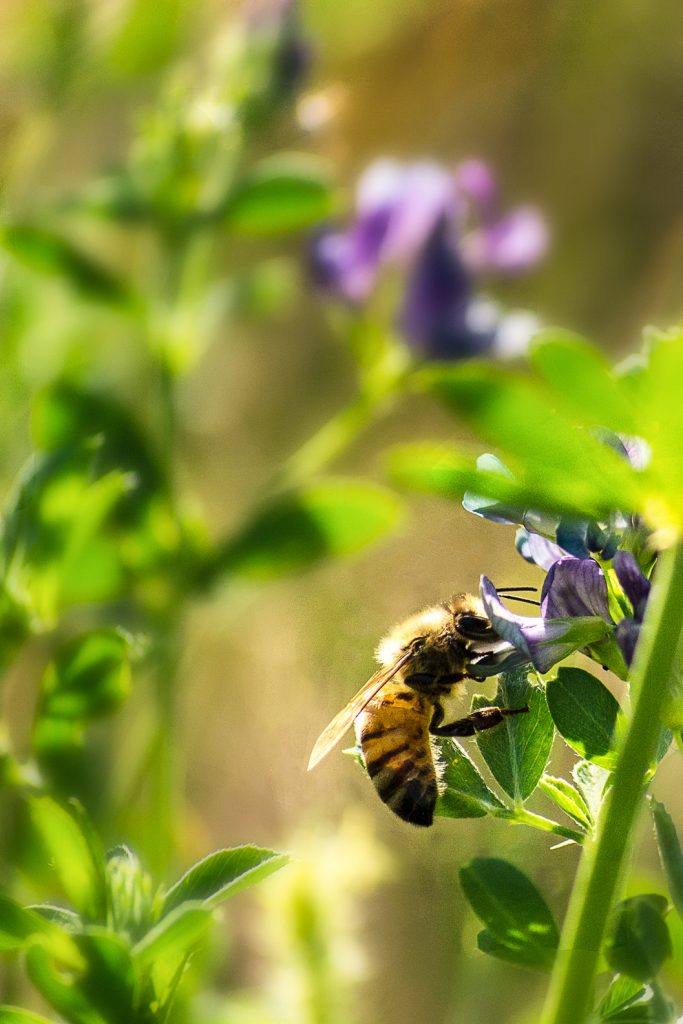
The evening sun allowed for ample light in this bee macro photo, but sometimes you must use other resources to create ideal lighting conditions. Photo by Leanne Cleaveley
#4 – Adjust your ISO. You may have to use a higher ISO setting to get the right exposure and to create a crisp, sharp shot of your insect.
This is especially true if it is a fast moving variety of insect or if the lighting is poor.
For slower moving insects, and/or a welllit scene, try using ISO 100 or 200.
If you need to boost it to 400 or even higher to get the shot, go for it.
Shoot in places, and at the time of day, when the light works in your favor.
#5 – Use your electronic flash. Some folks don’t like using their flash as the light doesn’t look soft or natural. However, I am here to tell you that you can do this! Use a diffuser to soften the light. Bounce the light from the flash off your reflector, which is then directed on to your subject. Don’t be afraid to use your flash. It can be the difference between getting the shot or not.
Recommended Reading: If you’d like to learn how to use your flash unit for better photography, grab a copy of Photzy’s premium guide, Electronic Flash – Parts and Practices.
For different lighting alternatives for macro photography, read this free guide: Macro Lighting Techniques.

Photo by Leanne Cleaveley
Key Lesson: Using a flash to create a macro photograph can be a challenge, as the barrel of the lens will be very close to the subject, and thus block the light. Forego the built-in on-camera flash for an external one. Use the stand that came with it, or alternatively you can use a second tripod to set it up (I have a lighter, cheaper one for this purpose). This will provide opportunities to move the flash around to get the best possible light for your subject.
Be Ready
One of the best pieces of advice ever passed on to me was to have my camera with me everywhere I go.
I am the gardener that also packs the camera, tripod, and other handy tools that I might need for a great shot. When I am weeding the garden, I’m also looking for photos. Wherever you are headed, take your camera.
You can go hunting for the little critters, or just lie back in your hammock and wait for them to come to you. Be ready.
You can greatly increase your chances of catching a great insect shot if you have what you need right on your person.
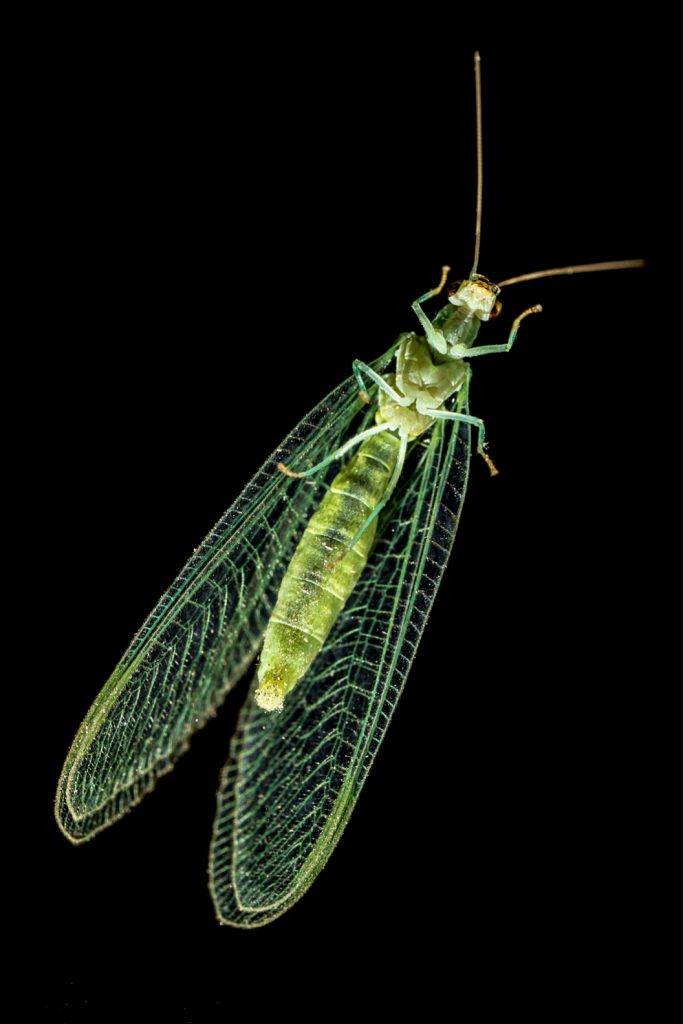
Sometimes insects will just appear, like this lacewing, spotted on a window at night. Be sure to have your camera at hand, and be ready to snap a shot. Photo by Leanne Cleaveley
Key Lesson: You can’t get great shots without your camera. Take your camera with you on outings and be ready to snap away when the insects appear.
Self Check Quiz
- Learning about the ______________ and ________________ of insects will help you find and take great insect macro photos.
- True or False: Planting certain species of plants can help you connect with insects.
- What are two ways that you can ensure you will have a pleasing background without any eye snags?
- Changing your _________________ and thinking about __________________ are two ways that you can improve your macro insect photographs.
- Tools that can help you with lighting your subject are a____________________ and a ______________________.
- Decreasing your aperture can create a _____________depth of field window. (narrower/wider)
- A wider depth of field window means that more of the insect will be in focus, but you will sacrifice ______________________ with the decreased f-stop.
- For faster moving insects, or lower intensity lighting levels, you may want to consider using a higher __________________ setting.
- When using an electronic flash, also consider using a ____________________ to bounce the light, and soften it, before it hits the subject.
- True or False: The on-camera flash is helpful when taking macro shots.


