How to Add a Motion Effect to an Image in Photoshop

New / Noteworthy
EDITOR’S NOTE: If you’re looking for a quick way to learn the basics of photography take a peek at our popular cheat sheets: The Snap Cards. If you missed out on your set last time, they’re available again and on-sale right now.
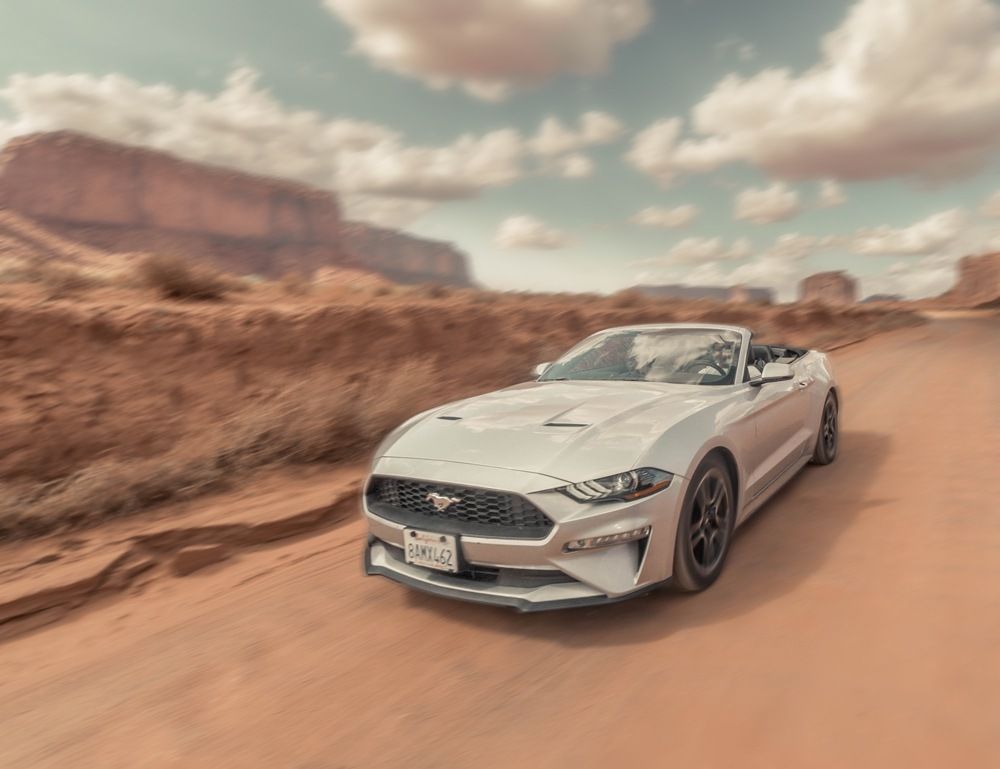
The final result of the tutorial. Original image by Koke Mayayo
In this tutorial, you’ll learn how to create a motion effect in Photoshop. We’ll use the combination of three filters to create a motion effect and these 3 filters are the Spin Blur, Motion Blur & Gaussian Blur filter.
First, we’ll use the Spin Blur, then use the Motion Blur to create a motion effect. In the end we’ll use Gaussian Blur to create a depth of field to draw more attention towards our subject. So without any further ado let’s dive into it!
Step 1
First, let’s open the sample image of a car which you can download from Unsplash. Download the image if you want to follow along with me. Go to File > Open and open the sample image as you can see in the image below.

Step 2
Since this tutorial will use filters, it is better to prepare our image before we apply filters. By preparing, I mean converting the image to Smart Objects. Filters can be destructive and can do permanent damage to your images if you don’t convert your images to Smart Objects. But if you use Smart Objects you can go back and edit filters at any time. So always use Smart Objects before applying filters to your layers.
To convert a layer to Smart Objects, right-click on it and choose “Convert to Smart Objects”. Just right-click on the car layer and choose “Convert to Smart Object” as shown below.

You can confirm by just taking a look at the layer thumbnail whether a layer is Smart Object or not. You’ll see a folder icon on the layer thumbnail as shown below.

Now the car layer is ready and we can apply filters to it.
Step 3
We’ll use the Spin Blur to add a rotating effect to the wheels of the car. Spin blur is a new addition to Photoshop and you may not find it in older versions of Photoshop. I am using the latest Photoshop CC 2020 and I think it is available in Photoshop CC 2014.
Go to Filter > Blur Gallery > Spin Blur:

Here you can see we are in the dialog box of the Spin Blur. You can see an ellipse surrounding the pin & controlling the blur effect over the image.

Let’s talk about the Spin Blur in brief. The Pin that you see in the center its blur center and you click on the pin to move it around the image. That will help you add the effect where you want to add in the image. You can also add a new pin by just clicking on the image.

Next we have Blur Angle & it controls the blur amount. The more the blur amount the more blur you’ll see being added to the image.

Next, we’ll understand the dots of the Spin blur.
1. Outer dots can change the shape of blur such as you can use it to make it fit nicely to the shape of the car wheel. You can take it like the Transform Tool in Photoshop. You can also click-drag on the ellipse’s line or border to resize while locking its shape & rotation angle.
2. Inner dots control the range of blur effect, if you click-drag them closer the blur will fade from the edges, similarly if move them further it gonna blur everything inside the edges (increasing the blur range).

That’s the basic of it & you can play with motion effect & noise if you want to. This will get more realistic & dynamic results & you don’t need to worry about much here. Just play around with it to see how it works.

Step 4
Let’s use this blur to add a spinning effect to the wheels of the car. I used the outer dots to change the shape of the spin blur and made it fit nicely to the wheel. The shape looks perfect and I didn’t use the inner dots much but if you want you can go ahead and do that. The blur amount depends on you and I added the blur amount of 19 degrees.
See how I made it fit on the wheel.

Similarly, I applied the Spin blur on another wheel. You don’t need to worry about if it is affecting other parts of the car we can take care of it using the layer mask of the filters. Just focus on shaping the spin blur on the wheel.

Step 5
You can see the spin blur is also affecting the fender of the car. The spin blur effect on the rear wheel is barely visible in 100% zoom. Even if you add it to the fender of the car or any other parts you may not notice it until you zoom in. But if you want to be more precise you can mask the blur effect.
Right-underneath the layer you’ll see a white rectangular area that is the mask of Smart Filter. We can control where we want the blur effect to be visible by painting over it. So select the Brush Tool (B) and use a soft round brush with black color & paint on the car fender to remove the effect from there.
You can see how I did in the below image.

Step 6
Now we’ll create motion effect using the Motion Blur Filter. Create a merged layer of all layers by pressing CTRL + ALT + SHIFT + E. This will create a single layer on top of the layer stack and name it “Motion Effect”. Don’t forget to convert this layer into “Smart Objects”.
Also, if pressing CTRL + ALT + SHIFT + E is not creating any layer, try creating a blank layer first then press CTRL + ALT + SHIFT + E to create a merged layer.

Go to Filter > Blur > Motion Blur:

I used the following settings for Motion Blur but you can play around with the settings.

Here are the results with motion blur but notice we have applied it on the car as well. To make the car moving we need to remove the effect from the car.

Step 7
We need to make a selection of the car so we can remove the motion blur effect. To make a selection, I used the Quick Selection Tool (W) and it works best & very fast. You can also use the Pen Tool (P) if you want to be more precise with the selection.
Once you have the selection, click on the thumbnail of Smart Filter mask, set the foreground color to black (press D) & press ATL + BACKSPACE to remove the effect from the car.
You can see now the motion effect looks realistic and it looks like the car is moving now.

See the results here:

Step 8
Now we’ll draw more attention towards the car by creating a depth of field effect. We’ll use Gaussian Blur to create more focus on the car. Press CTRL + ALT + SHIFT + E to create another merged layer & name it “Focus Blur”.

Go to Filter > Blur > Gaussian Blur:

Enter the following settings:

Step 9
Our aim is to make the sky out of focus by applying blur effect to it. So on the layer mask, paint with black color over the image but don’t paint it on the sky (keep the blur effect on the sky) & at the right bottom of the image. This will remove the effect from the rest of the image and keep the effect visible on the sky to make it out of focus and adding blur at the right bottom of the screen will also help drawing more attention to the car.
Make sure when you paint on the layer mask try to vary the brush size & opacity. I tend to use 30%-40% brush opacity & flow while masking and it gives much better results rather than using high opacity & flow settings.

Here are my final results:
Thanks for following the tutorial. I hope you enjoyed it and learned something new here to try with your photos.
BONUS: There's something special for you on the next page...
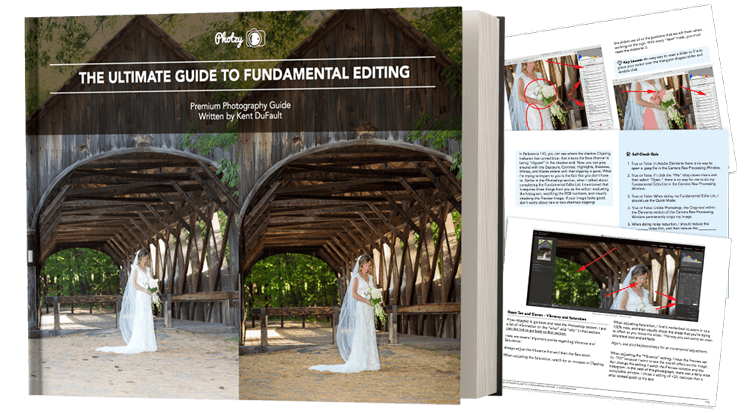
If you’re unsure about your Fundamental Editing, or you would like some guidance on how to edit your photos for maximum impact. Kent DuFault has written a comprehensive guide on the subject.
It covers all three Adobe products: Photoshop, Lightroom, and Elements. Plus it includes a free printable step-by-step editing checklist with that you can pin-up, or leave next to your computer.
If you missed out on your copy last time. It’s available again, and on sale right now.
Click below now, to read about it on the next page…
About Bunty Pundir
Bunty Pundir is an artist based in New Delhi, India. He has written tutorials for many popular blogs. Apart from being a tutor, he is a digital artist mastering compositing, photo manipulations & does commission artworks. You can check out his work on Instagram.