
Introduction
Every now and then, when I show one of my pictures to a friend or family member, I’ll hear a familiar response: “Wow, you must have a great camera.” This reply is frequently quoted by photographers as one of the most annoying phrases they have to hear.
The truth is, I do have a great camera. It’s an incredible piece of technology, crammed with features and controls, the culmination of decades of research and testing. So yes, it is capable of producing stunning images – in the right hands.
An amazing picture requires more than just image quality; it also demands patience, knowledge, and vision – attributes that no camera can possess. I am fairly confident that my camera did not charge its batteries, wake up early, drive out to a location and hike for an hour to catch the perfect sunrise on its own.
Obviously, the “12 inches behind the camera” (as stated by Ansel Adams) is the most important ingredient of an image.
However, despite that fact, it is absolutely critical that a photographer thoroughly understands their equipment. I would even go so far as to say that understanding is not enough – the usage of your camera should feel like second nature. Of course, this can be frustrating as many modern cameras are chock full of settings and menus that may seem bewildering, even to a seasoned shooter.
An amazing picture requires more than just image quality; it also demands patience, knowledge, and vision – attributes that no camera can possess.
The purpose of this tutorial is to highlight a few key controls and features that are critical to the landscape photographer. As such, I will be deliberately ignoring the most important three controls on your camera: ISO, Shutter Speed, and Aperture. Keep in mind that some of these features may not be available in all cameras, although for the most part all are very common.
What you will learn in this guide:
- Proper metering methods for landscape photography
- Why exposure bracketing is useful, both with HDR and without it
- The advantages of focus stacking and an intervalometer
- Benefits of the camera’s self-timer
- The depth of field preview button and why you should be using it
Recommended Reading: Want to improve your long exposure technique for landscape photography? Check out Photzy’s guide, Complete Guide to Long Exposure Photography.
Metering
Metering is the method by which your camera measures the light in the scene. Another term for it (which you may see in your camera) is photometry.
Years ago, before the advent of digital cameras, every photographer had to carry a light meter with them to determine the proper exposure for their film. These meters used Selenium, a chemical that is electrically affected by light.
In 1938, a camera manufacturer placed a light meter inside of a camera, and today every modern camera is capable of metering on its own.
Whether you are shooting in Aperture priority or full manual mode, you will use the meter inside of your camera to determine the best exposure. But there are several ways to control the method by which the camera meters.
It is critical that the landscape photographer understands all three, as we often deal with high-contrast scenes, particularly those that have the sky in them. The three most common methods are Multi (or matrix), Spot, and Center.
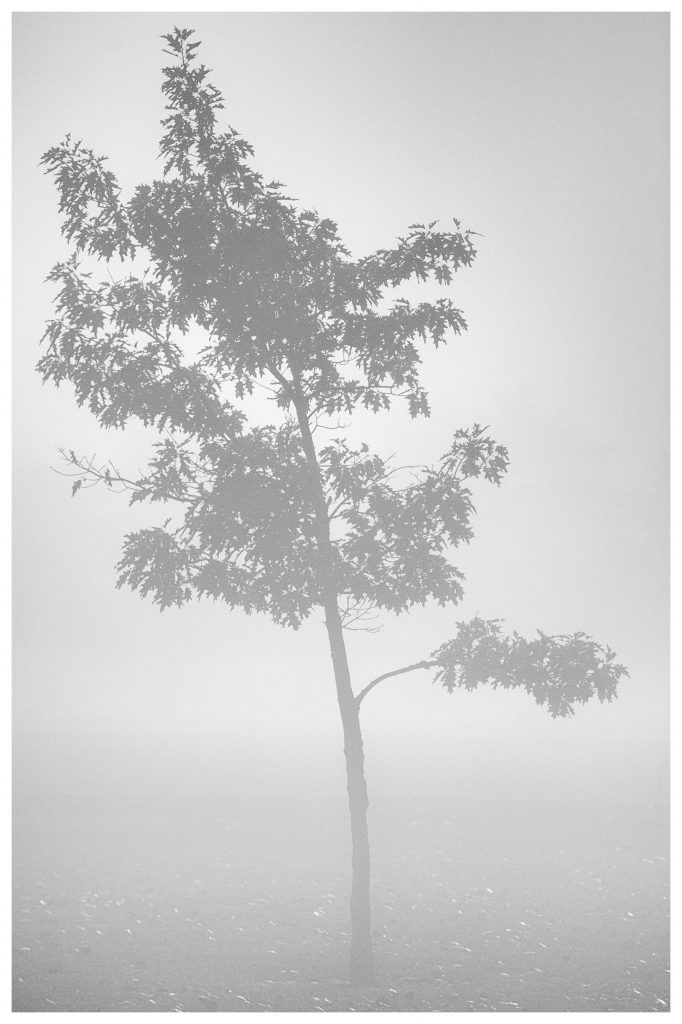
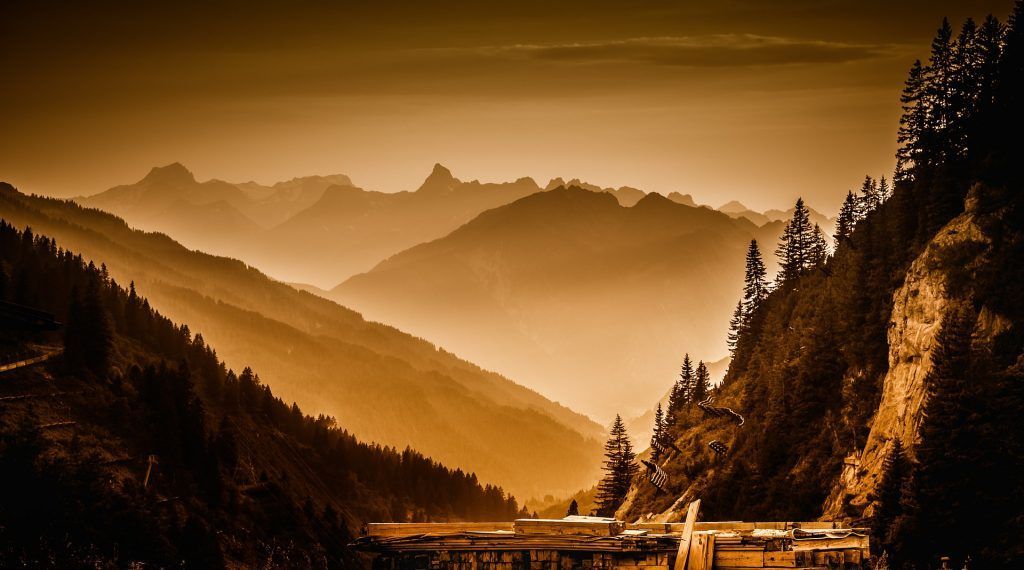
Photo by David Veldman
Multi-metering, or matrix metering, averages out all of the light and dark areas in a scene to create the best possible exposure for all parts of the image. For landscape photographers, multi-metering is the most commonly used, as we generally try to ensure that all parts of our image are visible to the viewer.
The only problem with multi-metering is that at times, it may give us an imperfect exposure due to extremely bright areas like the sky. Thanks to modern imaging capabilities, you can usually get away with this by recovering the data in post-processing; however, it is still possible to crush your shadows or blow your highlights.
This is particularly problematic if you are focusing on a single shadowy point. In this instance, spot metering is particularly useful. It allows you to focus your camera’s attention on a spot of your choosing, ensuring that you will probably expose your main subject.
In the image above, multi-metering was confused by the heavy fog, and wanted to render the scene much darker.
Spot metering allowed me to achieve the exposure I wanted. Make sure that you consult your manual to figure out how to move your spot meter point. Many cameras conveniently allow you to tie it to the focus point.
Center metering is close to Spot; however, it provides a heavier weight on the values taken from the center of the frame, as opposed to only a single area. You can think of it as a compromise between spot and multi.
Bracketing
As I mentioned above, high-contrast scenes frequently confront landscape shooters.
Almost any scene with the sky in it can throw off our exposure, as the sky is usually far brighter than the land below it. Even a perfectly metered photo may still result in overly bright or dark areas in the final exposure. There are many ways to combat this issue, but one of the most useful ones is by bracketing – a feature now available in the vast majority of cameras.
Put simply, bracketing is a process in which the camera takes a series of pictures at different exposure settings. The amount of control given to the user depends on the camera, but most will allow you to choose the amount of shots and the range of exposure that is bracketed (i.e. 1/3rd or full stops).
For this type of work, a tripod is required, as any movement between shots can ruin your final image. The process is quite simple: you engage the bracketing function and trigger the shutter as required (some cameras will do all the shots with one press of the shutter; others require a press per exposure).
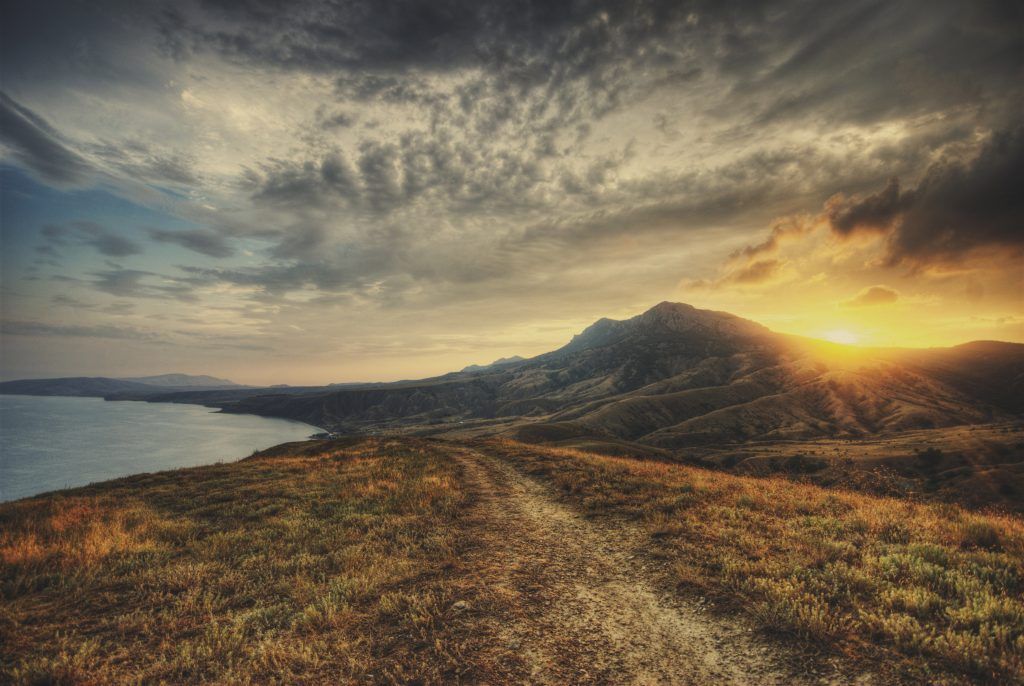
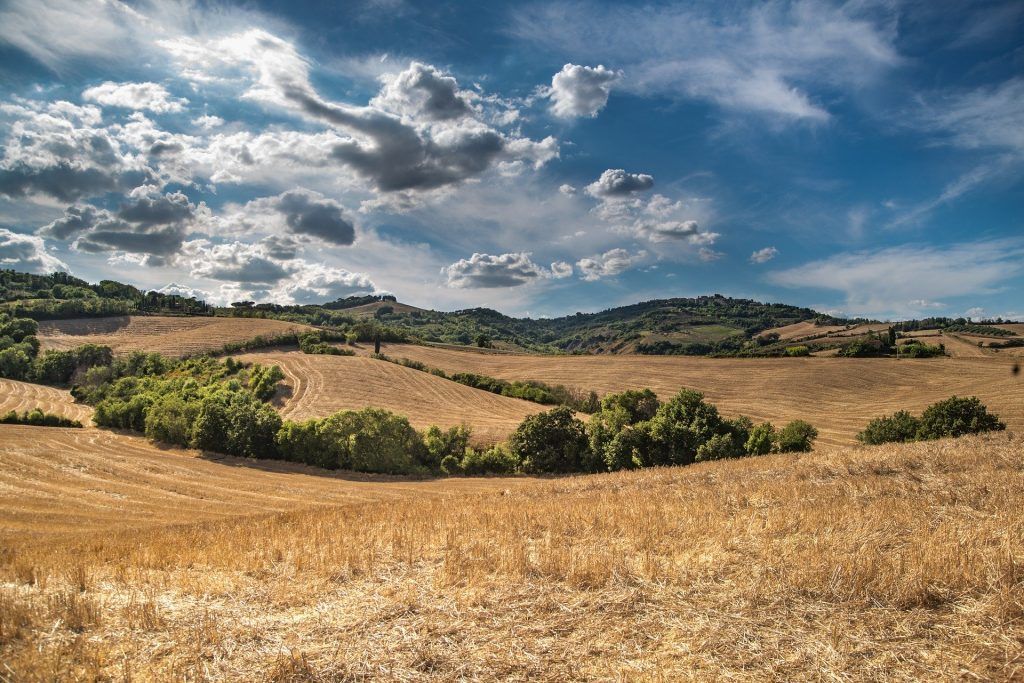
Photo by Jonhy Blaze
Your camera will automatically vary the exposure, with a single image exposed normally, and a few both underexposed and overexposed.
The most common usage of bracketing is HDR (high dynamic range images). These images are made by using a program to combine all of the images into one.
This process, which can be done effortlessly in many post-processing programs, will result in an image with a much greater dynamic range than the camera can normally produce.
Unfortunately, because of the overabundance of poorly processed HDR images, many photographers look down upon HDR. Don’t fall into that trap. If done tastefully, HDR can be an invaluable tool to the landscape photographer.
If you are dead set against HDR, it’s still possible to utilize bracketing and manually blend in the exposure you want via layers in Photoshop. This technique, while time consuming, can also create stunning images.
Key Lesson: Make sure that you understand which exposure parameters your camera shifts while it exposes the multiple images. Certain cameras will even alter the ISO, which can create unwanted noise in some of the images.
Recommended Reading: Want to improve your long exposure technique for landscape photography? Check out Photzy’s guide, Complete Guide to Long Exposure Photography.
Intervalometer
Long exposures can create some of the most beautiful landscape photographs.
Although a bit cliché, nothing catches the eye more quickly than running water captured as flowing white ribbons, or clouds turned into long, elegant veins.
Unfortunately, long exposures usually require the use of Neutral Density filters – dark pieces of glass that lower the amount of light entering the cameras lens. Quality filters can be expensive and require constant cleaning to prevent spots from appearing on the image.
Fortunately, there is another way to achieve the coveted long exposure effect: stacking. Stacking is often overlooked as a useful technique, but it’s quite easy to perform.
Key Lesson: Not all cameras offer built-in intervalometers, but even lower-end ones usually offer the capability of being remotely controlled. Remote intervalometers can be purchased very cheaply for most cameras.
Stacking works just as it sounds – you capture a series of images over time and combine them into one frame.
Think of a time lapse, but with the final product being an image, not a video.
The intervalometer in your camera (or on a remote) can be programmed to take a series of images at the settings you choose, for a certain amount of time, at a certain interval.
Set up your camera, choose your settings (manual mode works best for consistency), and trigger the intervalometer.
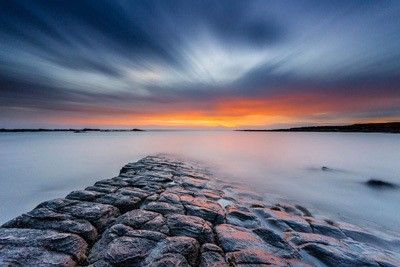
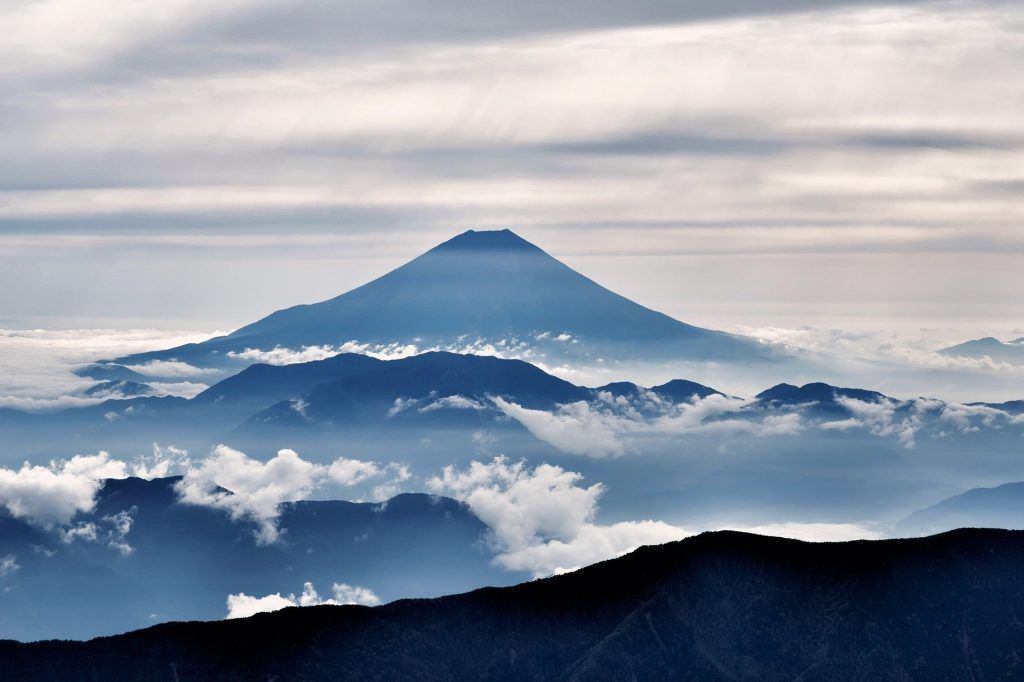
I took the image below by stacking over 60 images.
There are other advantages to stacking as well.
You can surpass the length of exposure that most ND filters will allow, and your final image quality can be higher due to not suffering from heat noise. The only real downside to taking a long stack is figuring out what to do while it shoots!
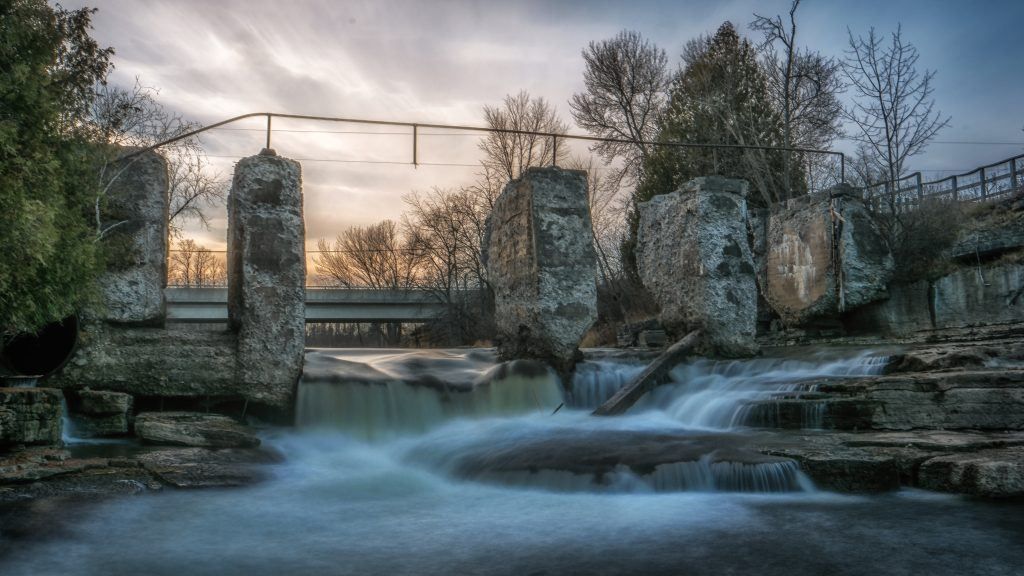
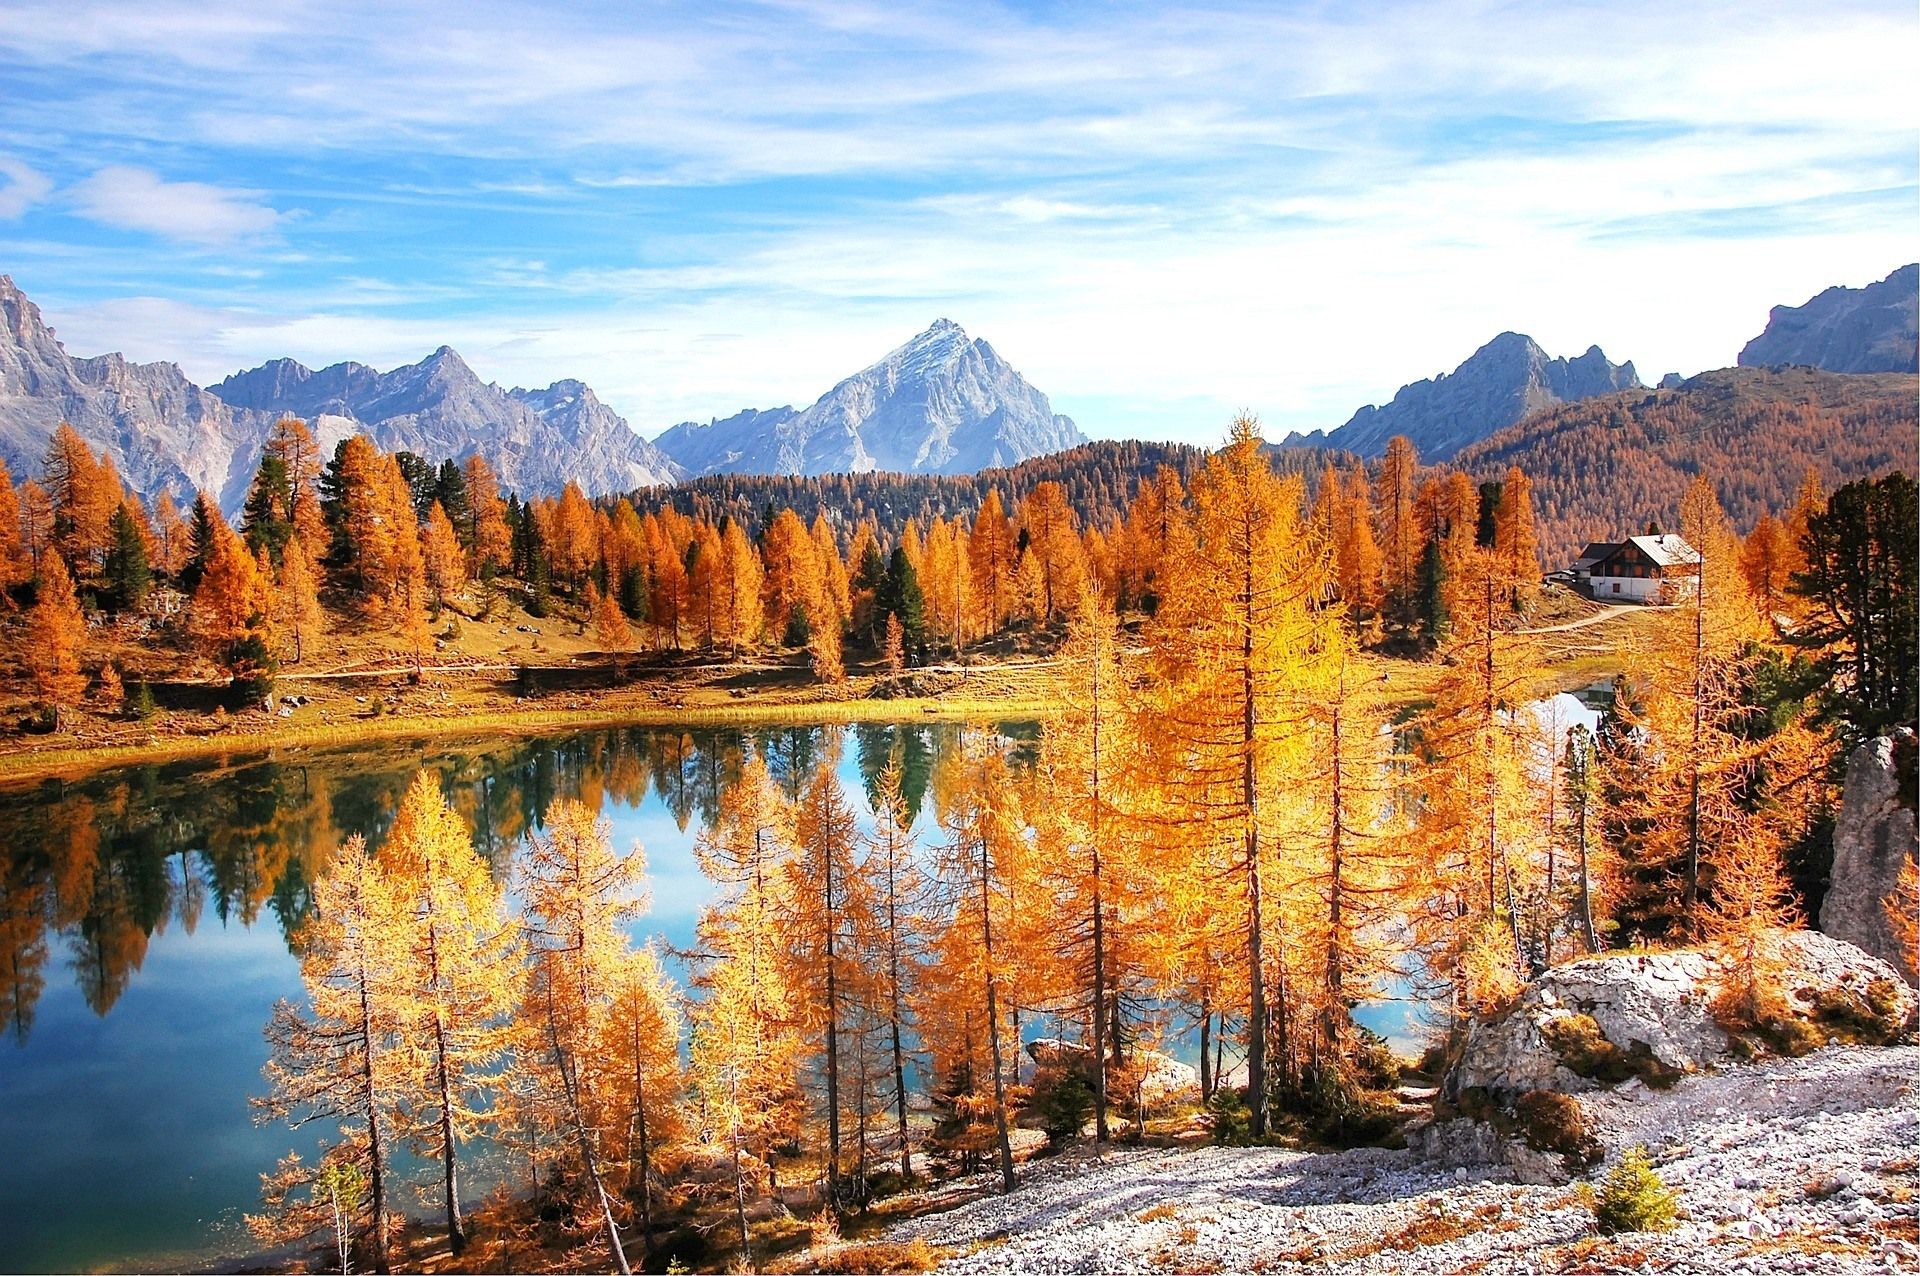
Photo by David Veldman
Self-Timer
Bracketing, long exposures, and HDR all require one thing: stability.
When using these techniques, it is imperative that your camera remains absolutely still, as even a tiny jitter can ruin the image.
Sadly, that tiny jitter can be difficult to even detect on the screen of your camera. More than once I have driven home confident that I had the perfect shot, only to find in Lightroom that my image was blurry.
There are many causes of shutter shake, but if you are triggering the camera with only your hand, it is quite possible that you are causing it yourself when you push down on the shutter release. The solution to this issue lies with the humble self-timer – a venerable feature that was first introduced for film cameras.
Most of us are familiar with using the self-timer to insert ourselves into photographs. I can’t count how many times I’ve framed a shot of my family, triggered the timer, and ran as fast as I could into the frame, where I tried to pose naturally with seconds to spare. I have also used the self-timer countless times to trigger the camera for landscape work.
My camera has a two-second and ten-second option. The two-second option provides just enough time before the actual exposure for the tiny vibrations of the camera to subside.
If you intend to take any long exposures at all, ensure that you use the self-timer option to prevent shutter shake.
Depth of Field Preview
By far, the Digital Single Lens Reflex camera is the most commonly used landscape camera. In fact, aside from cellphones, DSLRs are the most popular cameras in general. They tend to offer larger sensors, higher image quality, and more advanced features than their counterparts.
Using a DSLR is significantly different than using a cellphone or compact camera, however. As these cameras use through the lens (TTL) viewing, you may run into a few difficulties when first using one.
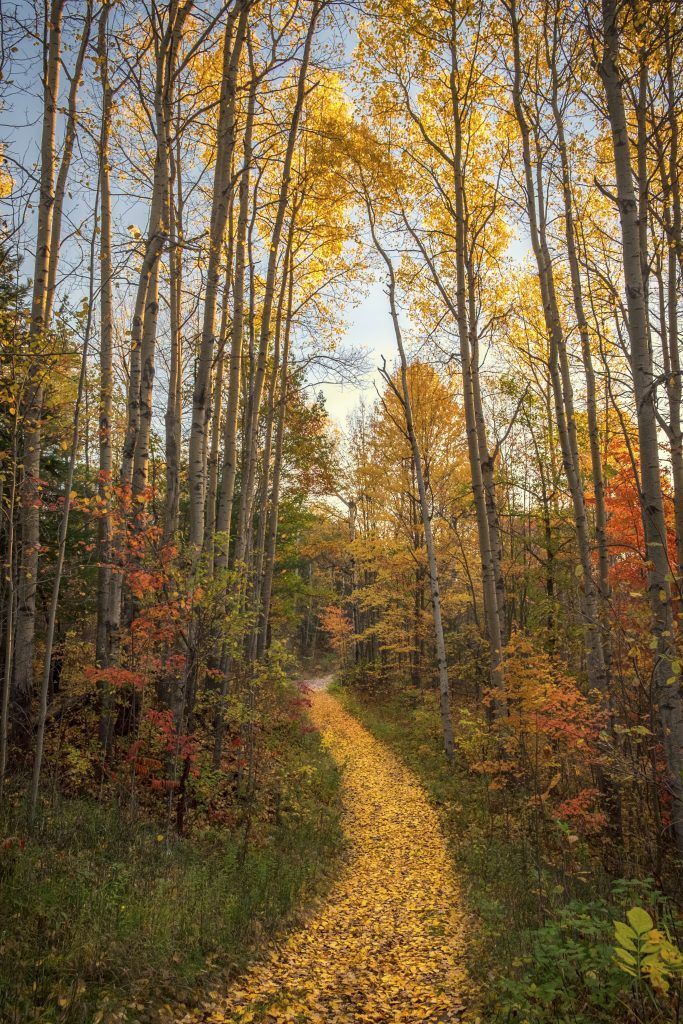
Photo by David Veldman
On more than one occasion, I have received an email from a reader saying, “My images are not sharp from the front to back.” Most of the time, I find these issues to be derived from users failing to stop down their aperture enough. When the aperture is too wide, parts of the image become out of focus. This effect can be desirable, particularly in portraiture, but for landscapes we generally prefer to have everything in focus.
However, merely stopping down a bit is not necessarily the answer. You need to stop down ‘enough’ to provide the depth of field that you want. Conversely, stopping down more than necessary can decrease your overall image quality. That is where the depth of field preview comes in.
Merely stopping down a bit is not necessarily the answer. You need to stop down ‘enough’ to provide the depth of field that you want.
When viewing through the DSLR viewfinder (and many mirrorless cameras as well), the image you are seeing does not represent what your final exposure will look like. This is because the camera keeps the lens at an ideal aperture to ensure the viewfinder is bright enough.
Pressing the preview button simply stops the lens down to the aperture you have actually dialed in. This will show you exactly how much depth of field you have.
Often overlooked, I use this control frequently to keep my images sharp from front to back.
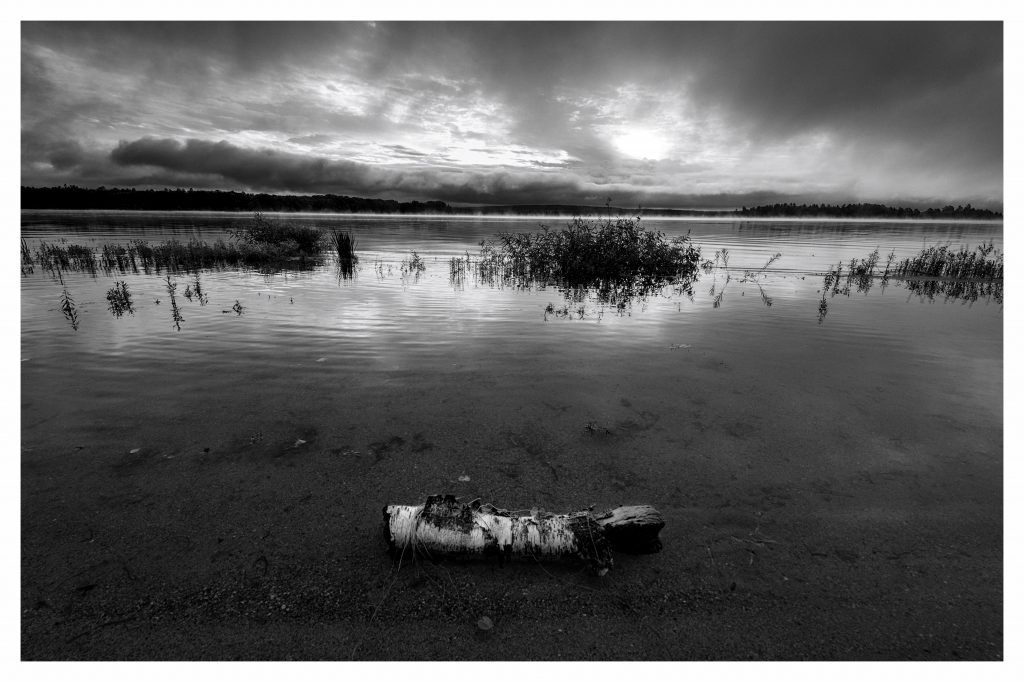
Photo by David Veldman
Conclusion
Modern cameras truly are marvels of engineering. They are capable of producing absolutely stunning images, and continue to improve on a yearly basis.
However, to make the most of these advances, you must familiarize yourself with all of the controls and features that they possess. Ensure that your camera functions like an extension of your hands and you won’t catch yourself fumbling during an important moment.
Recommended Reading: Want to improve your long exposure technique for landscape photography? Check out Photzy’s guide, Complete Guide to Long Exposure Photography.
Self Check Quiz
1. What camera setting does the depth of field preview button allow you to visualize?
2. Are there any advantages to image stacking?
3. What are the three most common types of metering?
4. What is the process of taking multiple similar images using different exposure settings?
5. What can you use an intervalometer for?
6. What does HDR stand for?
7. Who said, “The most important component of a camera is the 12 inches behind it”?
Shooting Exercise: If you’re only used to using single shots or shooting simple images, this assignment is a challenge to move beyond that and attempt something a little more complex. Note that a tripod is essentially required for this to work. Begin by finding a scene, or at least scouting one out. It’s important to remember, or write down, good vantage points for a landscape photo. As light will not always cooperate, it can be important to revisit an area to achieve the best possible image. Once you have found your location, take the time to consider which technique to use. Will you bracket and blend in post-processing? Will you use HDR? Will you stack images to emulate a long exposure? While you do these things, don’t forget the other controls mentioned in the article. Use your self-timer for long exposures, bracketing, or stacking, and pay close attention to your metering to ensure the ideal exposure. Be sure to post your results on our Facebook page!