

Just about anyone, who has had any interest in photography over the last five years, has heard about (or seen samples of) HDR photography.
HDR is a technique that can help create images that appear more lifelike because the process captures extended details into the shadow and highlight areas of a photograph; it mimics how the brain interprets data from the eyes.
However, HDR imaging can also be so much more. It provides the freedom to create exotic images that would make any science fiction movie director drool with envy.
The best part of all- is that it doesn’t take all that much to get started.
A little bit of knowledge, and some software, and you’re ready to go.
Let’s give you a little background on what HDR is, how it works, and what it can do for you.
HDR stands for High-Dynamic-Range imaging. It’s a process that involves shooting multiple exposures, of the same subject, in exact registration, at different exposure settings, and then melding those exposures into one image using software that utilizes the best image detail from each exposure.
That’s pretty much the extent of it.
It sounds complicated. But modern technology has made it fairly easy to execute.
That’s the best thing about incorporating HDR into your existing photography; it’s easy to get started. Yet, with all the advanced techniques that have emerged, HDR could become an entirely new hobby under the subset of your existing photography hobby. It can be that extensive.
Believe it or not, the concept behind HDR photography goes all the way back to the 1850’s, when Gustave Le Gray pioneered the concept of multiple negatives being printed on a single sheet of photographic paper. He used this darkroom technique to render detail in all the areas of his images.
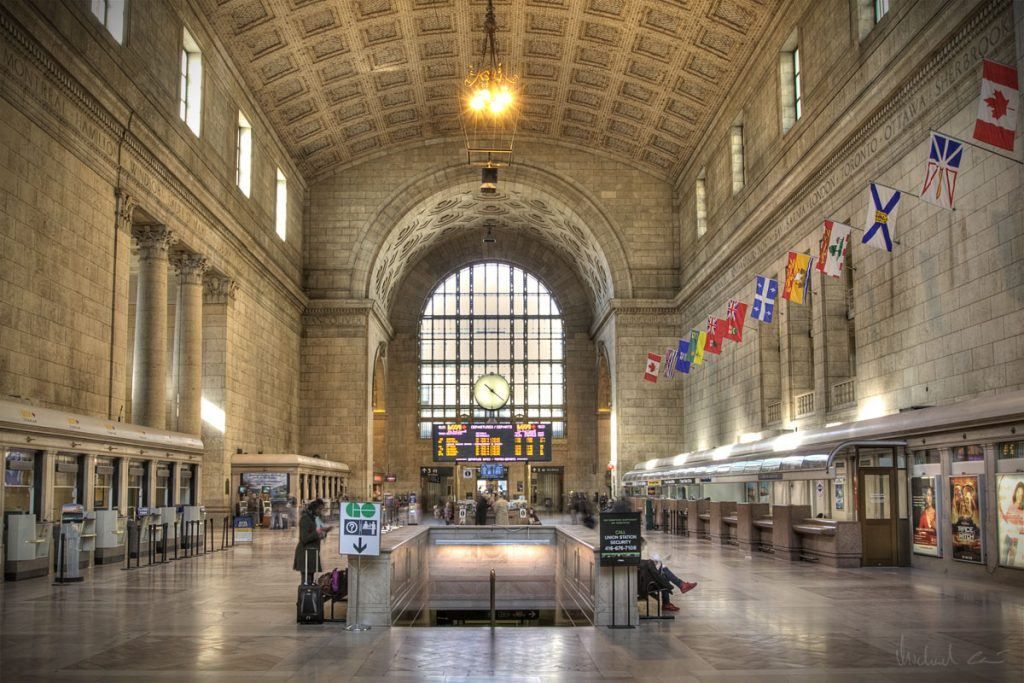
HDR continued to be developed, and refined, over the decades, but it wasn’t until around 1997 that a software program (that was useable by the average person) was introduced. The first photographers to take notice of this development were the professional architectural photographers.
HDR imaging was an instant blessing to their industry. Prior to HDR, it could take an architectural photographer an entire day, or more, to create one interior image, as they had to manually work out numerous lighting issues. With HDR imaging, they were able to correct those issues with the simple click of a button.
Prior to HDR, it could take an architectural photographer an entire day, or more, to create one interior image..."
Still, HDR remained hidden in the closet, only a handful of professional photographers were aware of its existence.
That changed in 2005 when Adobe incorporated a “merge to HDR” function within their Photoshop version, CS5.
Today, there are dozens of companies that offer software that can aid you in producing HDR images. The cost of this software can range from free to several hundred dollars.
(This is one of those things in life, by the way, where you get what you pay for.)
For this Beginner’s Guide, we’re not going to go into great detail about what software you should use. Suffice it to say that there are numerous choices out there, and you will need to find one that works for you.
Here is a quick-list of several of the most popular programs.
- Photomatix by HDRSoft. They offer a lite version and a pro version.
- HDR Effects Pro by Nik. This is a plugin that works within Photoshop, Lightroom, or Aperture.
- Luminance HDR by Davide Anastasia. This software is free but has a complicated interface.
- Photoshop CC by Adobe – If you already have Photoshop this is a great way to get started. If you don’t, the cost of Photoshop might prevent you from going this route.
-
Recommended Resource: If you’re new to HDR imaging, (and you want our opinion), we recommend: Photomatix by HDRsoft.
This program has emerged as the industry leader among photographers. The interface is easy to use, and the processing time is fairly quick. The program is set-up so that a beginner can simply click presets to achieve fun results, or, you can go wild.
(It’s really that much fun.) The investment is low ($99.00 USD or less). That’s not much for all the hours of entertainment you will get out of it.
Let’s talk about shooting your HDR images.
There are a few simple things that you need to do in order to create successful HDR images.
- Look at your camera manual and see if it has an autoexposure bracket function. Most cameras manufactured within the last few years will have this. After you have determined if your camera has this function you must take one of two steps.
- Turn the function on and set it to 3 exposures: a normal exposure, 2 stops overexposure, and 2 stops underexposure. As you gain experience you can experiment with more exposures at different settings- But start here. Set your exposure mode to aperture priority. You want the camera to maintain the same depth-of-field throughout all your exposures, or you will get something called, “ghosting”.
- If your camera does not have an auto-exposure bracket function, you will want to set your camera to manual mode. When you make your exposures you will want to change the shutter speed only, not the aperture.
- Now, (whether you are using technique A, or B, above)there are two additional techniques you may want to employ that will increase your success rate.
- Use a wide angle to normal lens.
- Put the camera on a STURDY tripod.
- Use a cable release or an electronic release.
- Keep your ISO setting as low as possible.
These four points will help you keep your exposures in alignment (very important)and provide a reduction in noise (which is a very common problem in HDR imaging).
"When you make your exposures you will want to change the shutter speed only, not the aperture."
How To Shoot Your HDR Images
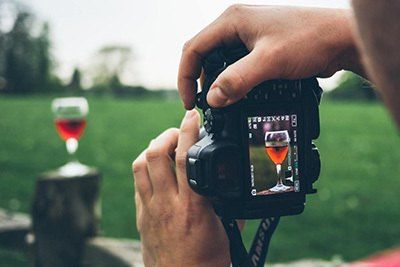
- Lock your camera down on a tripod. If you don’t have one, try supporting the camera on a table, chair, or fence post. Use anything you can to keep the camera steady.
- Release the camera shutter with a cable release or an electronic release. (If not-be sure not to wiggle the camera between exposures.)
- Use a wide angle to normal lens. (Avoid telephoto lenses as they will accentuate any camera movement.)
- Make three exposures: one at -2 stops, one at a normal exposure, and one at +2 stops. If you have auto-exposure bracketing this will be done for you automatically. If not, you will have to change the exposure manually. Do this by varying only the shutter speed, not the f/stop. If you have the auto-bracket function on your camera, all you will need to do is click the shutter three times. Using a “drive” mode of release, rather than the “single shot” mode, will help provide a smoother transition between exposures.
- Use the lowest ISO possible to reduce noise. Before we move on to the software portion of this adventure, let’s talk about subject matter.
What To Photograph
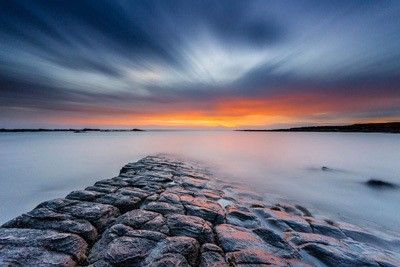
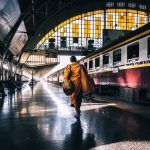
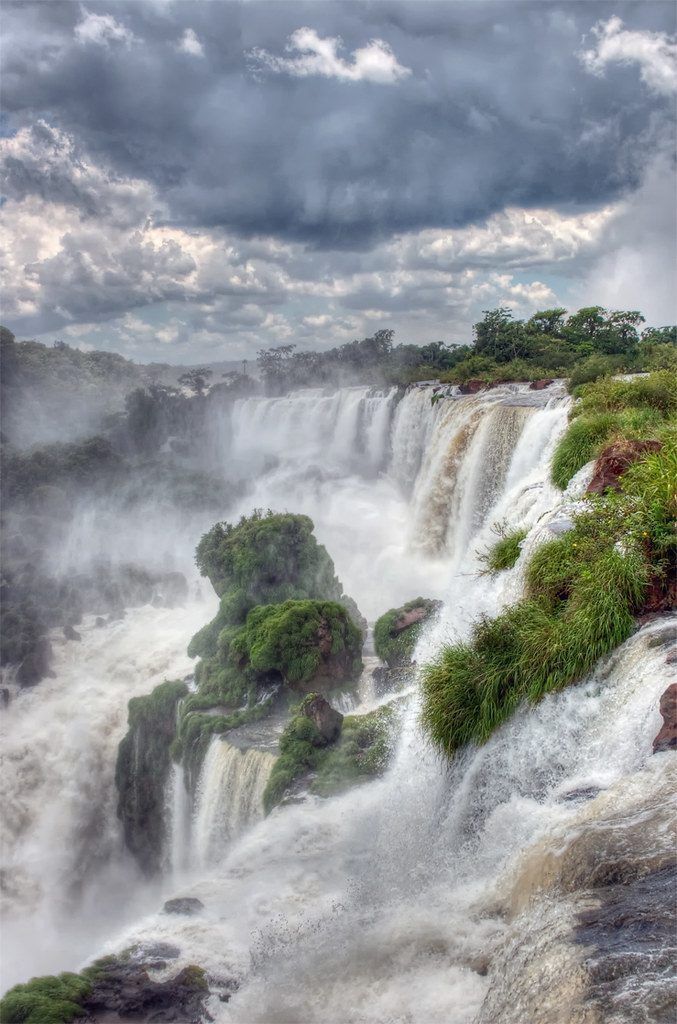
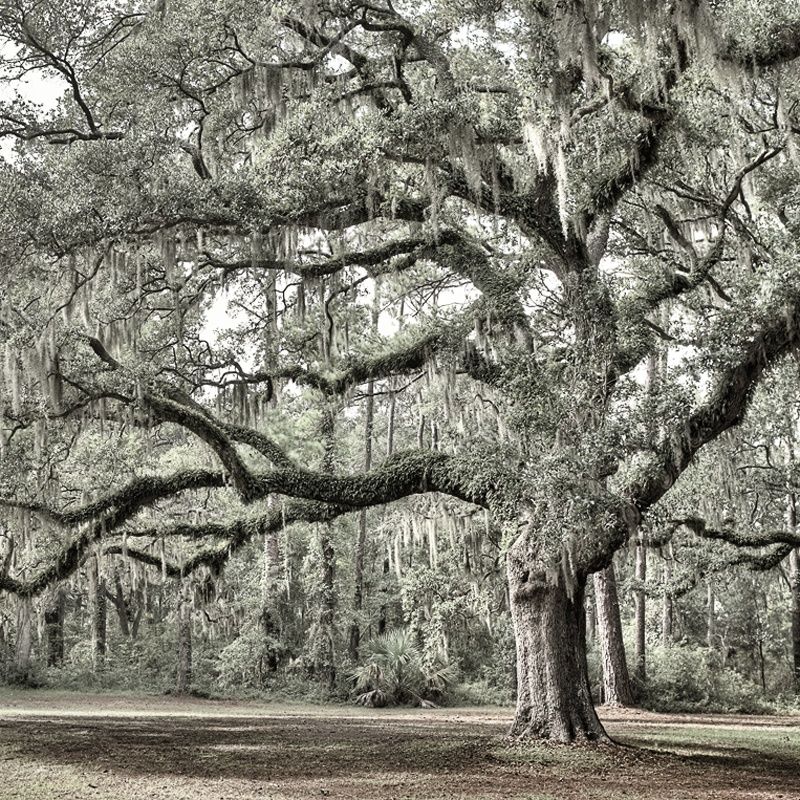
- Pick a static subject such as a landscape or a building. When objects are moving they will create “ghosts” when using HDR software. There are techniques that can eliminate these ghosts, but they are advanced techniques. When you’re starting out stick to static subjects (and try to pick a day that it isn’t too windy.)
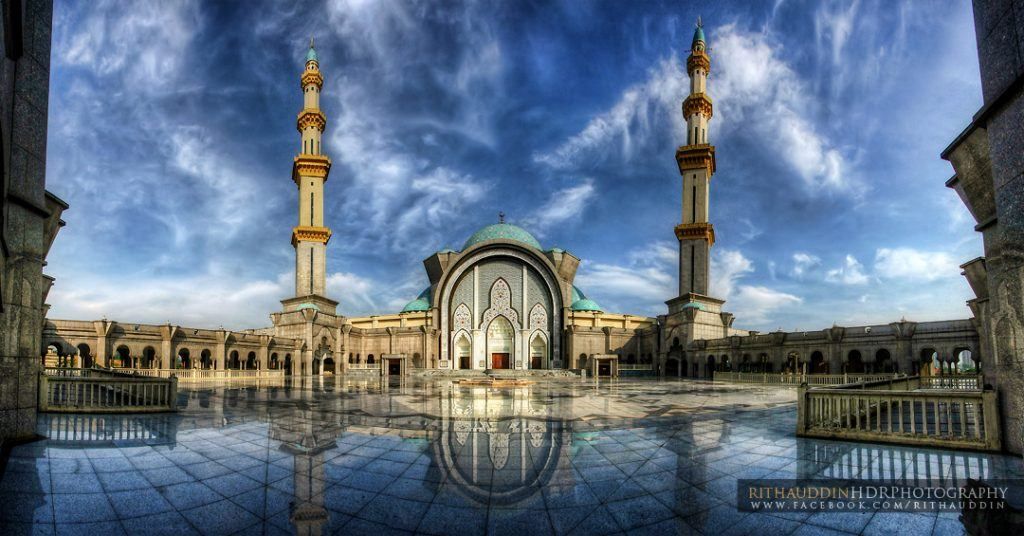
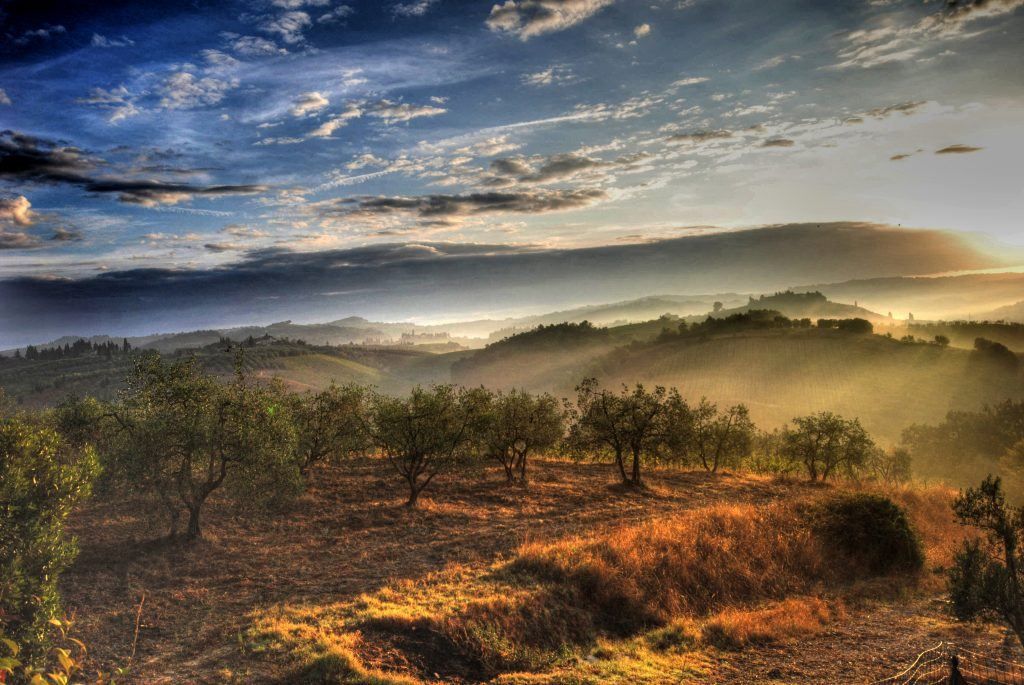
- Pick a time of day when you have a lot of contrast. This is one situation where shooting that beautiful landscape under midday sun will actually look good.
- Pick a subject that has a lot of varying colors. HDR does some really cool things with tone and saturation.
Create Your First HDR Image
For the purposes of this guide, we will be using Photomatix Pro software. All HDR software works in roughly the same manner. What we like about the Photomatix software is that the interface is easy and the processing time is faster than most of the other programs.
You won’t have to know a darn thing about what the software is actually doing to have fun with it- Especially if you followed our guidelines on how to properly shoot your bracketed exposures.
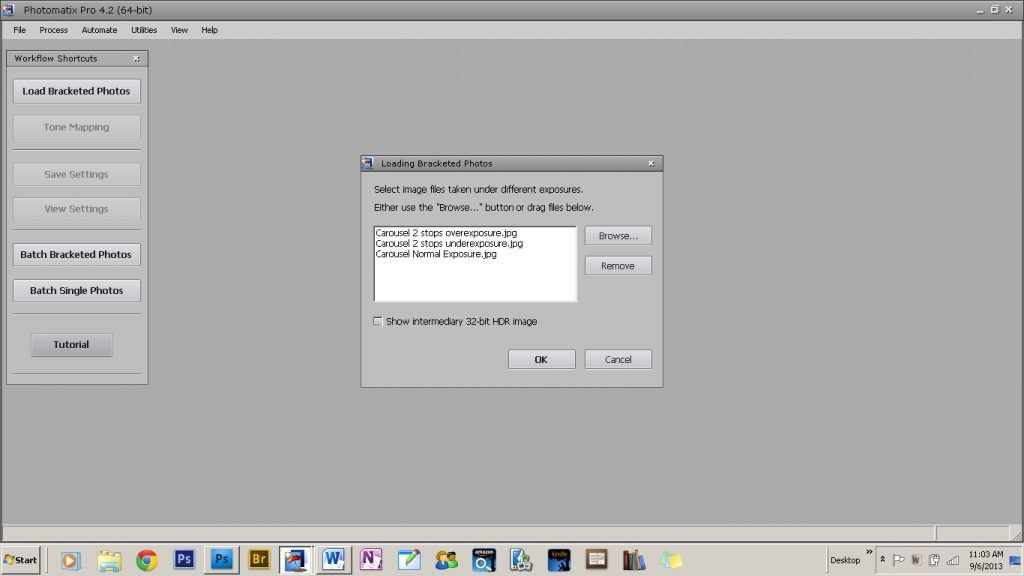
Step One: Import your bracketed exposures.
Click the “Load Bracketed Photos” button in the “Workflow Shortcuts” menu.
A. Navigate to your bracketed images, select them, and click Okay.
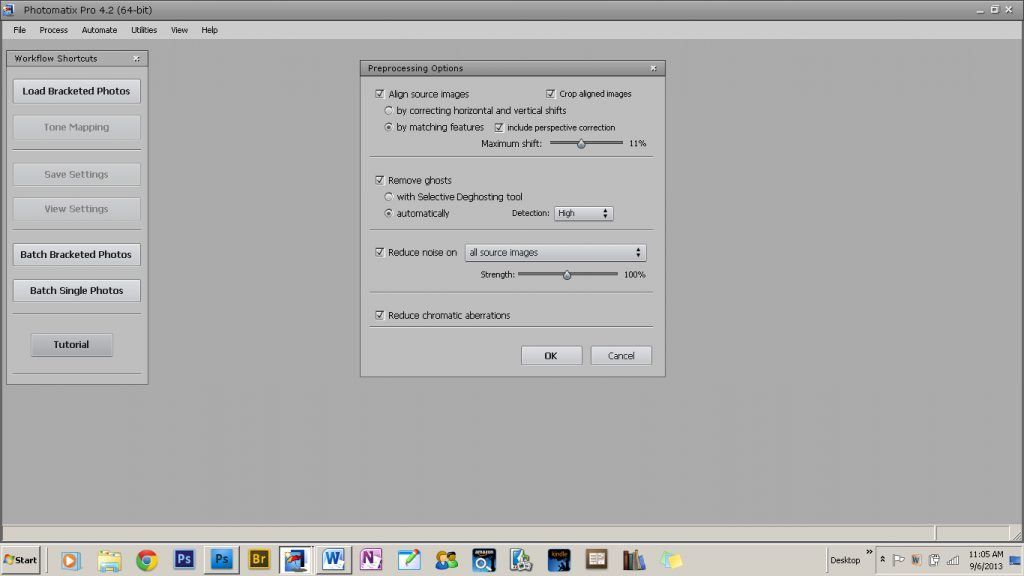
B. Use the default settings in the “Preprocessing Options” window. Except – check these additional settings: Remove ghosts/automatically/detection high. Reduce noise on all images.
It can take several minutes for this process to happen. Be patient, it will be worth the wait.
Step Two: Tone Mapping and Image Fusion.
At this step the melded image will pop up in the main toolbox, and you can begin to let your creativity soar.
When you see the main toolbox your first instinct will be to scream, “OMG! You need to be a rocket scientist to figure this thing out!”
Do not worry.
Don’t let terms like gamma and black point freak you out. That’s the cool thing about the Photomatix software program, it is visually driven. You don’t need to know any terminology to create beautiful photographs.
As a beginner, we suggest the following steps.
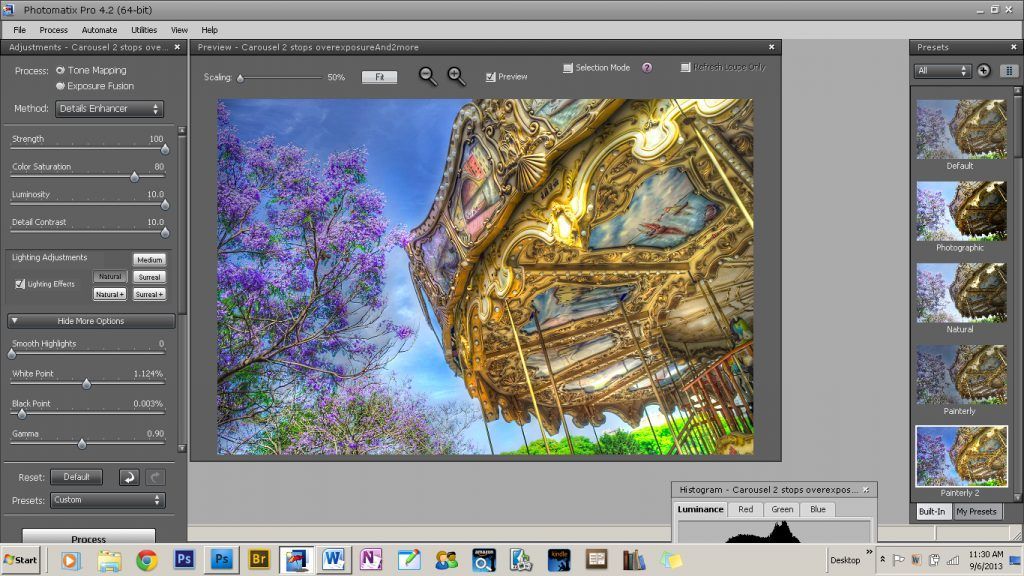
- Down the right hand side of the screen you will see a number of presets. Click through those presets until you find something you like. And guess what? Boom! You’re done. Photomatix has done the work for you.But, most photographers love to play. So, we’re not likely to be satisfied with what the software does for us all by itself. We want to create and this is where the fun begins.
- Select the preset that closely matches your vision for the final photograph.
- Get a pad of paper, a pencil, and note all the settings in the toolbox to the left. When you’re ready start changing stuff. Move all the settings until your heart is filled with delight. (You can always refer back to your notes and put everything back the way it was.)
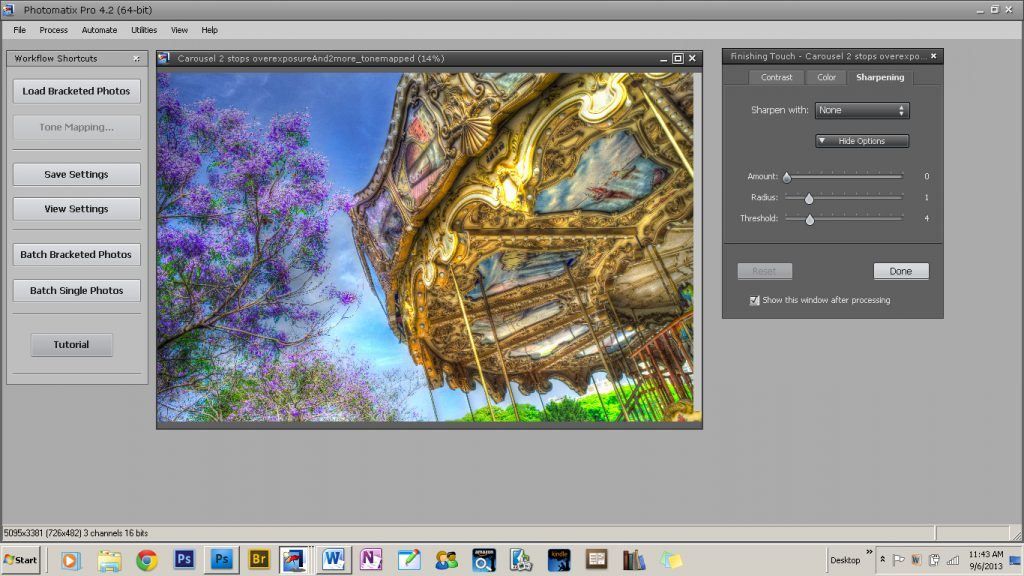
- Once you have the look you want – click process.
- This will take you to the “Finishing Touches” menu. If you have Photoshop, or other image editing software, we recommend that you bypass this section and just save your image; make these corrections elsewhere.
Post-Production
Once you’ve completed your HDR image, you will want to check it for noise, ghosting, and artifacts. These are the most common problems with HDR imaging.
When you’re just beginning, don’t get too worked up about it, especially if they’re going to be displayed online, many of those defects won’t even show up on a screen. If you’re going to print and hang your artwork, well that’s a different story.
If that’s the case, you will want to run some noise reduction software on your image and begin to learn some advanced HDR techniques like layer blending.
Final Thoughts
One final thing, HDR is kind of a fickle technology. You can run the same set of bracketed images through the same software (or different HDR software) and you will get completely different results.
You can also run a finished HDR image back through the software as a single image and you will get even more exotic effects.
Your creativity is limitless with this technology.
Have fun!