Fashion photography is a great way to express your feelings and thoughts creatively. There aren’t many rules to it, but one essential piece that sets it apart from portrait and/or beauty photography is the clothing/accessories and how you incorporate it into your story telling.
Growing up, I knew I wanted to dabble in some form of fashion photography. When I first started, I would seek out small indie brands around town to shoot their accessories or clothing, and my love just kept growing from there.
Nowadays I almost always shoot with a large team who help bring my vision to life. However, it’s not always necessary to have a group involved to achieve great images. All you need are a few basics.
The basics include a mood board for your shoot, clothing, a “model,” location and of course, your camera. I want to break down how to approach a fashion shoot with pretty minimal resources. It’s how I shot growing up and it wasn’t until about 3-5 years into shooting that I was able to network enough to start working with a team. The idea is to be able to master your trade on your own first before jumping into working with people. It will definitely help build your confidence and skills the more practice you get. Once you start to develop your style, adding a team of makeup artists, hair stylists, wardrobe stylists etc. won’t be as intimidating.
Here are a few things that I will be covering in this article:
- Create a mood board
- Finding a “model”
- Collaborating
- Shopping
- Location choice
- Lighting choices
- The shoot
Recommended Reading: Want to create memorable, fascinating, and impressive color photographs? Grab a copy of Photzy’s premium guide: Rich and Vibrant Color Photography Volume One.
Creating a Mood Board
What is a mood board? A mood board is an arrangement of images, materials, and textures with the goal of evoking a particular style or concept.
Ok, cool…what does that mean for you? Basically, it means figuring out what type of “mood” you’d like to convey with your clothing.
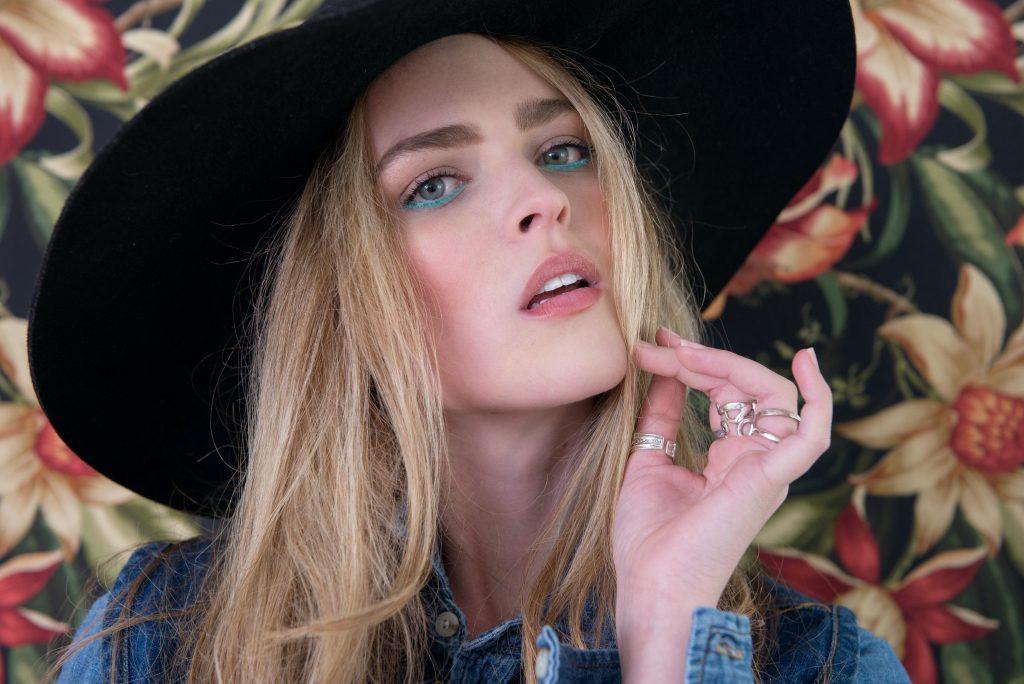
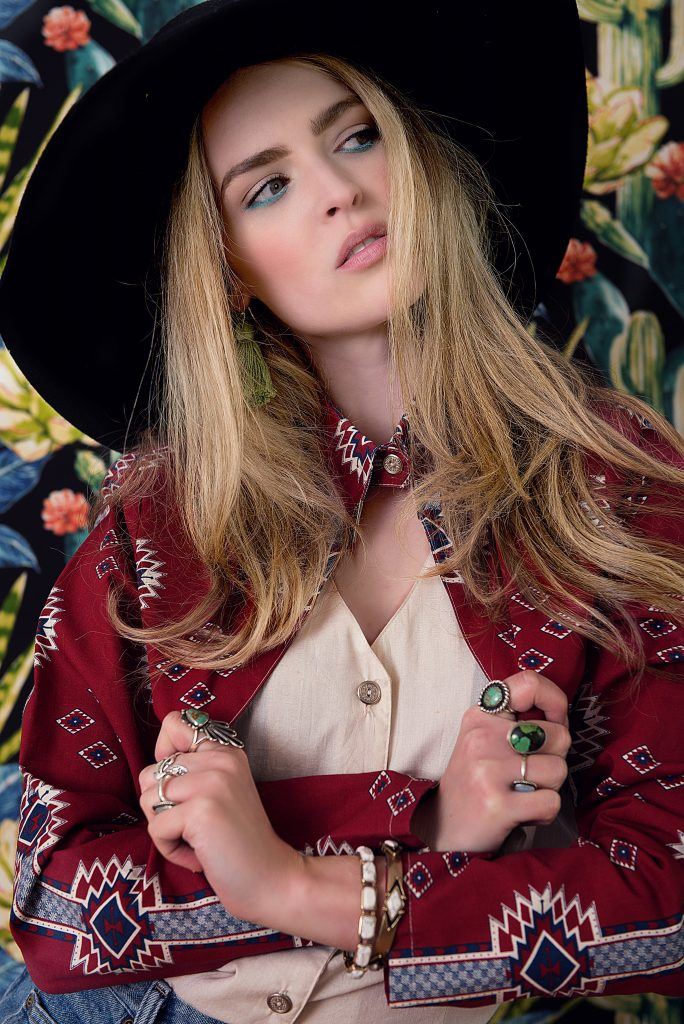
Photograph by Lauren Gherardi
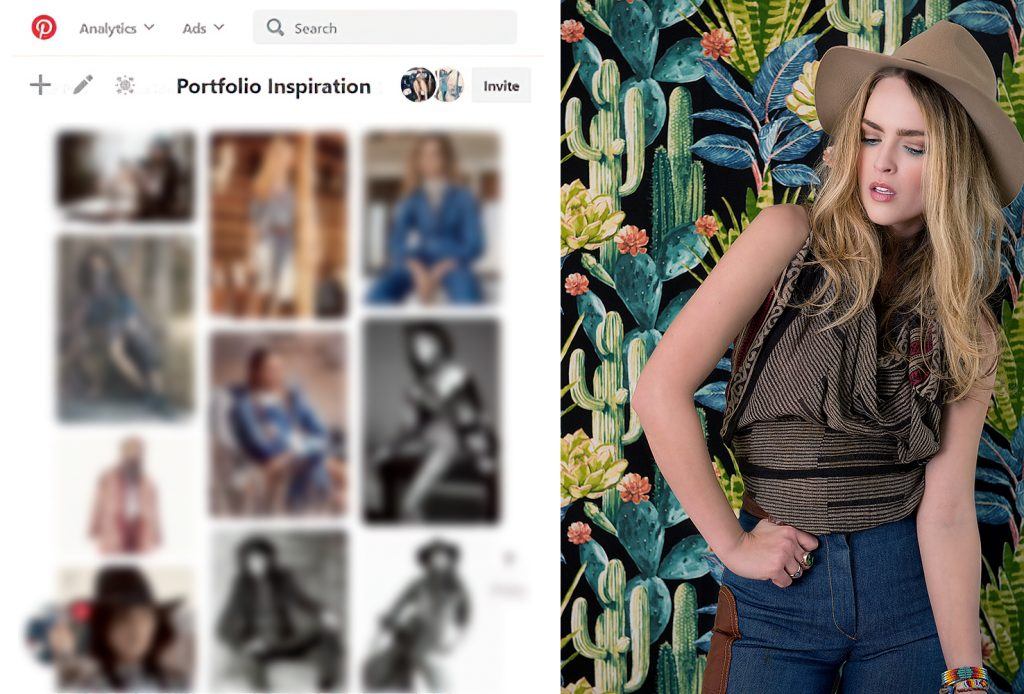
For this shoot, I knew I wanted to do something that was Western themed. So I went on to Pinterest and searched, “western fashion editorial.” I then created a board on Pinterest and saved any images that I found inspiring for the shoot. It could be anything: the location, the model, the clothing, makeup, poses, etc.
I compiled what I felt was fitting for what I wanted to create and saved it as a private board which I would later share with my model of choice.
A mood board is an arrangement of images, materials, and textures with the goal of evoking a particular style or concept.
This is a very important step, especially if you are working with someone brand new since it helps everyone get on the same page of what you’re trying to convey and helps keep your shoot cohesive.
Key Lesson: If you don’t have Pinterest or don’t prefer to use it, you can easily acquire the same type of mood board by saving images from Google and pasting them into Word or any type of document. The goal is to create
something collaborative for reference when piecing together your shoot.
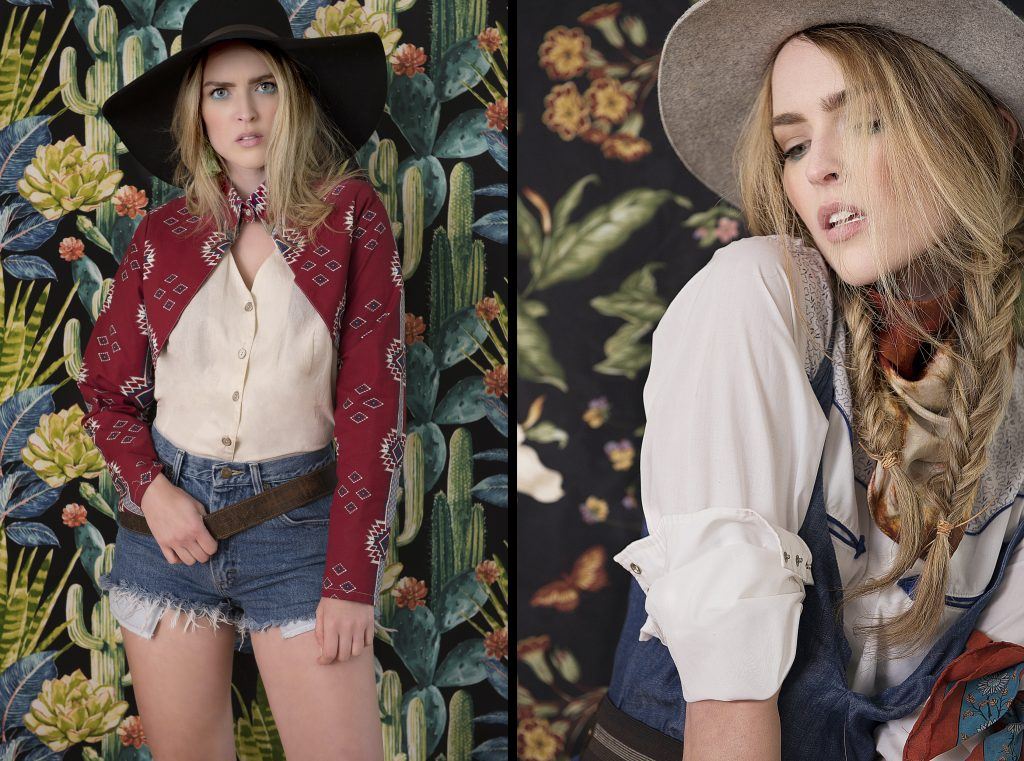
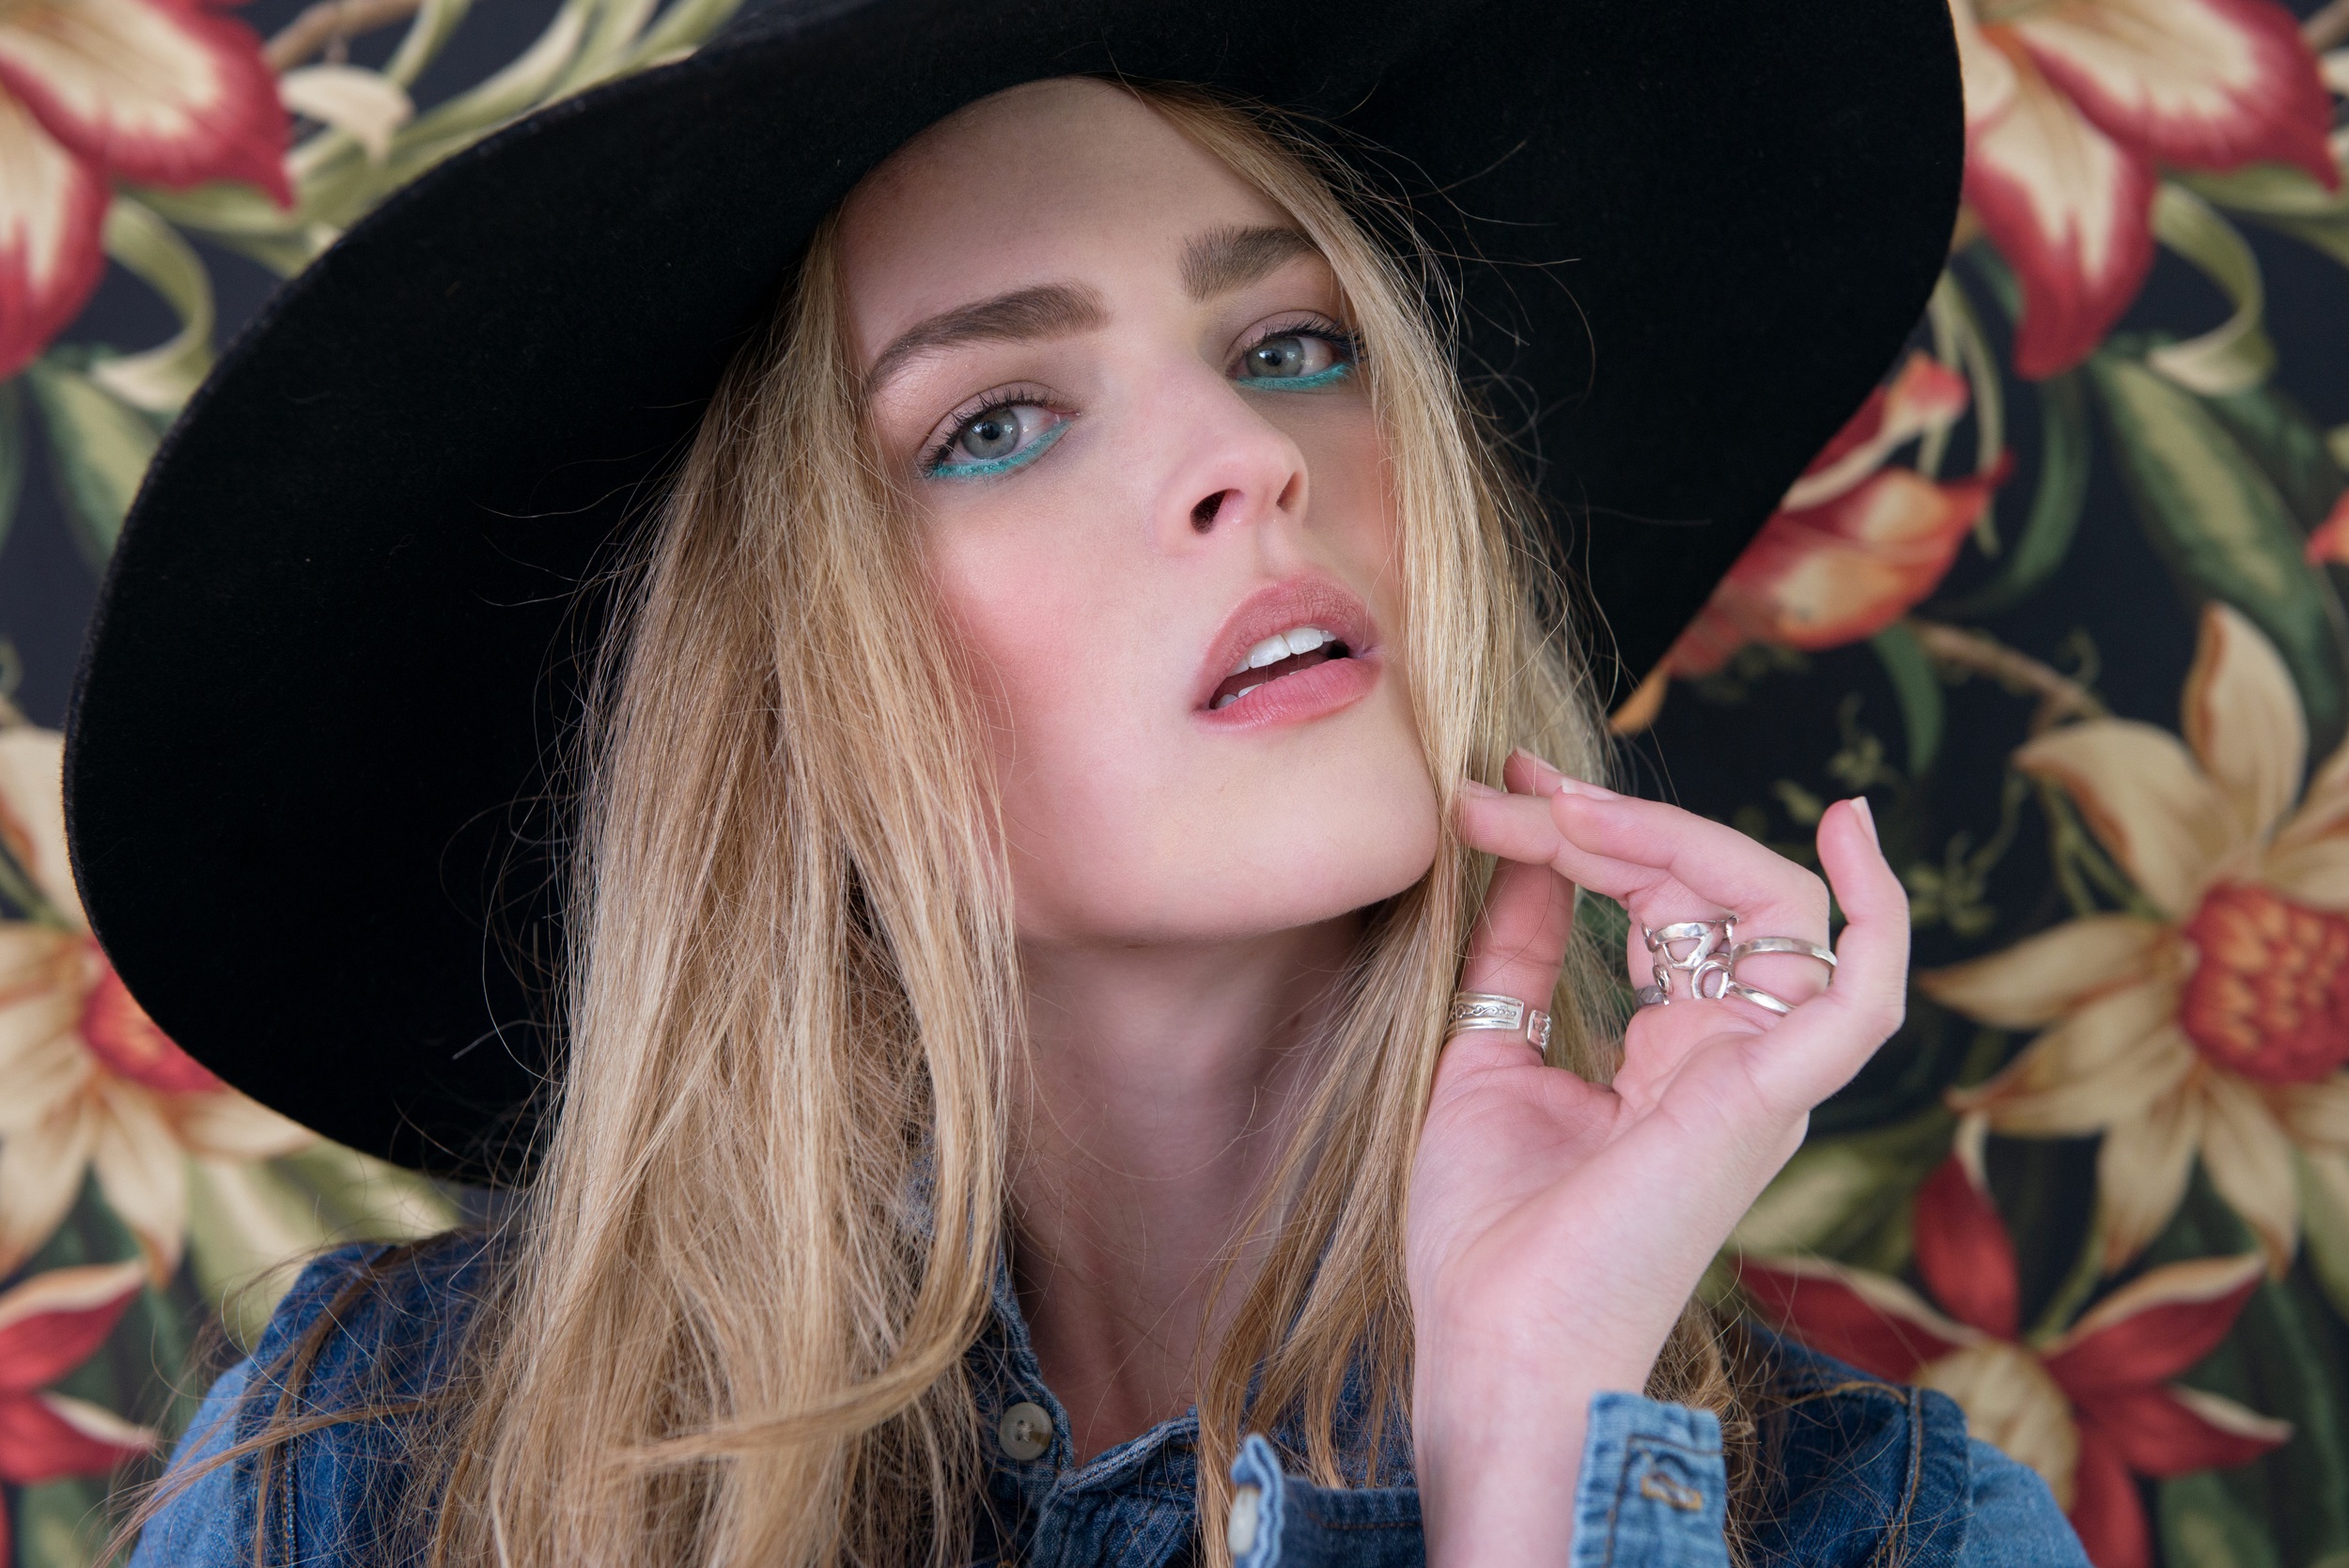
Photographs by Lauren Gherardi
Choosing Your Model
Alright, why the heck do I keep putting the word “model” in quotations? Model is just a word I’m using to describe the person you choose as your subject. You don’t have to have someone who looks like a magazine model or even a professional model.
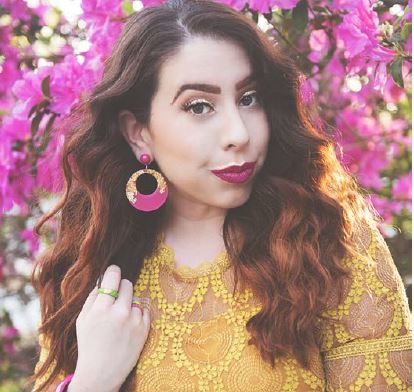
Photograph by Lauren Gherardi
Here are a few ways you can find someone:
- Ask your friends: Ask any of your friends you find stylish, fun to be around, or just plain creative. All three of those things will add up to a very fun and successful shoot. I asked my close friend of 10 years to model for this shoot. I did meet her through photography, so I knew shooting this editorial would be exciting for both of us.
- Social media: When I was new to photography and wanted to start branching out from using close friends, I gathered some of what I felt were my strongest images and reached out to anyone whose style I enjoyed. Sometimes I wouldn’t get a response, but most of the time, if they were local and not a social media celebrity, then they would agree to the shoot.
- Agencies: If you feel comfortable with your body of work as a photographer, you can share it with a few modeling agencies and they can set you up with signed models that need to test shoot or just add work to their portfolio. Keep in mind that you may or may not hear back from agencies if they don’t feel like your work is right for their models, and that’s OK. Don’t let it discourage you; just use a friend in that case!
Key Lesson: It is really important to note that you should be respectful in all cases. Do not get angry if people turn you down or don’t respond. You want to make sure people are comfortable with you in order to have a successful shoot.
Collaboration
Any shoot that involves more than just you is automatically collaboration and should be treated as such.
My model and I had access to the images I saved on Pinterest and were able to talk through what the final product should look like. This ended up being essential to the shoot because she was able to provide most of the wardrobe based on what she already owned. She was just as excited to work on this project based on the inspiration, and willingly offered up ideas on how we could execute it. She was also able to do her own hair and makeup in the style I requested for the shoot.
Collaboration is so important when working with individuals on a shoot. You are allowed to have the final say on creative direction, but letting your model feel heard will not only make them more comfortable with the overall shoot, but it may bring ideas to the table you hadn’t originally thought of.

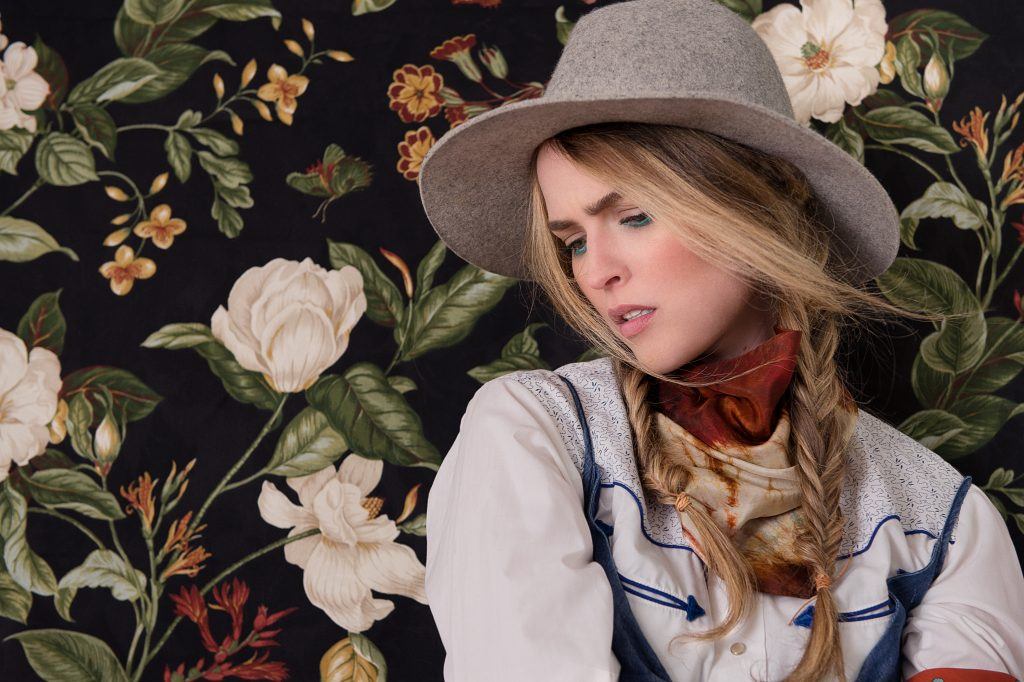
Photograph by Lauren Gherardi
Location! Location! Location!
Another major aspect is choosing a location for the shoot. I really wanted to do something inside on floral backgrounds. I don’t live near anything remotely western looking, and because it was particularly chilly outside that day I thought shooting inside would be most comfortable.
Here are a few tips I can offer for shooting on location:
- Scout: Drive around and check out any locations before the shoot date so you can get an idea of how you want to frame your shots.
- Check social media: We could have definitely shot at a barn. There are so many awesome venues around town that have a wonderful rustic feel, and most of them have social media accounts. You can always reach out and ask. You may have to pay a rental fee; sometimes I’ve had luck with the venue owners just being happy to receive cool images.
- State parks: I love shooting in parks. They normally have so much to offer visually. We definitely could have faked a desert feel in some of the awesome state parks around the area. Just change up the tones in Photoshop and make sure to leave the palms out of your shots.
Key Lesson: If you are shooting on location, see if you can bring an extra couple of friends to lend helping hands. Plus, there is safety in numbers. Make sure to avoid trespassing, and preferably shoot somewhere where everyone involved can feel safe.
Recommended Reading: Want to create memorable, fascinating, and impressive color photographs? Grab a copy of Photzy’s premium guide: Rich and Vibrant Color Photography Volume One.
Shopping
No matter what kind of shoot I’m doing, I always end up doing some light shopping for it. Even if I feel like I have what I need, I still make myself a small budget and grab some extra outfits, accessories, and props!
Vintage stores, thrift stores, and craft stores are my best friends.
A vintage store is typically a store where the owner has curated clothing from multiple thrift stores and picked what they found be the “cream of the crop.” I have a ton of luck in these types of small shops. I was able to shop at a local vintage store that I love in Jacksonville, Florida called “Poor Girl Vintage.” The owner even helped me pick out some western-style pieces that she had. Sometimes these shops will even let you rent clothes for shoots too, so it doesn’t hurt to ask.

Photograph by Lauren Gherardi
When shopping in thrift stores, you will most likely need to have a ton of time to really browse. Make sure you know the model’s sizes. This is a better option than big box stores because you can get more unique pieces for less.
Craft stores are another place that can provide a variety of things for your shoot. Sometimes it’s props, or materials to make props or backgrounds. I went to a craft store to purchase the upholstery fabric I used for the backgrounds. The best part of this was that I had a coupon and all upholstery fabric was 50% off that week!
Craft stores are another place that can provide a variety of things for your shoot.
I spent about $60 in total on this shoot. I paid a small fee for renting the clothing and bought three pieces of upholstery fabric measuring two yards a piece with a coupon and 50% off the fabric.
Photograph by Lauren Gherardi
Choose Your Lighting
It’s winter here currently and the days are shorter. Shooting inside means being aware of when the sun is moving throughout the day and changing the amount of light coming into the house. In order to avoid having to adjust my settings every hour that passes, I opt to use a strobe and mimic the look of natural, even lighting.

Photograph by Lauren Gherardi
The larger the diffuser, the more it mimics natural light and spreads the light out evenly over the subject and background. I use my Paul C. Bluff Alien Bee 1600 strobe on the lowest possible setting and a large 80” white umbrella. I normally do not ever recommend using this umbrella inside; it’s best for outdoor shoots because of the sheer size, but I had the space available so we went ahead and used it inside. You can also achieve this with a 40” octobox or larger soft box. The smaller the diffuser, the more directional the light is. I wouldn’t have gone any smaller than 40”. I pulled the light probably about 6 feet away from the model and a little over to the left of the background.
Key Lesson: Even though my light is pretty high powered, it’s not necessary to purchase that grade. The lower-powered strobes work just fine inside small spaces like houses or small studios. The light is naturally going to bounce off the ceiling and walls and will normally overpower any other lighting in the space.
The Shoot
Ah! Here we are! We have our theme, clothes, and props; hair and makeup is done; the model is ready; the lighting is great and the background is set up. Now it’s time to shoot! I adjusted my settings at the beginning of the shoot and, because I had controlled lighting, I was able to keep the settings the entire time. It’s best to shoot in manual mode when working with strobes to achieve the perfect exposure for your final product.

Photograph by Lauren Gherardi
My settings were f4.5, shutter speed 1/125, and ISO 500.
This enabled me to have consistent lighting throughout the entire image. I also always shoot in RAW just in case I’m not 100% happy with my adjustments in-camera. I can process the images later and make necessary adjustments to my exposure, white balance, and tones before any other type of retouching. RAW keeps all your data in an editable file. Shooting in JPEG will take up less room on your camera but will compress your images and leave less wiggle room for adjustments.
When it comes to poses, I normally just tell people to move or do something different every time they hear the shutter click. Unless the person really needs coaching or you have a specific pose in mind, I find that I enjoy people’s natural movements with just small adjustments based on what I see in the pose.
When it comes to poses, I normally just tell people to move or do something different every time they hear the shutter click.
If it’s a friend that has no experience modeling, I always suggest practicing some poses in front of a mirror before our shoot, so that they can become more aware of what they look like in each pose and their facial expression.
Offering an overall mood for the photo shoot can help the model deliver what you’re looking for, so discuss this beforehand.
If the shoot has a happy theme, say “I’d like you to smile in most of the images instead of a more moody type of expression.” Give your model direction.
Recommended Reading: Want to create memorable, fascinating, and impressive color photographs? Grab a copy of Photzy’s premium guide: Rich and Vibrant Color Photography Volume One.
Wrapping It Up
As you can see from this guide, it doesn’t take much to create unique fashion images. All you need is good inspiration, collaboration, light shopping, and YOU!
Remember that this takes a true team effort to make the shoot come to life. Being respectful to your model is the key in making things go smoothly. If you are using someone other than a close friend, then try to get to know your model and see what type of clothing and/or skills they can bring to the table.
Always go into your shoot with a vision of what the final product should look like. I don’t personally try to use my inspiration as an exact look I want to copy, but I try to loosely base my shoot on what I have found. That enables me to really take a theme and make it my own.
I hope this guide helps provide some insight into how to approach your first fashion shoot with minimal resources. Happy shooting!
Self-Check Quiz:
- What sets fashion photography apart from portrait and
beauty photography? - What’s the first step in planning your shoot
- Name three ways you can find a model for your shoot.
- Why shop at a thrift store for your shoot
- Always remember that this shoot is a ______________ between you and the model.
- What are some tips on finding a location?
- When using a strobe, a larger diffuser mimics _____________ light and a smaller diffuser provides more _____________ light.
- How does shooting in RAW help you in postprocessing?