

Adobe Photoshop is the ultimate tool for photographers (as well as a host of other creative professions!). It’s a vast program with infinite possibilities, which can seem daunting when you first approach it. But, as with many things, the key to Photoshop is knowing the tools that are useful to you and your images.
In this guide, I’m going to look at one of those tools – the Photoshop filters – and pick five that are particularly useful to photographers—just enough to allow allow you to have a little bit of fun with your images!
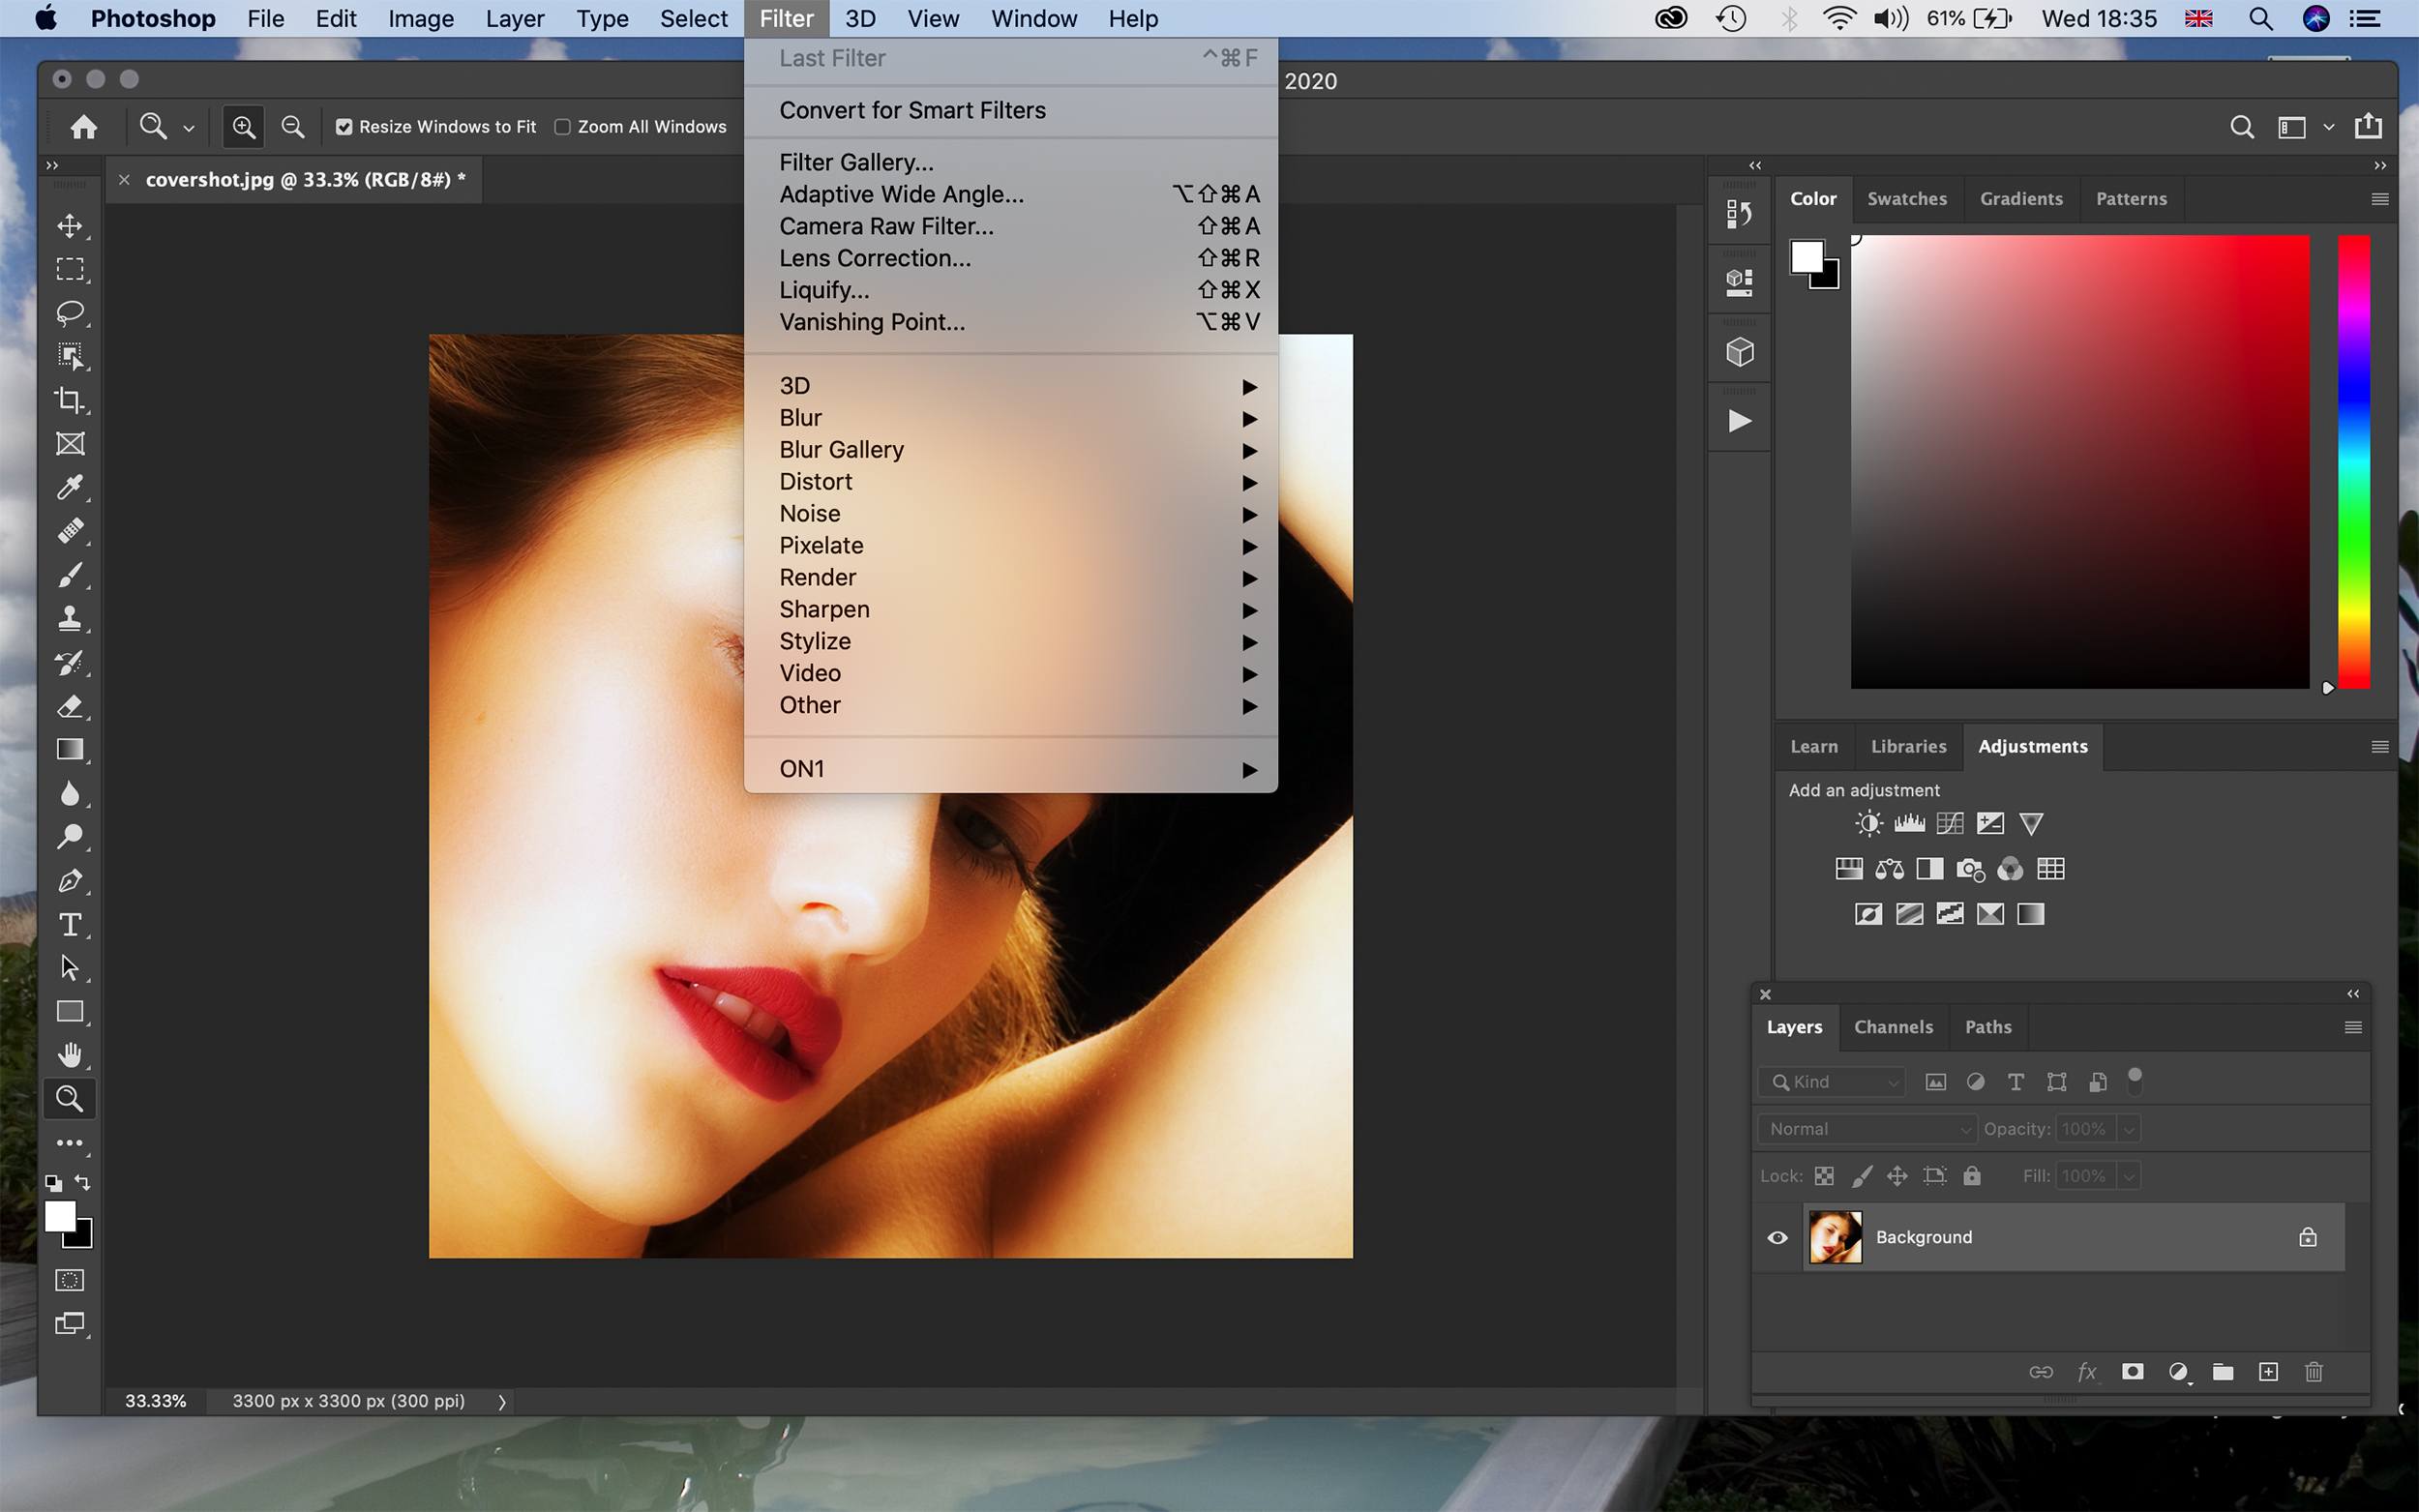
Key Lesson: Before we get started, a quick note on how to apply your filters to your image. If you have a version of Photoshop that supports Smart Objects, it’s a good idea to use them when using filters. This is because it will allow you to adjust your filter settings or remove the filter entirely without affecting any other changes you’ve made to your image. There are a multitude of ways to convert your image to a Smart Object, but the simplest is to go to the Filters tab and select ‘Convert for Smart Filters.’ I prefer to create a new layer for each filter that I’m using (simply go to Layer > New > Layer). And even if you’re using an older version of Photoshop, you should still only apply filters to a separate layer in case you want to remove them at any stage. For all these filters below, I will be presuming that you’re using a new layer.
Here are the filters we’ll cover:
- Gaussian Blur
- Smart Sharpen
- Lens Correction
- Lens Flare
- Filter Gallery > Artistic
Recommended Reading: If you want to learn how to enhance your photos and create better images, grab a copy of Photzy’s premium guide: Ultimate Guide to Fundamental Editing.
Gaussian Blur
The Gaussian Blur filter is just one of several types of blur filters in Photoshop, but it’s the one that I use most frequently. It’s easy to understand as everything in the image is blurred equally.

The Gaussian Blur filter softens the entire image equally, giving you a variety of creative editing options to use it with. Screenshot by Jo Plumridge
Once you’ve created a new layer, open the dialog box by going to Filter > Blur > Gaussian Blur. The Gaussian Blur dialog box is incredibly simple to use. There’s a preview box to show a detail of the main image and a Radius slider. Moving the slider to the right intensifies the strength of the blur. You can also click on and off the Preview checkbox to see the blur applied to the whole image.
But, as with many things, the key to Photoshop is knowing the tools that are useful to you and your images.
You might wonder what the purpose of a filter that can blur things is, but actually there are several creative things you can do. Firstly, low levels of Gaussian Blur can actually help to reduce noise in an image, with the blur being concealed with a layer blending mode. Secondly, you can use Gaussian Blur in selective areas of your image to frame and draw focus to your main subject. And thirdly, Gaussian Blur is also very useful in reducing chromatic aberration. Applied selectively, it will reduce the bright fringes you can find at high-contrast edges in an image.
Key Lesson: The technique that I use the most, though, is to use the Gaussian Blur filter to add a soft glow to my images. It’s particularly effective and flattering in portraiture, smoothing the skin and giving it a little extra radiance. I usually use a Radius of around 20 on my Gaussian Blur layer and then change the Layer Blending Option to Soft Light. I then change the Opacity and Fill of the layer to around 70%. Obviously, you can tweak this to your own specification.
Smart Sharpen
You can’t make an out-of-focus image sharp with Photoshop, but you can improve the sharpness of your images with the Smart Sharpen filter. Smart Sharpen can detect edges, so it can sharpen them without sharpening any noise. It also has controls that allow you to tweak the edge contrast in both your highlights and shadows. So, how does Smart Sharpen work?
You’ll find the Smart Sharpen filter under Filter > Sharpen > Smart Sharpen. This will open your dialog box, with a preview window on the left and your sliders on the right. The first thing you will want to do is set the Remove option to Lens Blur. (The two other options here are Gaussian Blur, which removes the edge detection ability, and Motion Blur, which you will only use if you’ve got motion caused by the subject moving or camera shake.)

The Smart Sharpen filter is Photoshop’s most advanced sharpening tool, giving you the option to control finite detail and your shadows and highlights. Screenshot by Jo Plumridge
Going through the sliders, increasing the Amount value adds contrast to the edge of your images, making them look sharper. Below this, the Radius slider controls the thickness of the edges. This means it sets how many pixels extending outward from an edge should be considered part of the image. Setting the Radius too high will result in obvious halos (light and dark outlines) as the edges become too thick. There are no rules for setting the Amount and Radius sliders, as it’s a personal opinion as to what looks best, but it’s worth remembering that you’ll need a little more sharpening for an image you plan to print. Finally, you can also drag the Reduce Noise slider across a little to clean up the image and make any noise less distracting.
There are no rules for setting the Amount and Radius sliders, as it’s a personal opinion as to what looks best...
In addition, you can also correct any clipping in your shadows and highlights with the shadows and highlights options. Within these options are three sliders (there’s a set for shadows and a set for highlights). The Fade Amount slider fades the sharpening. The higher the value, the less sharpening is applied. The Tonal Width controls the range of brightness levels that are affected by the Fade Amount (the default value of 50% usually works well). Finally, the Radius value controls the width of the area around each pixel that’s looked at to see if it fits within the specified tonal range.
So, as you can see, the Smart Sharpen filter gives you finite control over sharpening and allows you to make subtle alterations to your image.
Lens Correction
In film days, architectural photographers had to use expensive tilt-shift lenses to keep buildings and lines straight. Nowadays, unless you have the money to spend on these expensive lenses, you’re going to be using the Lens Correction filter in Photoshop. To open the filter, simply go to Filter > Lens Correction.
There are two ways to use the Lens Correction filter: Auto Correction or Custom. In Auto mode, you can simply click the Geometric Distortion box and select the right camera make, model, and lens that was used for the shot from Photoshop’s database. Lens Correction uses the metadata of the image and matches it with presets. Obviously, this means you have no control over the look of the image and Photoshop doesn’t have access to all cameras and lenses. But you can get a fairly good correction this way for many images.

The Lens Correction filter gives photographers the opportunity to correct perspective without having to buy expensive tilt-shift lenses. Screenshot by Jo Plumridge
Custom mode allows you to have manual control over your image. You can make various adjustments to correct the image to your own specification. To start with, it’s a good idea to turn on the grid at the bottom of the Lens Correction window, as this will help you to check your lines are straight. Now select the Straighten tool from the toolbar and drag this across your image to define the horizon. Photoshop will straighten the photo automatically.
The Transform section of your sliders allows you to correct the perspective of your image on a vertical and horizontal axis. If you have any diagonal distortion, you can alter the Angle. If you find that your image starts to bulge, you can correct this with the Geometric Distortion slider. There are also options to remove any chromatic aberration or vignetting that can occur with some lenses and lighting.
Lens Flare
The last two filters that I’m going to look at are a bit more fun! First up is the Lens Flare filter. You can produce a lens flare in camera if you’re pointing your camera towards a bright light, but modern lenses tend to have an anti-glare coating to prevent it from happening. In many images a lens flare is distracting and can ruin the image, but if you’re shooting directly into the sun, for example, it can add interest to your shot.
Applying a lens flare in Photoshop is simple. Go to Filter > Render > Lens Flare and your dialog box will open up. There’s a simple slider for the brightness of your lens flare and you simply position it on your image by clicking on the spot you want it in. You can also choose from different lens types (50- 300mm zoom, 35mm prime, 105mm prime, and Movie prime). For greater blending options, try filling your filter layer with black and then using the layer blending modes such as overlay and soft light for a more authentic lens flare.

Adding a little lens flare to the right image can add something interesting and different to your shot, if used in the right way. Screenshot by Jo Plumridge
Recommended Reading: If you want to learn how to enhance your photos and create better images, grab a copy of Photzy’s premium guide: Ultimate Guide to Fundamental Editing.
Filter Gallery > Artistic
For something completely different, why not have some fun with the Artistic filters? These filters allow you to create a painterly look to your image and just generally do something a bit different to your shots. You can experiment with them all, but I quite enjoy the Cutout, which creates an image that looks like cut-out paper shapes, or the watercolor, which diffuses the image into a soft, pastel watery image.

Why not have a bit of fun with Photoshop filters and turn your image into a cut-out? Screenshot by Jo Plumridge
Conclusion
I’ve barely scratched the surface with these five Photoshop filters, but you can no doubt see how many options are available! These five should give you a good overview of both extremely useful and very fun filters to start experimenting with.

Screenshot by Jo Plumridge
- Name two functions of the Gaussian Blur filter.
- Do you need a little more or less Smart Sharpening for an image you’re printing?
- What kind of lens does the Lens Correction filter replicate the effect of?
- Why don’t modern lenses produce lens flare?
- How should you fill your filter layer when using the Lens Flare filter for more creative possibilities?


