
10 Essential Macro Lighting Tips for Every Photographer

New / Noteworthy
Macro photography is a fascinating genre that allows photographers to explore the world in intricate detail. However, one of the most challenging aspects of macro photography is mastering the art of lighting.
Lighting can make or break a macro shot, affecting everything from the subject’s color to the mood of the image.
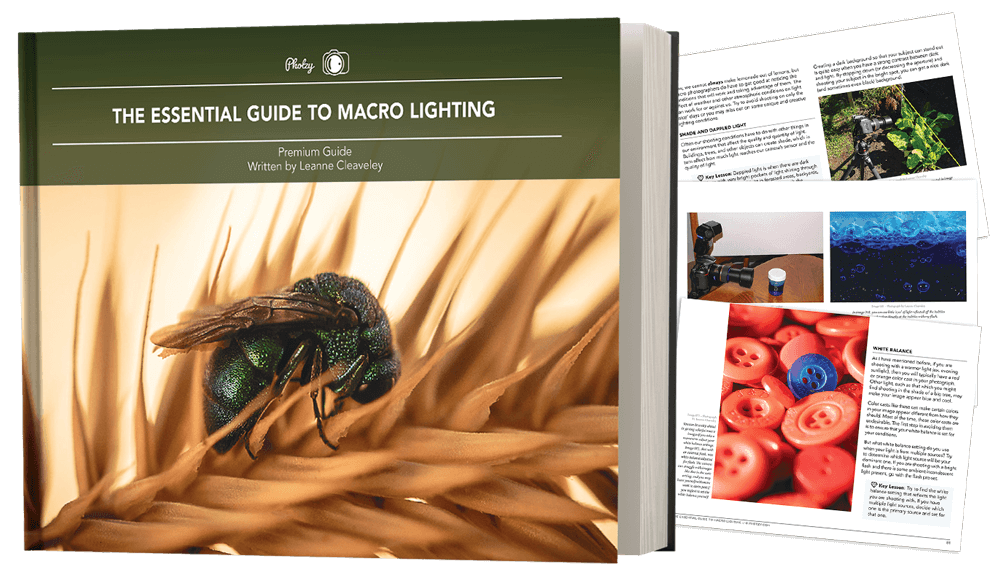
To help you navigate the complexities of macro lighting, we’ve distilled 10 actionable and elaborate tips from the comprehensive ebook, The Essential Guide to Macro Lighting, by Leanne Cleaveley. Whether you’re a beginner looking for foundational advice or a seasoned photographer aiming to refine your skills, these tips offer valuable insights for everyone.
(Note: If macro photography interests you and if you’d like to learn everything about macro lighting, you can check out Leanne Cleaveley’s guide here.)
1. Utilize Natural Light Through Windows for Soft Shadows
Natural light can be a macro photographer’s best friend. One practical way to harness it is by using daylight coming through large windows. This creates a soft and diffused light, reducing harsh shadows and giving your subject a more natural look, which works really well for indoor macro photography.
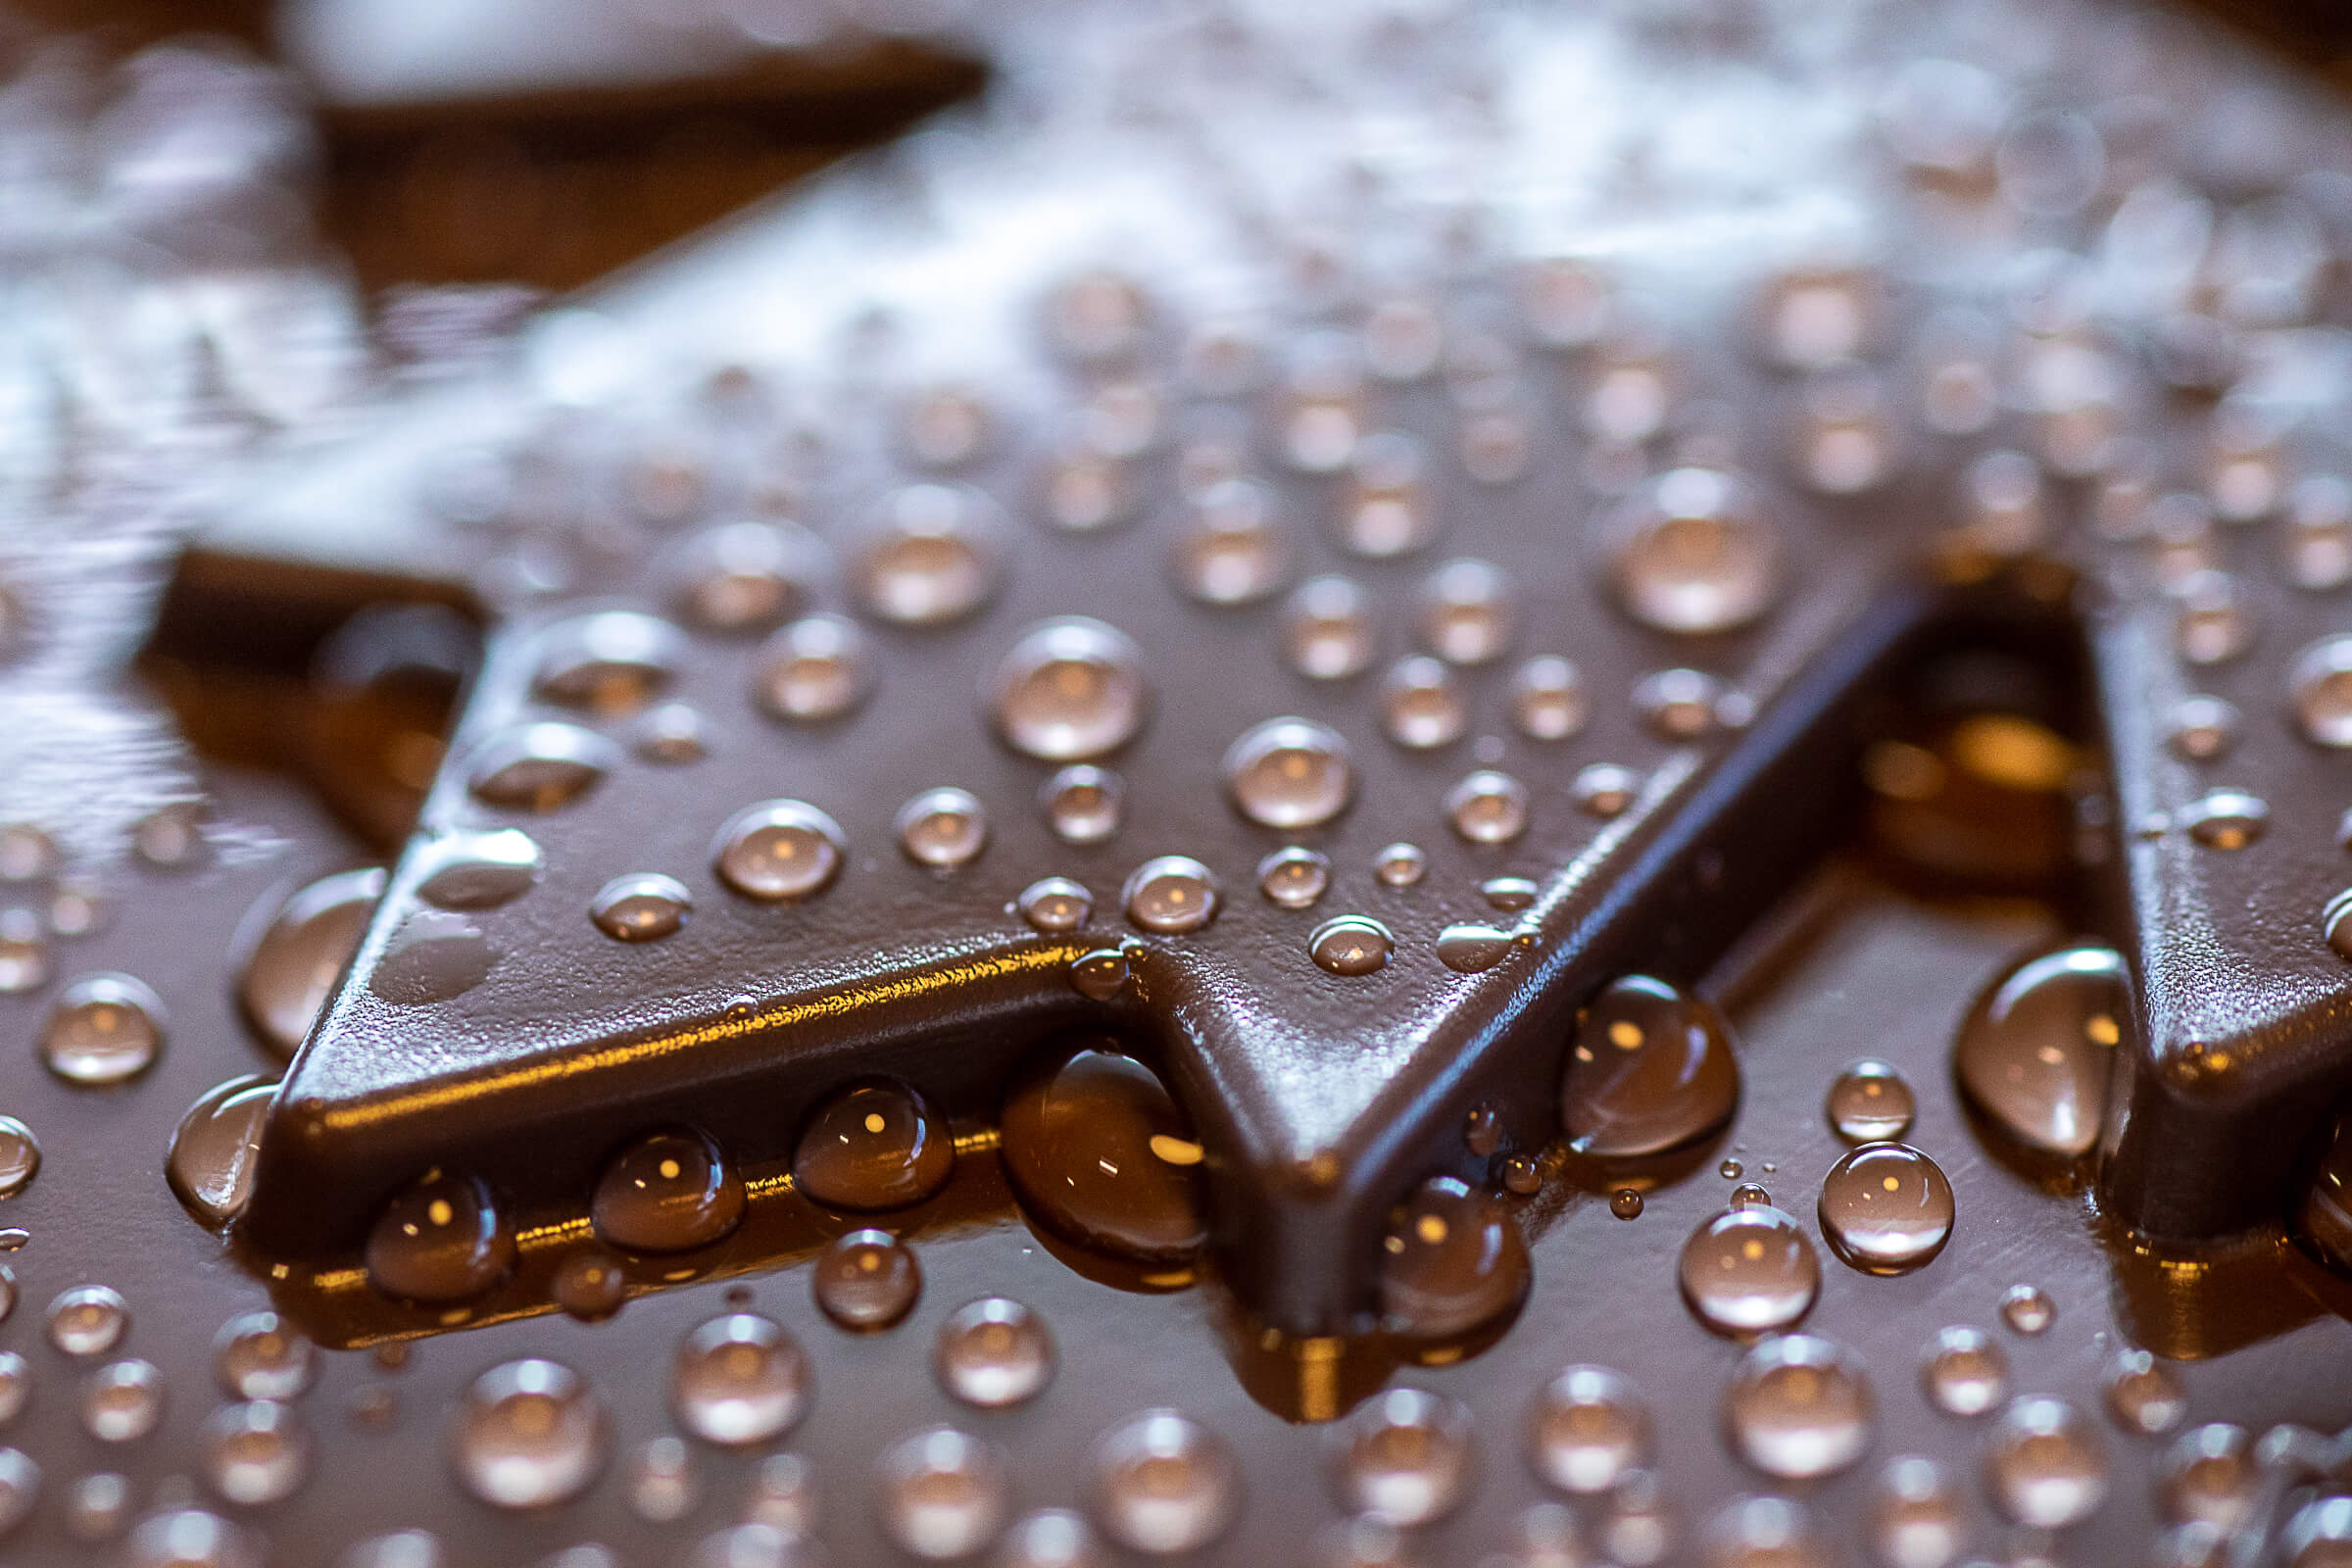
Close up photograph of a plastic coffee lid with condensed droplets of water, with daylight coming through a large window as the primary light source. Photo by Leanne Cleaveley
When using window light, consider the time of day and weather conditions, as these can greatly influence the quality and direction of the light. Overcast days can offer the most consistent and soft light, while sunny days can create more dynamic and directional lighting.
2. Experiment with Different Types of Artificial Light
Artificial light offers the advantage of control. Don’t limit yourself to just one type; experiment with LEDs, tungsten, and fluorescent lights. Each type has its own color temperature and characteristics, which can bring out different aspects of your subject.

The above image was created with the help of a flash, placed to the right and slightly above. A diffuser cap
was used to soften the light and reduce harsh spots of light on the crochet hooks. Photo by Leanne Cleaveley
Experimenting with these different light sources allows you to explore various artistic effects and moods in your macro photography, and can also help you overcome the limitations of your shooting environment, especially in indoor settings.
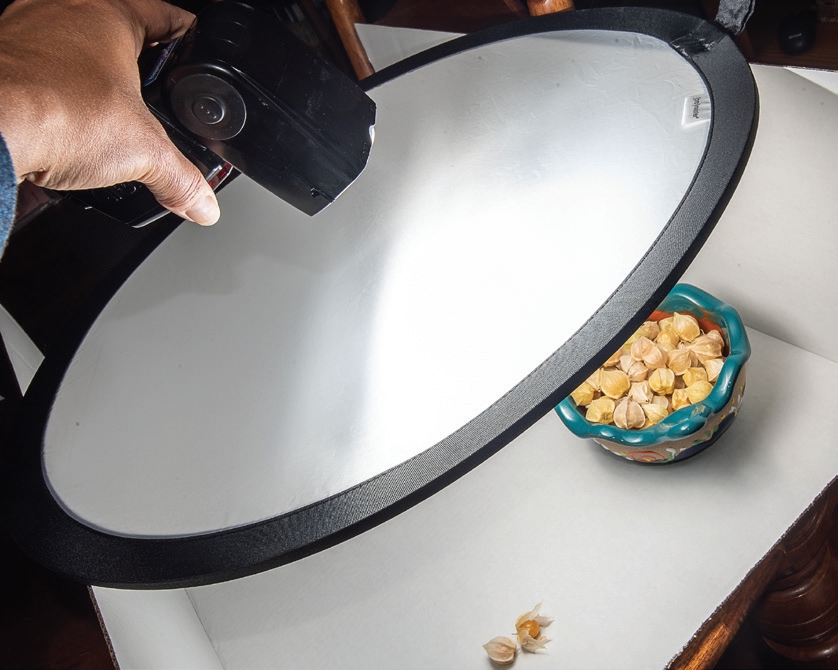
3. Use Reflectors to Eliminate Heavy Shadows
Heavy shadows can be distracting in macro photography. To counter this, use a white piece of foam board or a commercial reflector to bounce light back onto your subject. This technique is particularly useful when you’re using a single light source.

The above image shows a macro setup utilizing natural light from a window. Using a white piece of foam board to bounce the natural light back on the subject, the shadowed areas were made brighter. Images reproduced from the Essential Guide to Macro Lighting
Reflectors come in various sizes and surfaces, including white, silver, and gold. White reflectors give a soft, neutral fill, while silver and gold can add a cooler or warmer tone, respectively. Even a piece of white paper or aluminum foil can serve as an impromptu reflector.
4. Fine-Tune Your Camera and Flash Settings
Understanding your camera and flash settings can significantly impact the quality of your macro photographs. Take the time to adjust your ISO, aperture, and shutter speed according to your light source. This will help you capture the shot as you envision it, whether you’re using natural or artificial light.

For an image like this, both aperture and shutter speed are important. You want to freeze the bee
in flight and get its features in sharp focus. A fast shutter speed (1/500s) and a small aperture (f/22) were used here. Photo by Leanne Cleaveley
5. Be Mindful of the Relationship Between Light and Color
Lighting not only affects the brightness and darkness of your macro photographs but also their color. Different light sources have varying color temperatures, which can influence the mood and tone of your images.
Shot in the evening light, the above image has some yellow and red tones that might not be as noticeable if it had been shot with a cooler light. Photo by Leanne Cleaveley
Morning/evening light often casts a warm, golden hue, while midday light tends to be cooler and bluer. Understanding this relationship allows you to use light creatively to enhance or alter the natural colors of your subject.
Take Your Macro Photography Lighting Skills to the Next Level
If you’d like to learn the secret to mind-blowing macro photography, check out our macro lighting guide to get a complete, step-by-step guidance on mastering the key ingredient of macro photography. Click here now to check it out.
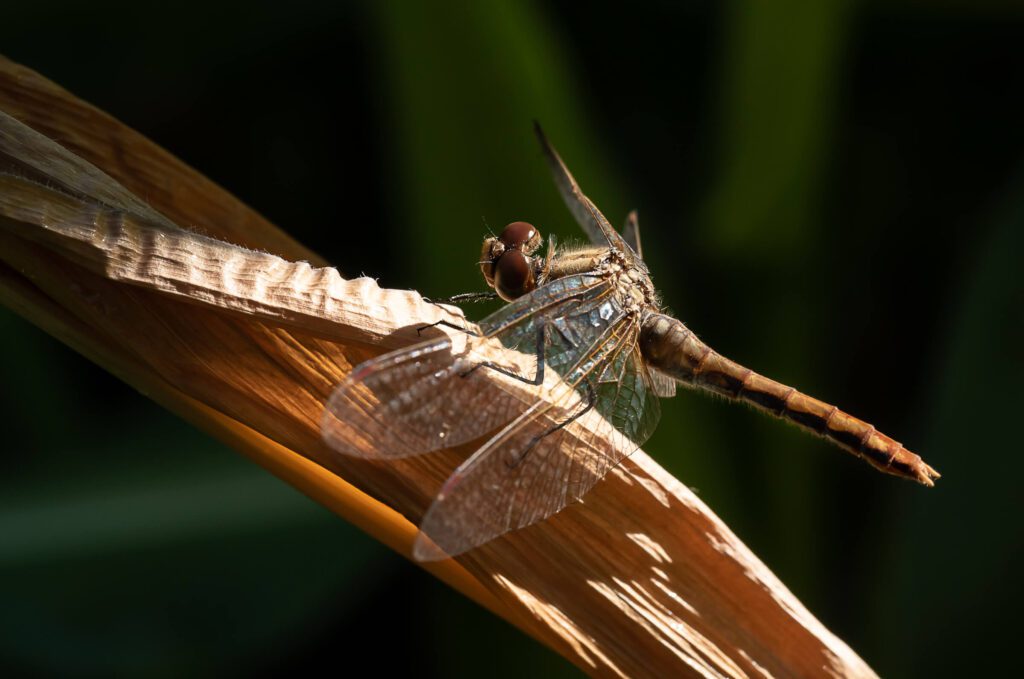
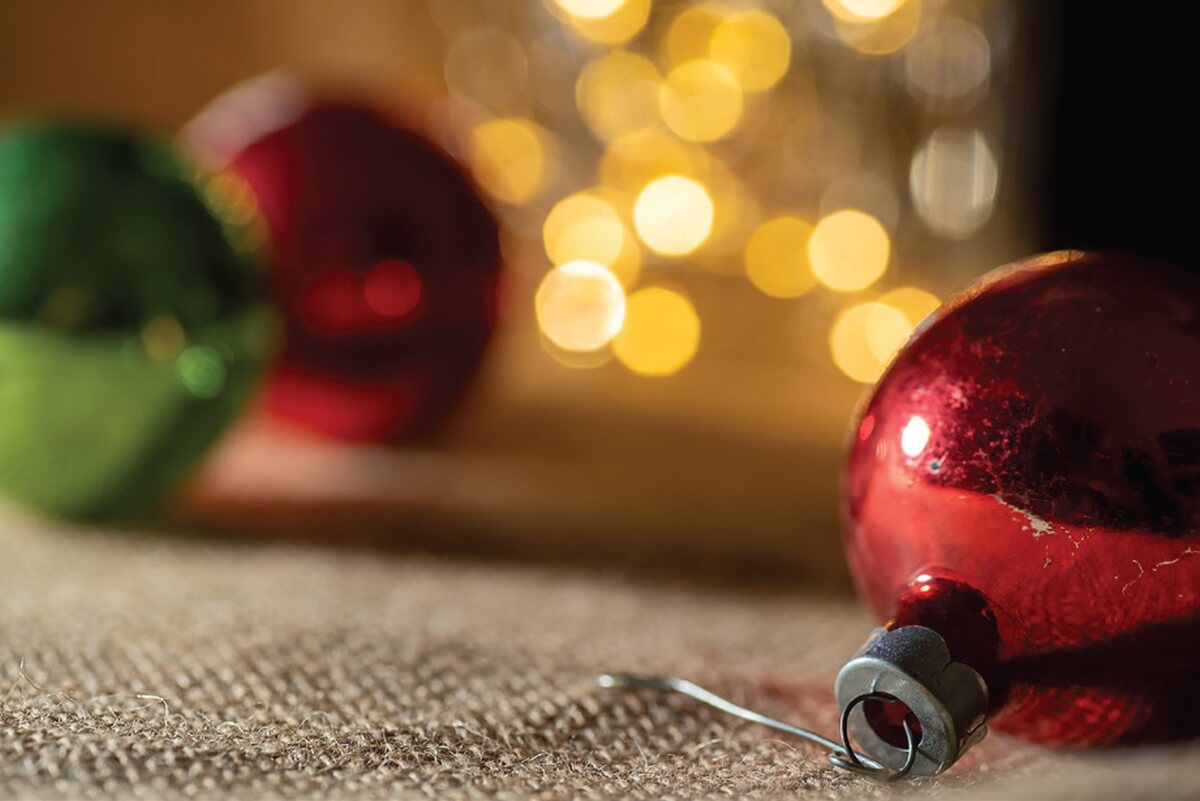
6. Create Dramatic Effects Through Light Angles
The angle and intensity of light can dramatically affect the mood of your macro photographs. Experiment with different angles to achieve effects like bokeh and backlighting. For instance, placing the light source behind the subject can create a beautiful backlight effect.
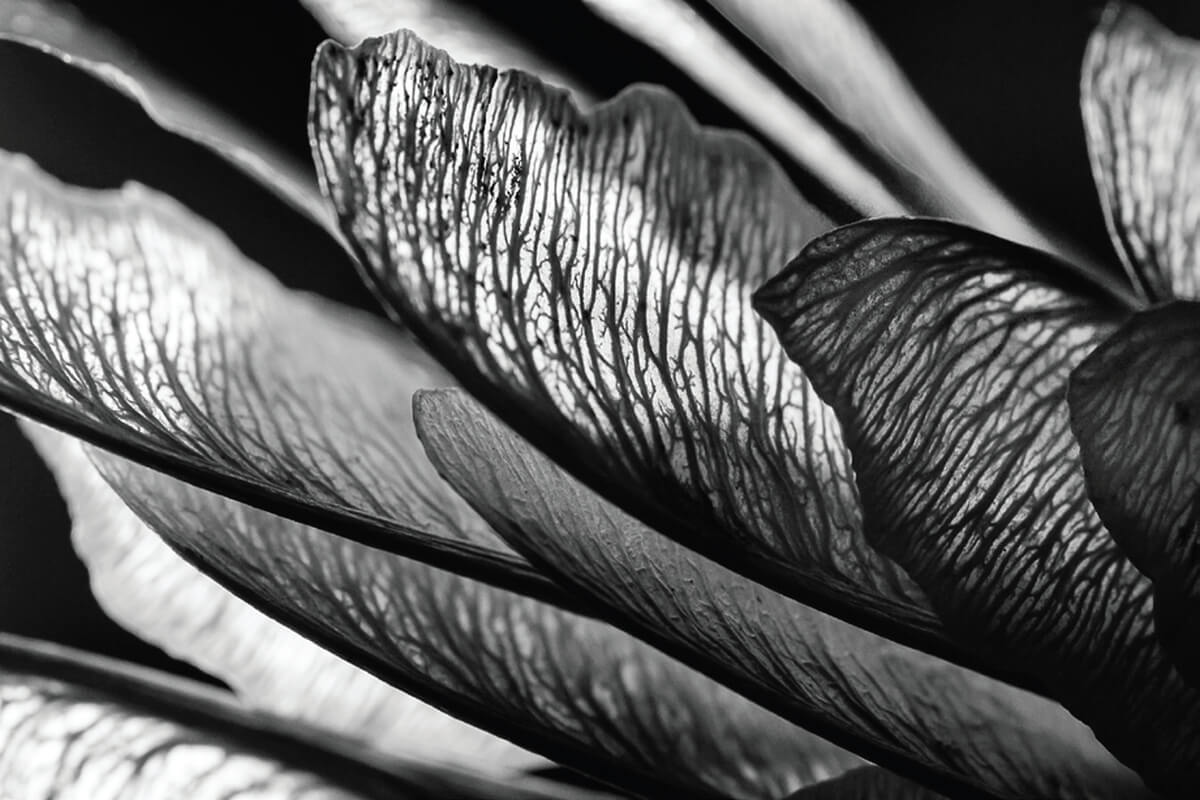
The contrast created in the above image occurs from backlight applied to maple seed pods. The backlight highlights the transparent parts of the seed and creates a contrast with the veins. Photo by Leanne Cleaveley
Side lighting can emphasize texture and depth, while backlighting can create a luminous, ethereal look as the above image shows. Top-down lighting tends to flatten the subject, which can be useful for emphasizing color or patterns.
7. Experiment with Unconventional Techniques for Dramatic Effects
Don’t hesitate to step out of the box when it comes to creating drama in your macro shots. Experiment with unconventional light sources like colored LEDs or even a flashlight to create unique effects. This can add an artistic touch to your photographs.
Do take some time to see the effect that moving the components of your shot have on how your bokeh looks. It is good practice and will help you when shooting in other situations. Photo by Leanne Cleaveley
Using colored gels on lights, experimenting with light painting, or even using everyday objects, like a glass of water or a prism, to refract or distort light can result in unexpected and captivating effects.
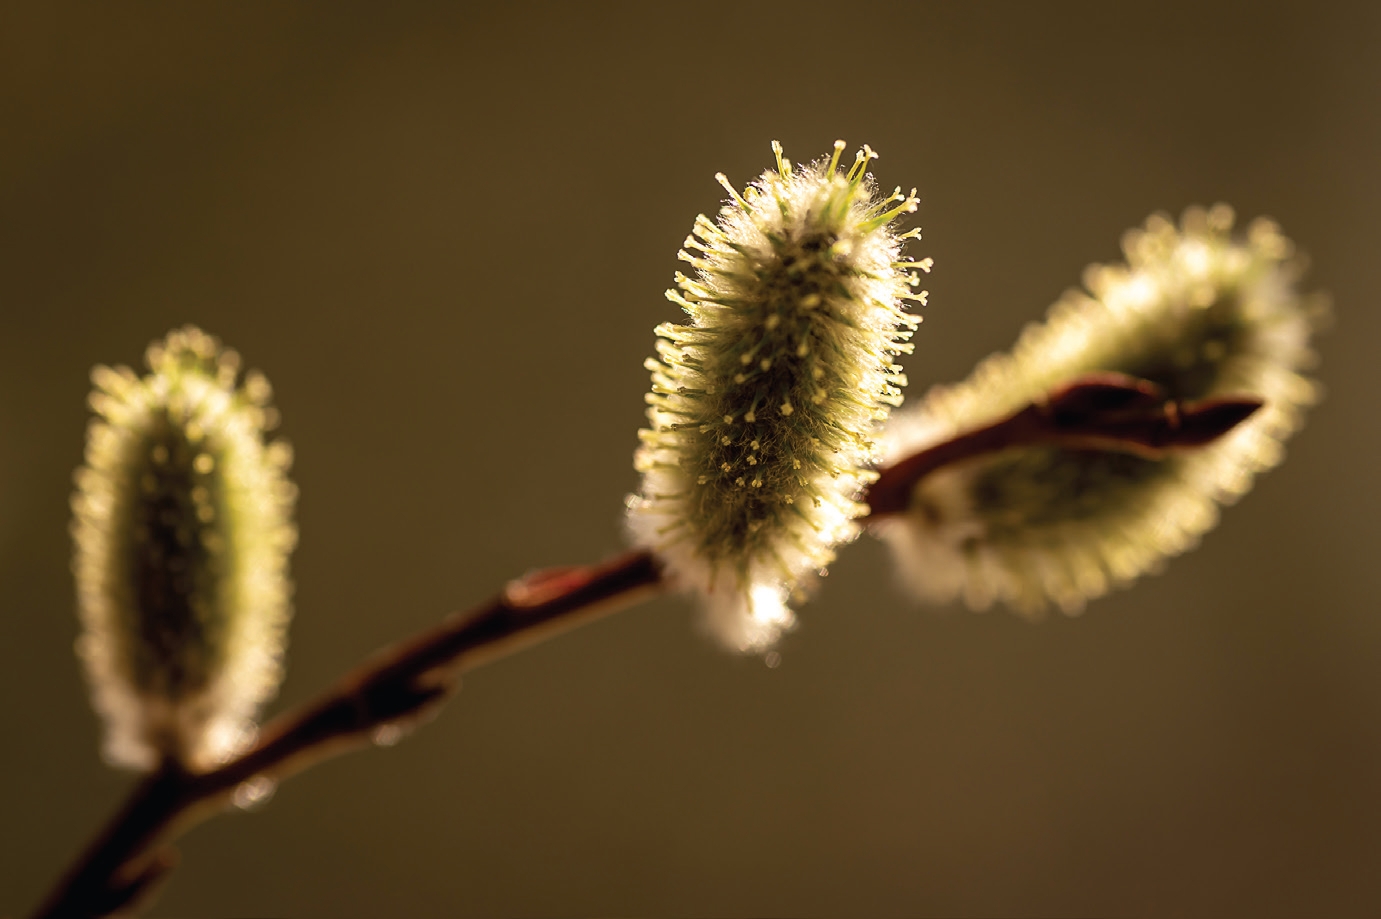
8. Adapt Your Lighting Techniques for Challenging Subjects
Photographing close up of subjects like water droplets, insects, or intricate objects comes with its own set of lighting challenges. Adapt your lighting techniques to suit these subjects. This might involve using diffusers to soften harsh light, employing directional lighting to reveal texture, or experimenting with backlighting to highlight translucence.
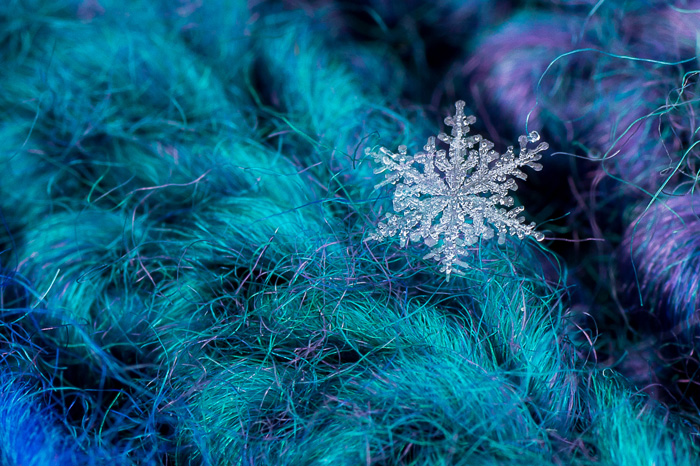
Snowflakes can be a challenging subject for many reasons, one of which is their ability to reflect and refract light. Photo by Leanne Cleaveley
9. Use Editing Tools to Enhance Your Macro Shots
Post-processing is an integral part of photography. While it’s tempting to go overboard with editing, use tools like Photoshop or Lightroom judiciously. Aim to enhance the colors and details in your images without making them look artificial or over-processed.

Adjustments like increasing saturation are best applied in moderation to make subtle changes like making the subject pop a bit from the background. Image reproduced from Leanne Cleaveley’s Macro Lighting Guide
Adjusting exposure, contrast, and saturation can bring out the details and colors in your images while tools like sharpening and noise reduction can improve clarity, whereas selective adjustments can draw attention to the main subject.
10. Repurpose Household Items as DIY Lighting Tools
You don’t need to invest in expensive lighting equipment to get started with macro photography. Everyday household items can be repurposed as DIY lighting tools. A table lamp can be used as a directional light source, while a white sheet can serve as a diffuser to soften harsh light. Aluminum foil can be molded into a reflector to direct light onto your subject.
You can create your own lightbox with materials like the ones seen above. The walls of the lightbox are white covered cardboard while the top is a circular diffuser through which the flash is aimed at the subject. Image taken from Leanne Cleaveley’s Macro Lighting Guide
These simple, cost-effective methods allow you to experiment with different lighting setups while nudging you to explore your creativity and photographic vision at the same time.
BONUS – I've got something special for you on the next page...
Mastering the art of lighting in macro photography is a journey that involves continuous learning and experimentation.
The 10 tips we’ve shared above, based on the expert insights from The Essential Guide to Macro Lighting, provide a roadmap to help you tackle the unique challenges and opportunities that come with macro photography.
If you’d like to dive deeper and understand the nuances of natural and artificial light and experimenting with unconventional techniques to improve your macro photography, be sure to check out the in-depth guide on macro lighting.
If you missed out your guide the last time, it’s available again, and on sale right now.
Click below now, to read about it on the next page…
About Ritesh Saini
Ritesh has been photographing since 2010 and his photographic interests have varied from nature and landscapes to street photography. He recommends the Essential Guide to Macro Lighting to those who really want the secrets to mind-blowing macro photography.